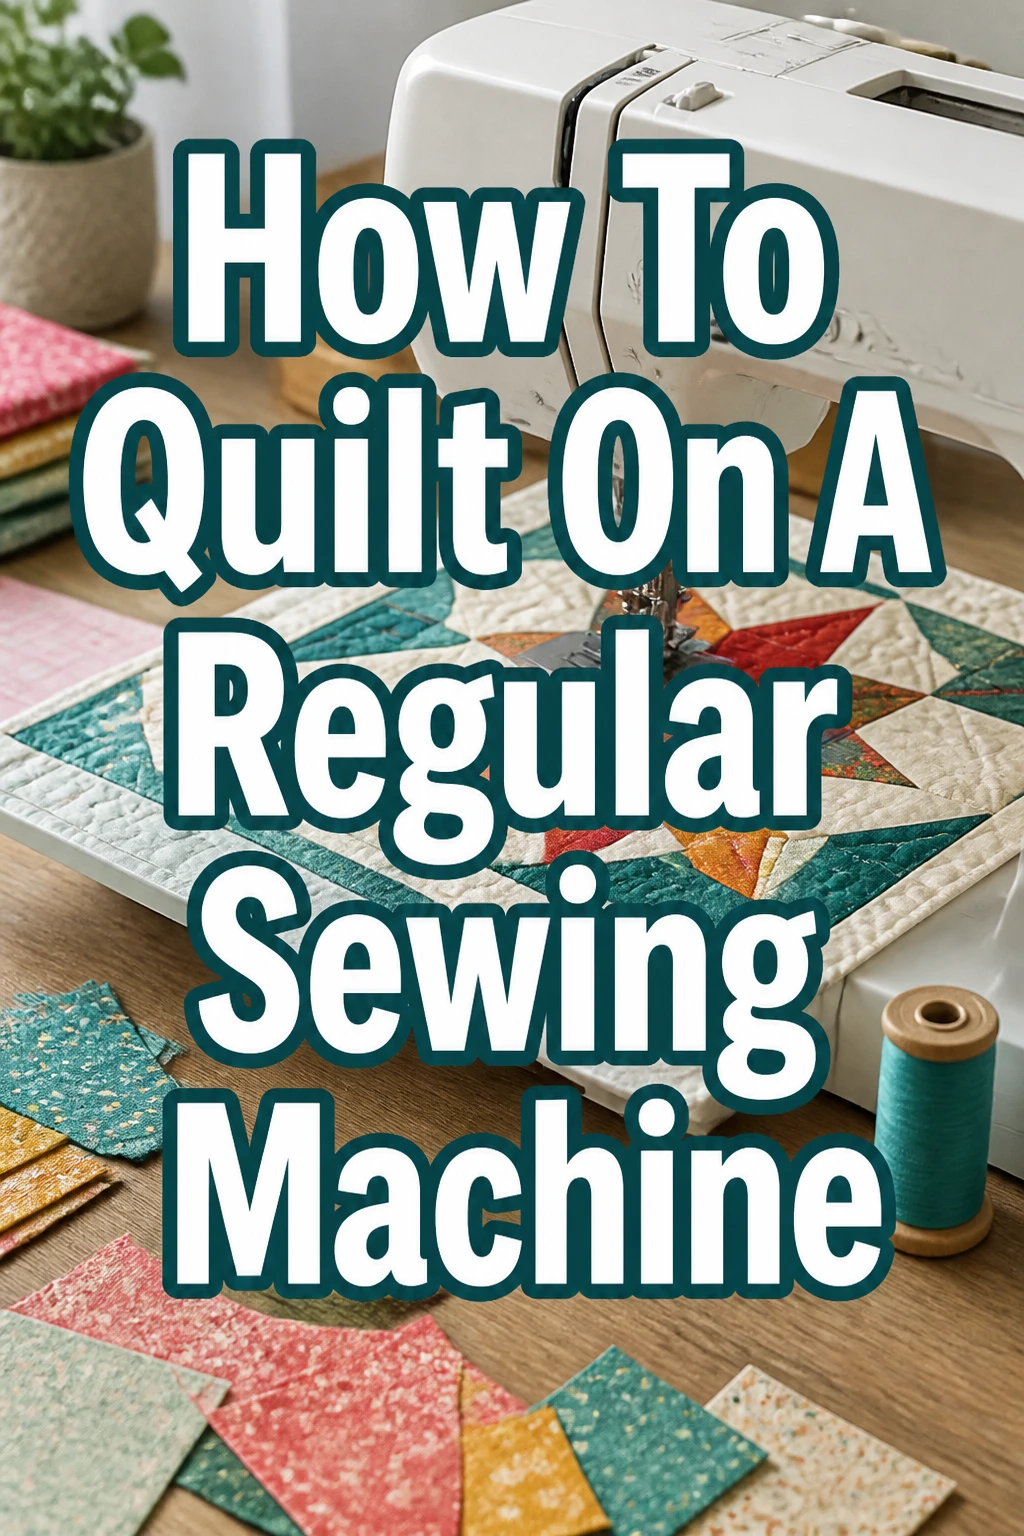
How To Quilt On A Regular Sewing Machine
I remember the excitement of finishing my first quilt top.
Then came the moment of truth: how to actually quilt it without a fancy longarm machine?
This guide shares the practical, hands-on techniques I’ve learned to quilt beautiful projects right on my everyday sewing machine.
Quick Overview
You’re about to transform your quilt top into a finished, cozy masterpiece. This guide walks you through preparing your quilt layers, setting up your machine, and stitching your design.
- Time needed: Project dependent. Start with a small throw or wall hanging to learn the ropes effectively.
- Difficulty: Beginner
- What you’ll need: Your regular sewing machine, quilt top, batting, backing fabric, thread, walking foot, quilting needles, safety pins or basting spray, scissors, rotary cutter, mat, and ruler.
Step-by-Step Instructions
Step 1: Gather Your Materials and Prepare Your Space
Collect all your necessary supplies before you begin. Having everything at hand prevents interruptions once you start the quilting process.
Ensure your sewing machine is clean and well-oiled. A fresh needle is crucial for smooth stitching and preventing fabric snags.
Clear a large, flat surface for layering and basting your quilt sandwich. A dining table or even a clean floor works perfectly.
Pro Tip: Always use a new needle for each quilting project. A universal 90/14 or a specialized quilting needle will make a significant difference in stitch quality.
Step 2: Press and Square Up All Layers
Press your quilt top thoroughly. Any wrinkles or creases will become permanent once quilted, affecting the final appearance.
Iron your backing fabric as well. It should be at least 4-6 inches larger than your quilt top on all sides to allow for shifting during quilting.
Trim your batting to the same size as your backing fabric. This extra margin provides plenty of room for mistakes and tension issues.
Step 3: Create the Quilt Sandwich
Lay your backing fabric face down on your clean, flat surface. Smooth it out completely, ensuring there are no wrinkles or puckers.
Tape the edges of the backing fabric to your surface using painter’s tape or masking tape. This helps keep it taut and prevents shifting.
Place the batting centered on top of the backing fabric. Again, smooth it out carefully from the center outwards.
Position your pressed quilt top, right side up, on top of the batting. Center it and smooth it meticulously, removing any air bubbles or wrinkles.
Step 4: Baste Your Quilt Layers Securely
Pin your quilt layers together using curved safety pins. Start in the center and work your way out in a grid pattern, spacing pins about 4-6 inches apart.
Ensure the pins go through all three layers: quilt top, batting, and backing. This firm connection prevents shifting while quilting.
Consider using basting spray as an alternative or in conjunction with pins. Follow the product instructions carefully in a well-ventilated area.
Pro Tip: When using safety pins, use the curved variety. They are much easier to open and close through multiple layers of fabric.
Step 5: Install Your Walking Foot and Set Up Your Machine
Attach a walking foot to your sewing machine. This specialized foot feeds all layers of the quilt through the machine at the same rate, preventing puckering.
Thread your machine with good quality quilting thread. Use the same thread in the bobbin as on top, or a neutral bobbin thread that matches your backing.
Adjust your stitch length. A slightly longer stitch length (around 2.5-3.0mm) is generally recommended for quilting, as it looks better and is less likely to pucker.
Perform a test stitch on a scrap quilt sandwich. Check your tension settings and adjust as needed until stitches look even on both sides.
Step 6: Choose and Mark Your Quilting Design
Decide on a quilting design. Simple straight lines, cross-hatching, or stitch-in-the-ditch are excellent choices for beginners.
Mark your design if necessary using a washable fabric marker, chalk, or painter’s tape. For stitch-in-the-ditch, no marking is needed.
Start quilting from the center of your quilt and work your way outwards. This helps to push any fullness towards the edges, minimizing puckers.
Pro Tip: If you’re nervous about marking, try quilting lines parallel to your seams (stitch-in-the-ditch) or use painter’s tape as a guide for straight lines.
Step 7: Begin Quilting Your Project
Start your quilting line a few inches in from the edge of your quilt top, not right at the very edge. This gives you room to trim later.
Lower your needle into the quilt, then lower the presser foot. Take a few small stitches, then use your reverse stitch button to secure the start of your line.
Guide the quilt gently under the walking foot. Let the machine do the work of feeding the fabric; avoid pulling or pushing too hard.
Remove safety pins as you approach them, but only when you are very close to stitching past them. Never stitch over a pin.
Work systematically across your quilt. For straight lines, quilt all lines in one direction, then rotate the quilt and quilt lines in the perpendicular direction.
Maintain a consistent speed. A steady, moderate pace often yields the best results with even stitches.
Step 8: Finish and Bind Your Quilt
Trim away the excess batting and backing fabric once all your quilting is complete. Use a rotary cutter and ruler to square up your quilt, ensuring all edges are straight.
Prepare your binding strips. Cut 2 1/2-inch wide strips of fabric, piece them together, and press them in half lengthwise.
Attach the binding to the front of your quilt, then hand or machine stitch it to the back. This finishes the raw edges and gives your quilt a professional look.
Common Mistakes to Avoid
Uneven Stitches or Tension Issues
This often happens when your machine tension isn’t balanced, or you’re pulling or pushing the fabric too much. Always do a test swatch on a small quilt sandwich before starting your main project. Adjust your tension settings and ensure you’re letting the walking foot guide the fabric without excessive force.
Puckering or Rippling
Puckering occurs when the layers of your quilt shift during the quilting process. Inadequate basting is a common culprit. Ensure your quilt is thoroughly basted with plenty of pins or basting spray. Also, quilting from the center outwards helps to gently ease any fullness towards the edges, preventing puckers in the middle.
Running Out of Bobbin Thread
It’s incredibly frustrating to run out of bobbin thread mid-line. Always wind a fresh bobbin (or two!) before starting a quilting session. Check your bobbin frequently, especially before beginning a long quilting line. Matching your bobbin thread to your backing fabric can also make any bobbin run-out less noticeable if you miss it.
Skipping the Test Swatch
Many quilters are eager to jump straight into their project, but skipping a test swatch can lead to major headaches. A small quilt sandwich scrap (quilt top, batting, backing) allows you to test stitch length, tension, and even practice your design. This simple step saves time and frustration in the long run.
Troubleshooting
Skipped Stitches
Skipped stitches often indicate a dull or incorrect needle. Replace your needle with a new quilting-specific needle or a sharp universal 90/14. Also, check that your thread is properly seated in the machine’s tension discs and not catching anywhere.
Fabric Dragging or Not Feeding Smoothly
If your fabric isn’t feeding well, first check that your walking foot is correctly installed and engaged. Ensure your stitch length is appropriate for quilting (slightly longer than normal). Sometimes, a build-up of lint under the needle plate can hinder fabric movement, so a quick clean might be necessary.
Thread Breakage
Frequent thread breakage can be caused by several factors. Check your needle for any burrs or bends; replace if necessary. Ensure your thread is good quality and not old or brittle. Your tension might be too tight, or your machine might need a thorough cleaning to remove any thread bits causing snags.
Key Takeaways
- Always use a walking foot for even fabric feeding.
- Baste your quilt layers thoroughly to prevent shifting and puckering.
- Start quilting from the center and work outwards to manage fullness.
- Use a fresh, sharp needle, preferably a quilting-specific one.
- Practice on a test swatch to fine-tune your machine settings.
- Let your machine guide the fabric; avoid pushing or pulling excessively.
Frequently Asked Questions
What kind of thread should I use for quilting?
Use a good quality 100% cotton thread for quilting, especially if your quilt top is cotton. Polyester threads are also an option and can be very strong. Choose a thread that is lint-free and specifically designed for machine quilting to minimize breakage and improve stitch quality.
Do I absolutely need a walking foot?
While some quilters manage without, a walking foot is highly recommended for quilting on a domestic machine. It helps feed all three layers of the quilt sandwich evenly, significantly reducing puckering and improving stitch consistency. It’s a worthwhile investment for any quilter.
Can I quilt a king-size quilt on a regular sewing machine?
Yes, it’s possible, but it requires patience and good technique. Large quilts can be cumbersome to maneuver under a domestic machine’s arm. You might need to roll or scrunch parts of the quilt to fit. Quilting in sections or using simpler designs like straight lines can make it more manageable.
How do I choose the right batting for my quilt?
Batting comes in various fibers (cotton, polyester, wool, bamboo) and lofts (thicknesses). Consider the desired warmth, drape, and stitch density for your project. Cotton batting is popular for its natural feel and allows for close quilting. Polyester is often lighter and creates a puffier look.
Our Top Recommended Finds
- Even Feed / Walking Foot: Essential for moving all quilt layers smoothly and preventing puckering.
- Quilting Needles (90/14): Designed with a slightly rounded point to slip between fabric threads, reducing skipped stitches and snags.
- Rotary Cutter, Mat, and Ruler: Crucial for accurately squaring up your quilt and trimming excess fabric for binding.
Embrace Your Quilting Creativity
Quilting on a regular sewing machine is not just possible; it’s a deeply rewarding skill. You have all the tools you need to create beautiful, lasting pieces.
Don’t be afraid to experiment with different designs and threads. Each quilt you make will teach you something new and build your confidence.
Take these steps, put them into practice, and watch your quilting journey unfold. Your next cherished heirloom is waiting to be stitched!