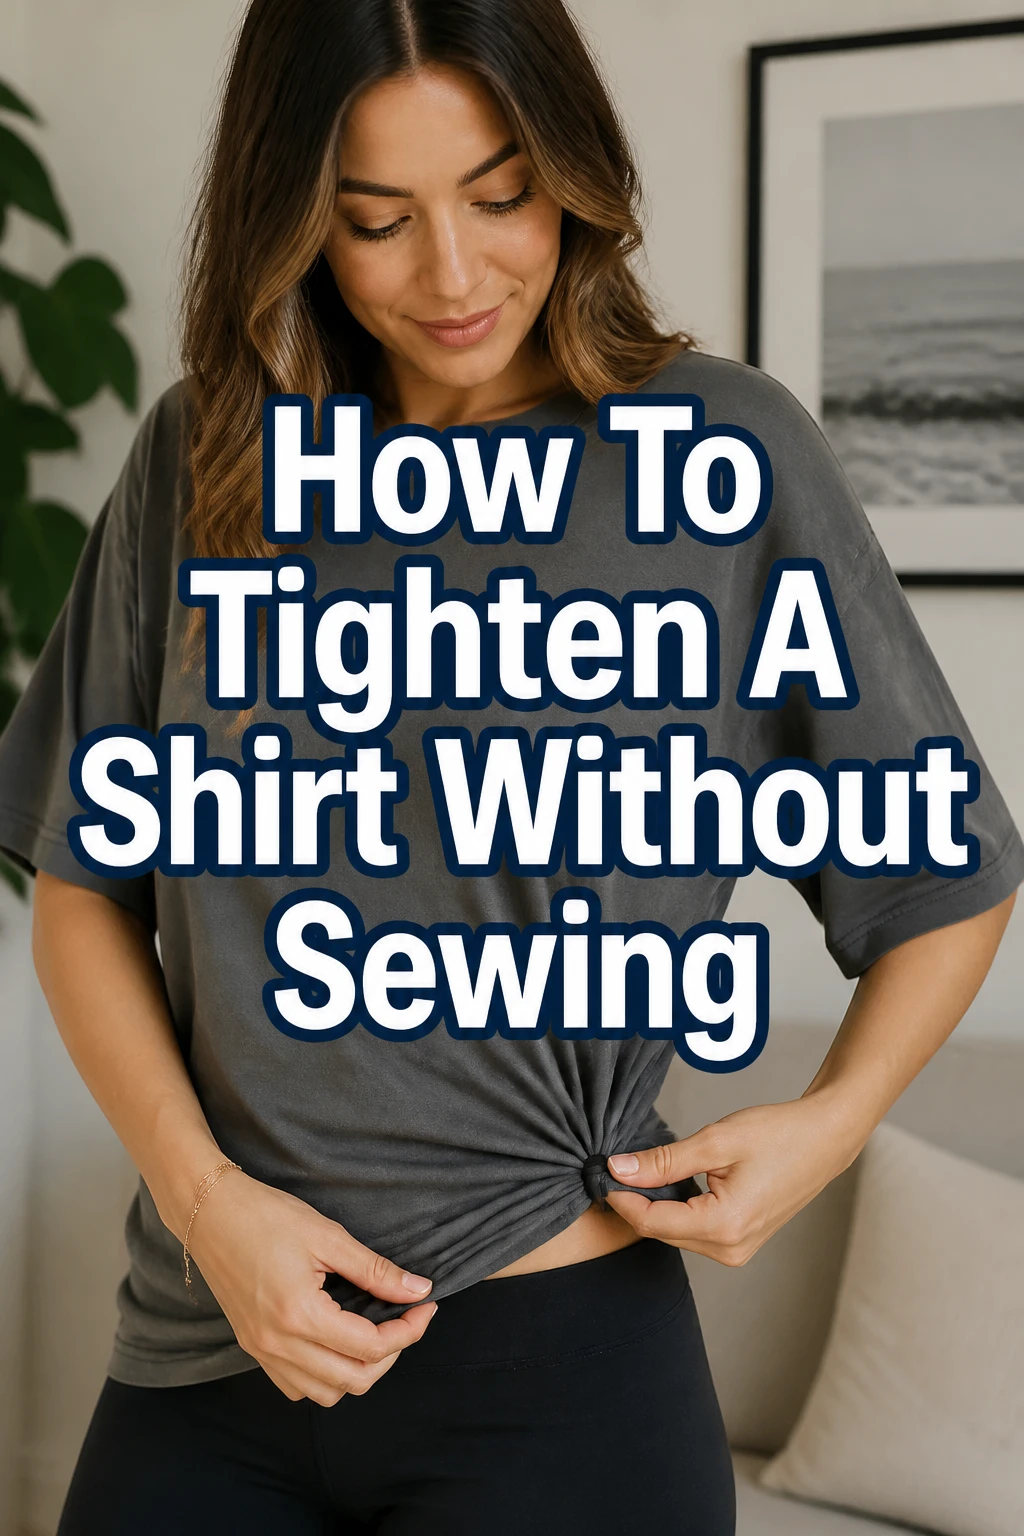
How To Tighten A Shirt Without Sewing
There’s nothing more frustrating than pulling out a favorite shirt, only to find it’s become a little too baggy.
I’ve personally faced this dilemma countless times, and learned that a sewing machine isn’t always the answer.
This guide shares practical, hands-on methods I’ve used to achieve a snugger fit, giving your wardrobe new life without a single stitch.
Quick Overview
This guide will equip you with simple, non-sewing techniques to tighten your shirts, making them fit better and look more flattering.
- Time needed: 10-30 minutes (depending on the chosen method)
- Difficulty: Beginner
- What you’ll need: Safety pins, hair ties, elastic bands, fashion tape, clips, a belt, an iron (optional for shrinking)
Step-by-Step Instructions
Step 1: Master the Simple Pin Tuck
A pin tuck is one of the quickest ways to gather excess fabric. It creates a subtle fold that can be hidden or used as a design element.
Turn your shirt inside out. This helps conceal the pin and the gathered fabric.
Identify the areas where the shirt is too loose, typically at the sides, back, or shoulders.
Pinch the excess fabric inward to create a small fold. Aim for a symmetrical gather on both sides if you’re working on the torso.
Secure the pinched fabric with a small safety pin. Make sure the pin is flat against the fabric and not poking out.
Pro Tip: For a more discreet tuck, choose small, dark-colored safety pins that blend with your shirt’s color. Test the placement before you finalize it.
Step 2: Refine the Internal Pin Tuck
The internal pin tuck offers a cleaner look, as the gathered fabric and pin are completely hidden from view.
Put the shirt on and stand in front of a mirror. Locate the areas that need tightening, usually on the side seams or the back.
Reach inside the shirt and gently pull the excess fabric from the side seam inward, towards your body.
Pinch the fabric to create a vertical fold along the inside of the seam. Aim for an even fold.
Secure this fold with a safety pin, pushing the pin through the inside layers of the fabric only. The goal is for no part of the pin to be visible from the outside.
Adjust as needed until the shirt feels snug and looks smooth from the outside.
Step 3: Cinch with a Hair Tie or Elastic Band
This method is perfect for casual shirts and can add a stylish, gathered detail to the hem or waist.
Gather a small section of fabric at the back or side of your shirt, typically near the hem or waistline.
Twist the gathered fabric tightly, creating a small “tail” of material.
Wrap a hair tie or small elastic band around the base of this twisted fabric. Secure it tightly, like tying off a ponytail.
Tuck the resulting “knot” of fabric and the elastic band underneath the shirt. This hides the tightening mechanism.
Fluff out the surrounding fabric to make the tuck look natural and blend seamlessly.
Pro Tip: Experiment with placing the hair tie at the center back for a more pronounced waist, or off-center for an asymmetrical, trendy look.
Step 4: Embrace Belts and Waist Cinchers
Belts are a classic way to define your waist and instantly tighten a loose shirt, turning it into a more structured outfit.
Choose a belt that complements your shirt and overall outfit. Thin belts offer a subtle cinch, while wider belts create a bolder statement.
Wear the loose shirt as usual.
Place the belt around your natural waist, over the shirt. Cinch it to your desired tightness.
Adjust the shirt fabric above and below the belt. You can gently pull some fabric up to create a bloused effect, or smooth it down for a sleek look.
Consider a waist cincher for a more dramatic, hourglass silhouette. These are worn underneath or over the shirt, depending on the design.
Step 5: Utilize Fashion Tape for Subtle Shaping
Fashion tape is a discreet tool for holding fabric in place, perfect for minor adjustments and preventing gaps.
Identify small areas where the shirt gapes or needs a slight pull to fit better. This often includes necklines, armholes, or button plackets.
Peel one side of the fashion tape to expose the adhesive.
Press the sticky side firmly onto the inside of one fabric layer where you want to tighten.
Remove the backing from the other side of the tape.
Bring the second piece of fabric over and press it firmly onto the exposed adhesive. Hold for a few seconds to ensure a strong bond.
Check the fit and adjust if necessary. The tape should hold the fabric together discreetly.
Pro Tip: Always apply fashion tape to clean, dry fabric for the best adhesion. Carry a few strips with you for on-the-go adjustments.
Step 6: Knot Your Way to a Tighter Fit
Knotting is a stylish and simple way to tighten a shirt, especially at the hem, transforming its silhouette.
Gather the excess fabric at the front, side, or back hem of your shirt. The amount of fabric you gather dictates the tightness.
Twist the gathered fabric a few times to make it more compact.
Tie a simple knot. You can do a single knot for a loose drape or a double knot for a more secure, tighter cinch.
Experiment with placement: a front knot for a cropped look, a side knot for an asymmetrical hem, or a back knot for a more tailored waist from the front.
Adjust the knot and the surrounding fabric to achieve your desired style and fit.
Step 7: Layer Smartly for a Snug Feel
Layering can create the illusion of a tighter fit by filling out the shirt or holding it closer to your body.
Wear a fitted camisole, tank top, or shapewear underneath your loose shirt. This provides a base layer that can subtly pull the outer shirt in.
Choose a camisole in a similar color to your skin tone or the shirt for a seamless look.
Opt for shapewear that targets the areas where your shirt is most loose, such as the waist or bust.
Tuck the loose shirt into high-waisted pants or a skirt. This instantly defines your waist and removes excess fabric from the lower half of the shirt.
Add an outer layer like a vest, cardigan, or jacket. This can visually narrow your silhouette and hold the loose shirt closer to your body.
Step 8: Shrink with Heat (Cautiously)
While not a direct “tightening” method in the same way as pins or knots, targeted shrinking with heat can reduce a shirt’s size if it’s made of certain materials.
Check the fabric composition. This method works best on natural fibers like cotton, linen, or wool, which are prone to shrinking with heat.
Wash the shirt in hot water. Use the hottest setting your washing machine allows and the fabric can tolerate without damage.
Dry the shirt on high heat. Tumble dry on the highest heat setting in your dryer. The combination of hot water and hot air helps fibers contract.
Repeat the process if necessary. For significant shrinking, you might need to wash and dry on high heat multiple times.
Be aware that shrinking can be unpredictable. You might not achieve a perfectly even reduction in size across the entire garment.
Pro Tip: Shrink a test garment or a less favorite shirt first if you’re unsure how your specific fabric will react. Always air dry after the desired shrink is achieved to prevent further, unwanted shrinkage.
Common Mistakes to Avoid
Over-tightening
Trying to make a shirt too snug can lead to discomfort, restricted movement, and an unnatural, pulled look. A subtle adjustment often makes a bigger difference than an extreme one.
Always aim for a comfortable fit that allows you to move freely. A little breathing room is better than a garment that feels restrictive.
Using the Wrong Tools
Using large, bulky safety pins on delicate fabrics can create unsightly bumps or even tear the material. Similarly, a thick elastic band might be visible through a thin shirt.
Match your tightening tool to the fabric and the desired outcome. Opt for small, discreet pins and thin hair ties for finer materials.
Ignoring Fabric Type
Some fabrics, like silk or rayon, are very delicate and can be easily damaged or marked by pins. Stiff fabrics might not gather smoothly with a simple knot.
Consider the material of your shirt before choosing a method. Delicate fabrics benefit from fashion tape, while sturdier ones handle knots or pins well.
Visible Fixes
Leaving pins exposed or having a bulky knot showing can detract from an otherwise polished look. The goal is to make the shirt appear naturally fitted.
Always strive for discreet adjustments. Tuck pins inside, hide elastic bands, and ensure knots are neat or part of an intentional style choice.
Troubleshooting
Fixes Feel Bulky
If your pin tucks or elastic band gathers feel lumpy, you might be gathering too much fabric in one spot. This can be uncomfortable and noticeable.
Try making several smaller tucks or gathers instead of one large one. Distribute the excess fabric more evenly around the area you want to tighten. Use smaller, flatter pins.
Shirt Still Looks Loose
Sometimes a single method isn’t enough for a very baggy shirt. You might find it still looks too relaxed after one adjustment.
Combine methods for a more effective tightening. For example, use internal pin tucks on the sides and then add a belt to further define the waist. Layering a fitted camisole can also help.
Fixes Keep Coming Undone
If your pins are popping open or knots are loosening, the tension might be too high, or the method isn’t secure enough for the fabric or activity level.
Ensure safety pins are fully closed and securely through enough fabric layers. For knots, tie a double knot or use a stronger elastic band. Fashion tape should be applied to clean, dry surfaces for maximum adhesion.
Key Takeaways
- Non-sewing methods offer versatile solutions for a better shirt fit.
- Discreet tools like small safety pins and fashion tape are your allies.
- Always consider the shirt’s fabric type when choosing a tightening technique.
- Practice different methods to find what works best for each shirt and your style.
- Combine techniques for more effective and lasting results on very loose garments.
- Prioritize comfort and a natural look over extreme tightness.
Frequently Asked Questions
Will these methods damage my shirt?
When done carefully, most of these methods are very gentle on your shirts. Using appropriate tools, like small safety pins for delicate fabrics, minimizes the risk. Always test a small, inconspicuous area first if you are concerned.
Can I use these on all fabric types?
Most methods work on a wide range of fabrics. However, very delicate materials like silk or chiffon might be better suited for fashion tape or gentle tucks, while sturdy cottons or denims can handle knots and more robust pinning. Avoid shrinking methods on synthetic fabrics as they typically do not respond to heat in the same way.
Are these methods comfortable for all-day wear?
Yes, when applied correctly, these fixes should be comfortable. The key is to avoid over-tightening. If a method feels restrictive or creates uncomfortable pressure points, adjust it or try a different technique. Many people wear these adjustments daily without issue.
How permanent are these fixes?
Most non-sewing methods are temporary and can be undone easily. This offers great flexibility as you can adjust your shirt’s fit for different occasions or simply remove the fix when you no longer need it. The shrinking method is the most permanent, but also the least precise.
Our Top Recommended Finds
- Assorted Safety Pin Set: Essential for tucks and internal adjustments, offering various sizes and colors for discretion.
- Double-Sided Fashion Tape: Perfect for subtle fixes, preventing gaps, and holding delicate fabrics in place without damage.
- Thin, Adjustable Belt: A versatile accessory that instantly defines the waist on loose shirts, elevating your outfit.
Your Wardrobe, Reimagined
You now have a powerful toolkit to transform your favorite shirts from baggy to perfectly fitted, all without picking up a needle and thread.
Experiment with these techniques, mix and match them, and discover new ways to express your personal style.
Don’t let a loose fit dictate your fashion choices. Take control of your wardrobe today and enjoy the confidence that comes with a perfectly tailored look.