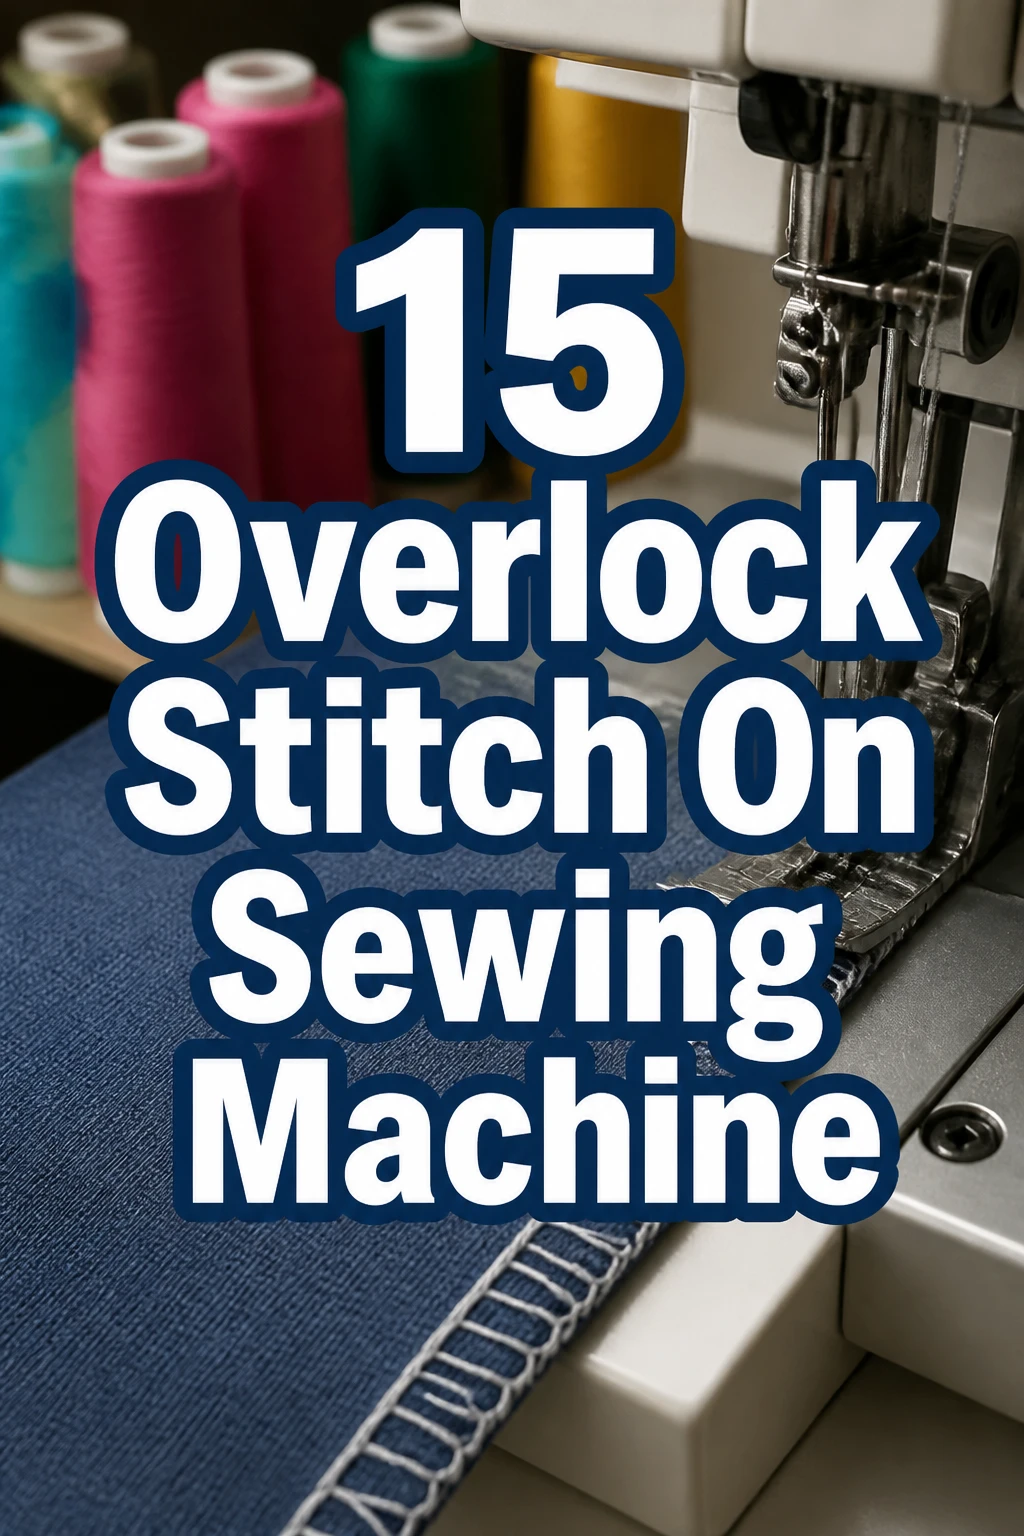
15 Overlock Stitch On Sewing Machine
Ever stare at your freshly sewn garment, feeling super proud, only to flip it inside out and see those sad, unraveling raw edges? Yeah, we’ve all been there. It’s like your project is giving you the side-eye.
But guess what? Your regular sewing machine is way more capable than you think. It can totally pull off some magic to make those seams look professionally finished.
Get ready to transform your sewing game.
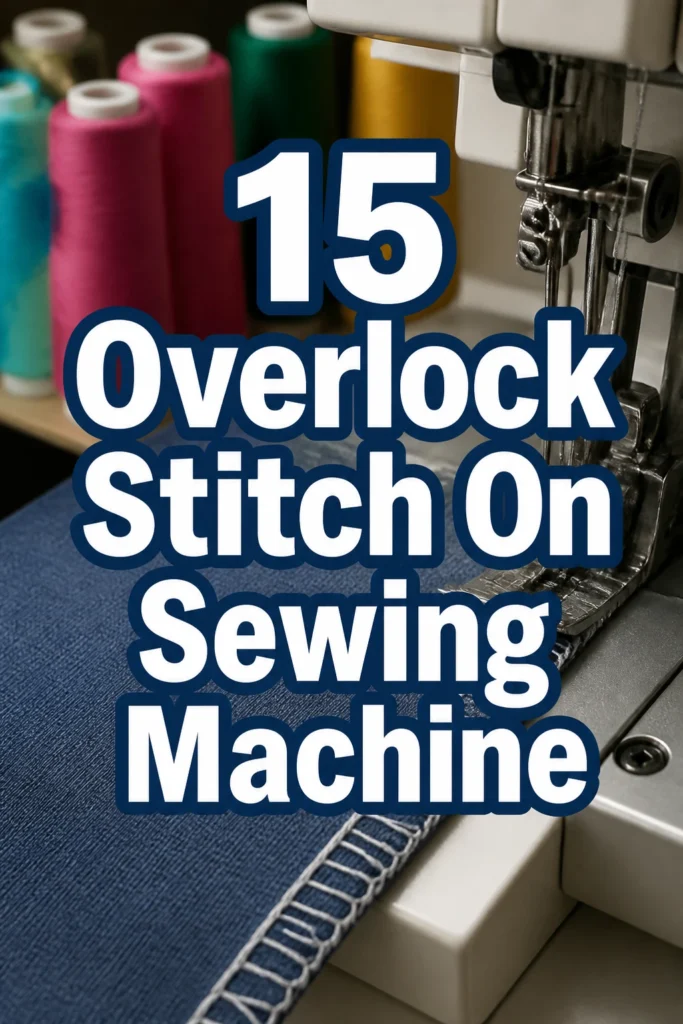
1. Faux Serger Seam Finish
- Best For: Woven fabrics like cotton, linen, or denim.
- Vibe: Clean, professional, store-bought.
- Why it works: Prevents fraying and gives a tidy edge without a dedicated serger.
This is your go-to for making those garment insides look just as good as the outside. You sew your seam, then trim the seam allowance down slightly. Then, run your machine’s overlock or zigzag stitch along the raw edge.
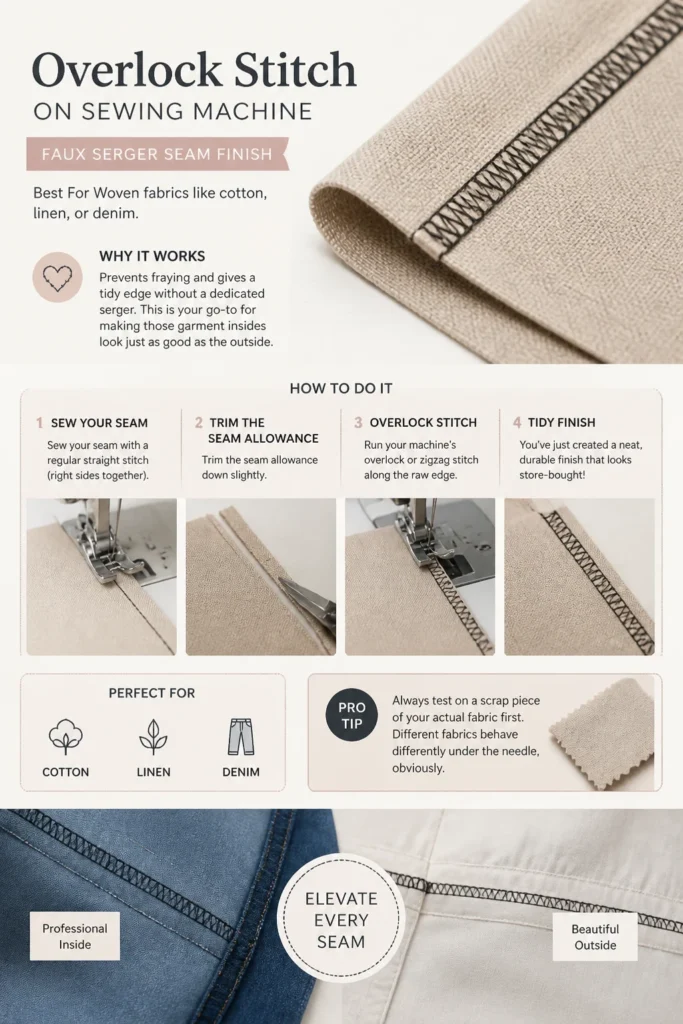
Think of it as giving your fabric a tiny, neat haircut. It really elevates the look of a simple cotton poplin blouse or a pair of linen trousers.
Pro Tip: Always test on a scrap piece of your actual fabric first. Different fabrics behave differently under the needle, obviously.
2. Decorative Edge on Scarves
- Best For: Lightweight, drapey fabrics such as chiffon, silk, or rayon.
- Vibe: Delicate, elegant, bespoke.
- Why it works: Adds a subtle, finished detail that looks high-end.
Forget a plain rolled hem. Use a slightly wider, denser overlock stitch to create a beautiful, almost lace-like edge on a silk charmeuse scarf. Choose a contrasting thread color for extra pop, like a deep sapphire thread on a creamy ivory silk.
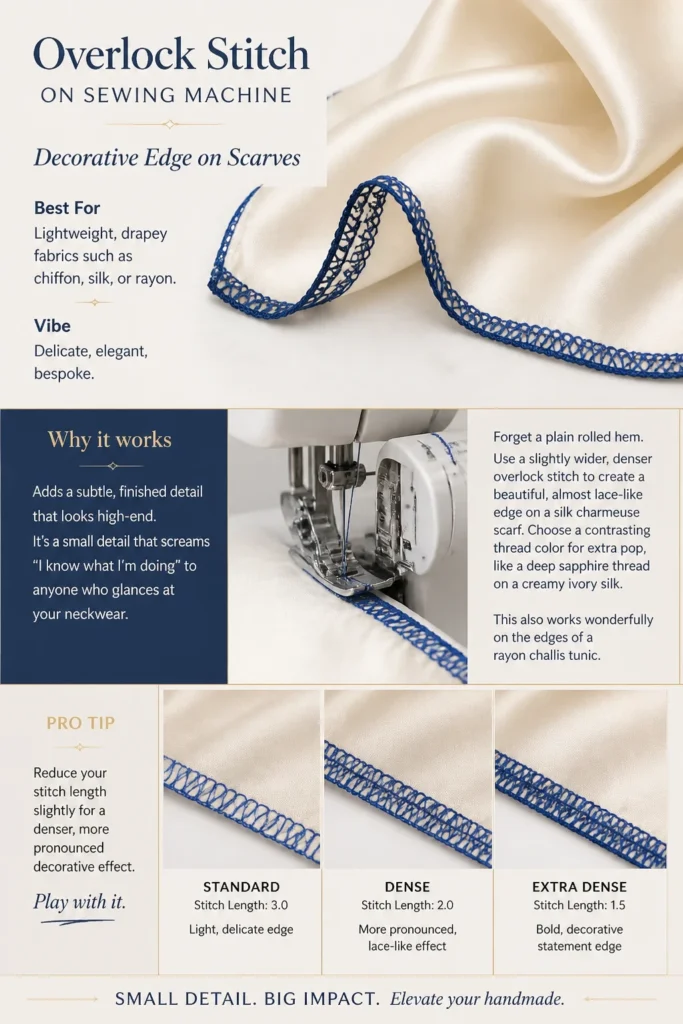
It’s a small detail that screams “I know what I’m doing” to anyone who glances at your neckwear. This also works wonderfully on the edges of a rayon challis tunic.
Pro Tip: Reduce your stitch length slightly for a denser, more pronounced decorative effect. Play with it.
3. Reinforcing Stress Points
- Best For: Areas needing extra strength like armholes, crotches, or pocket openings.
- Vibe: Durable, robust, long-lasting.
- Why it works: Adds significant strength to seams that get a lot of wear and tear.
Before you even stitch your main seam, use a narrow overlock stitch right on the edge of your seam allowance in high-stress zones. This is especially useful for a pair of sturdy denim jeans or a kid’s play clothes made from canvas.
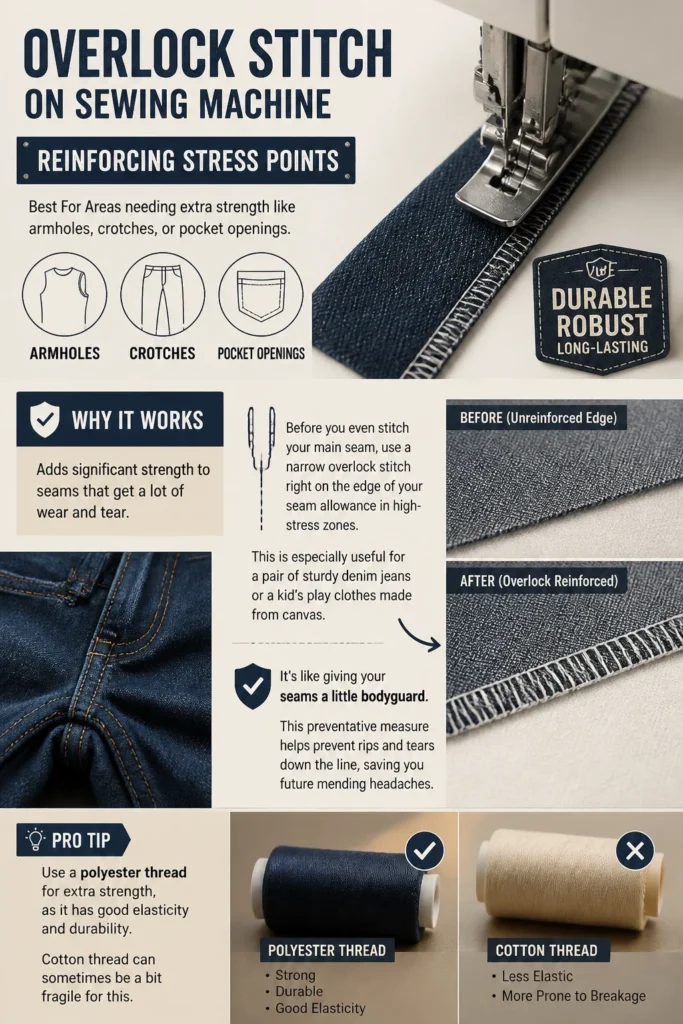
It’s like giving your seams a little bodyguard. This preventative measure helps prevent rips and tears down the line, saving you future mending headaches.
Pro Tip: Use a polyester thread for extra strength, as it has good elasticity and durability. Cotton thread can sometimes be a bit fragile for this.
4. Securing Knit Fabric Edges
- Best For: Stretchy knits like jersey, spandex, or fleece.
- Vibe: Smooth, flexible, comfortable.
- Why it works: Prevents knit fabrics from curling and unraveling, maintaining stretch.
Knit fabrics are notorious for curling up on themselves, making them a pain to sew. An overlock stitch, especially one designed for knits, will keep those edges flat and manageable. This is a lifesaver when working on a stretch jersey dress or a cozy fleece hoodie.
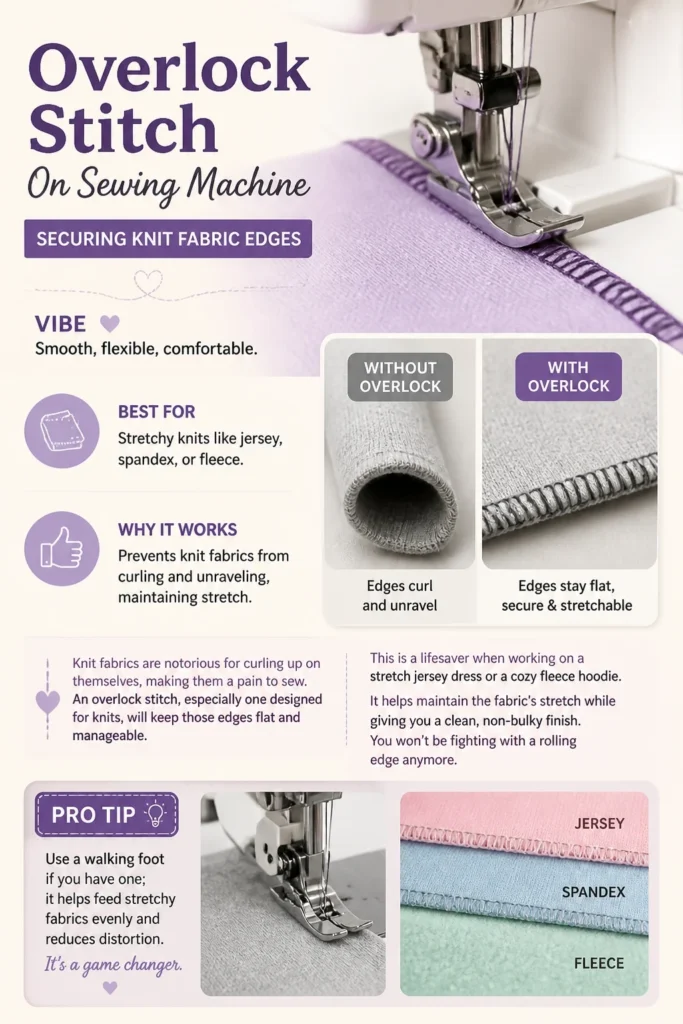
It helps maintain the fabric’s stretch while giving you a clean, non-bulky finish. You won’t be fighting with a rolling edge anymore.
Pro Tip: Use a walking foot if you have one; it helps feed stretchy fabrics evenly and reduces distortion. It’s a game changer.
5. Creating a Mock Flat-Felled Seam
- Best For: Casual wear like shirts, jackets, or bags.
- Vibe: Sporty, rugged, clean.
- Why it works: Mimics the look of a flat-felled seam without the intricate folding.
Sew your seam, press the seam allowance to one side, then use a wide overlock stitch to secure that allowance down. This looks fantastic on the side seams of a chambray shirt or the shoulder seams of a utility jacket made from twill.
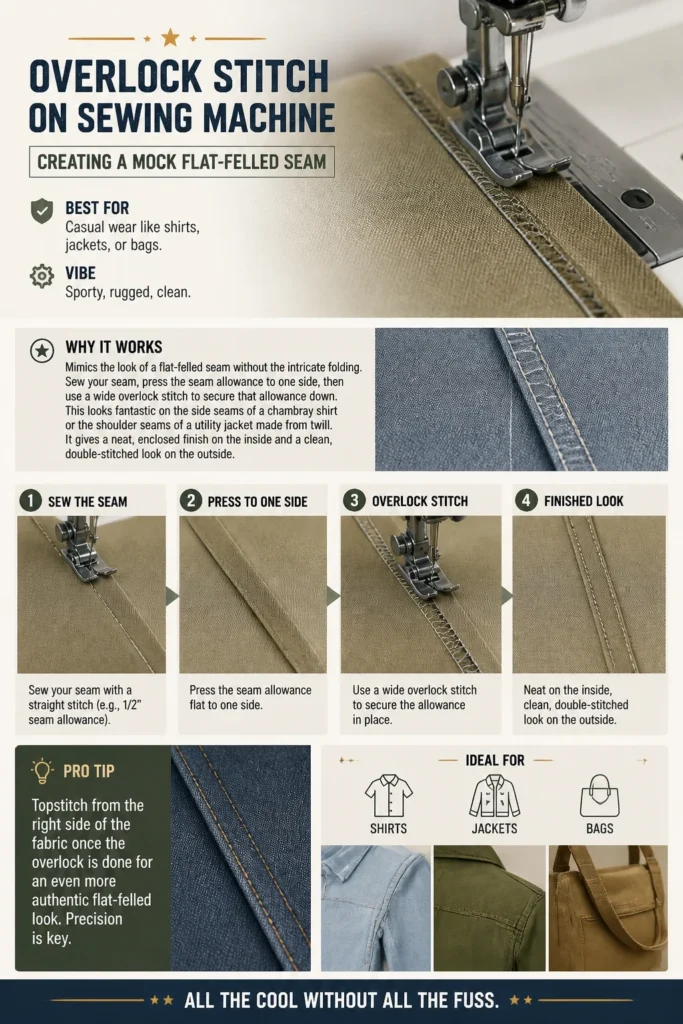
It gives a neat, enclosed finish on the inside and a clean, double-stitched look on the outside. All the cool without all the fuss.
Pro Tip: Topstitch from the right side of the fabric once the overlock is done for an even more authentic flat-felled look. Precision is key.
6. Finishing Raw Edges on Linings
- Best For: Lining fabrics in jackets, coats, or skirts.
- Vibe: Polished, concealed, intentional.
- Why it works: Keeps lining edges neat and prevents fraying inside garments.
Even if your lining is hidden, a clean finish matters. Use a narrow overlock stitch on the raw edges of your acetate lining or rayon bemberg pieces. It’s a small detail that makes a big difference in the garment’s overall quality.
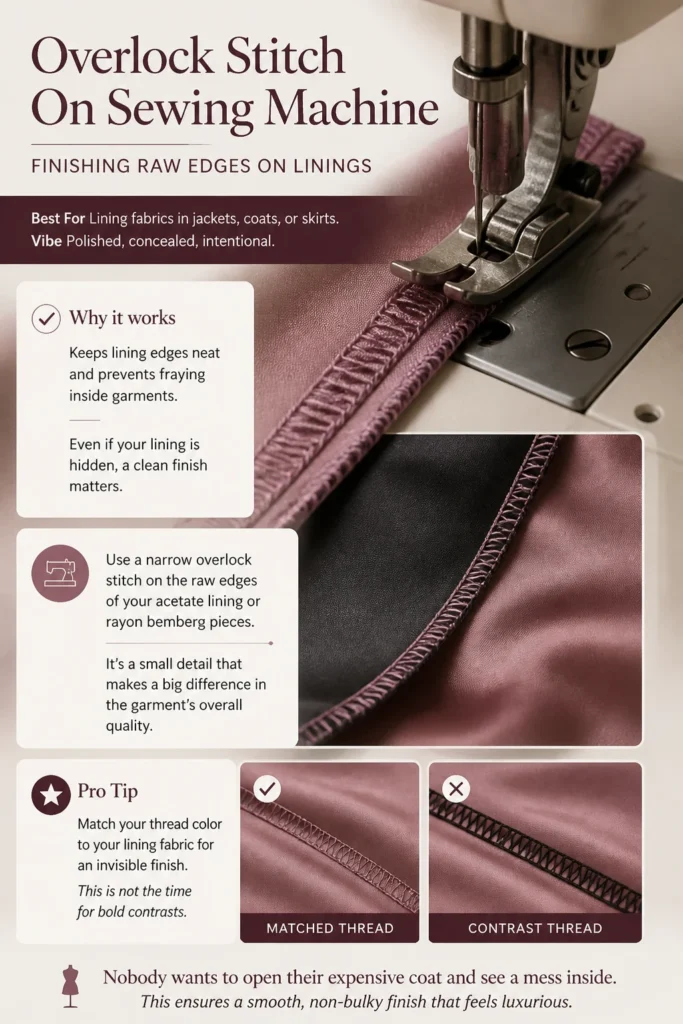
Nobody wants to open their expensive coat and see a mess inside. This ensures a smooth, non-bulky finish that feels luxurious.
Pro Tip: Match your thread color to your lining fabric for an invisible finish. This is not the time for bold contrasts.
7. Hemming Lightweight Fabrics
- Best For: Sheer fabrics, delicate silks, or fine cottons.
- Vibe: Airy, light, refined.
- Why it works: Provides a subtle, almost invisible hem that doesn’t add bulk.
Instead of a traditional double-fold hem that can look bulky on sheer fabrics, use a very narrow, dense overlock stitch. This creates a delicate edge, perfect for a chiffon evening gown or a voile curtain panel.
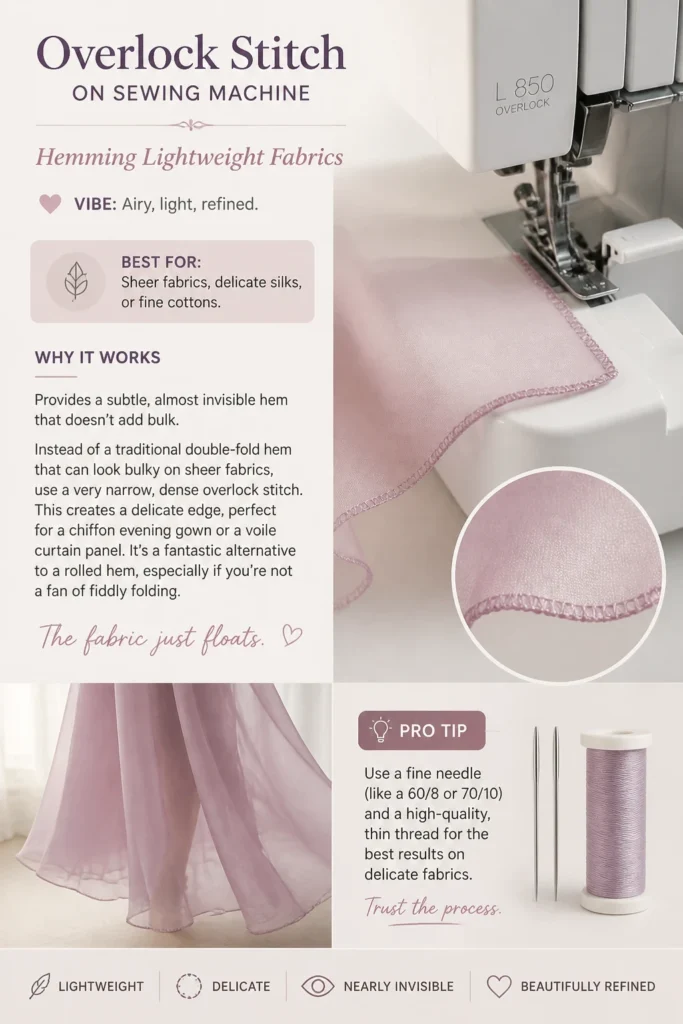
It’s a fantastic alternative to a rolled hem, especially if you’re not a fan of fiddly folding. The fabric just floats.
Pro Tip: Use a fine needle (like a 60/8 or 70/10) and a high-quality, thin thread for the best results on delicate fabrics. Trust the process.
8. Creating Ruffled Edges
- Best For: Adding a playful touch to garments or home decor.
- Vibe: Whimsical, romantic, feminine.
- Why it works: Gathers fabric as it finishes the edge, creating an instant ruffle.
By adjusting your differential feed (if your machine has it) or simply stretching your fabric slightly as you sew, an overlock stitch can create a beautiful, subtle ruffle. This works wonders on the edge of a cotton lawn skirt or a decorative throw pillow made from linen.
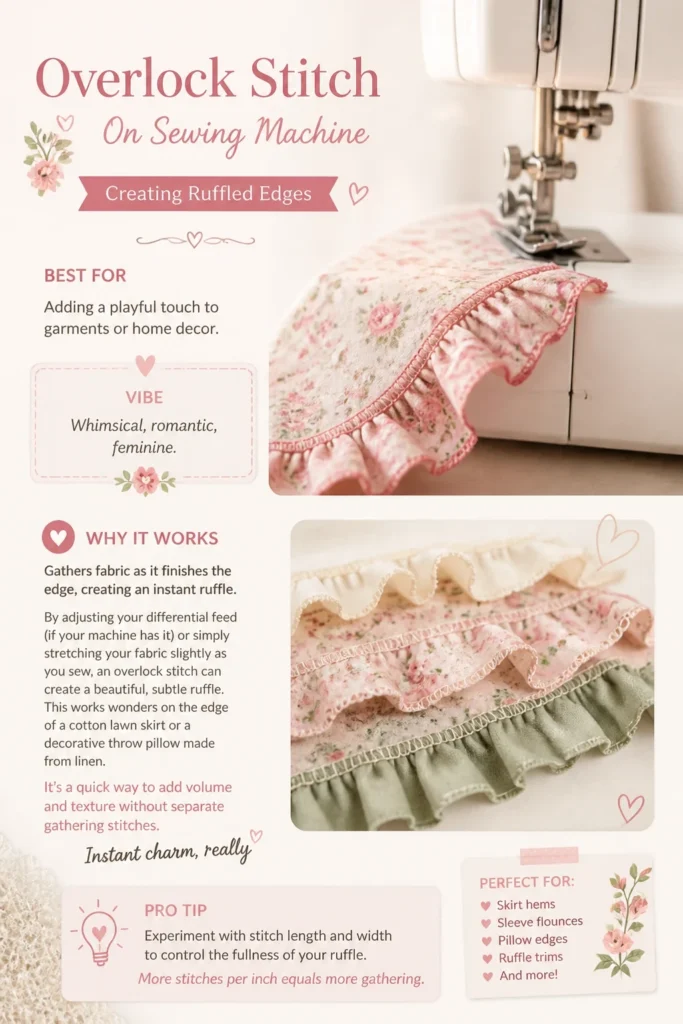
It’s a quick way to add volume and texture without separate gathering stitches. Instant charm, really.
Pro Tip: Experiment with stitch length and width to control the fullness of your ruffle. More stitches per inch equals more gathering.
9. Attaching Lace or Trim
- Best For: Embellishing garments, lingerie, or craft projects.
- Vibe: Intricate, elegant, personalized.
- Why it works: Securely attaches trim while finishing the raw edge of the main fabric.
Position your lace trim over the raw edge of your fabric and use a narrow overlock stitch to attach it. This is perfect for adding a delicate touch to the hem of a silk slip dress or the neckline of a cotton camisole.
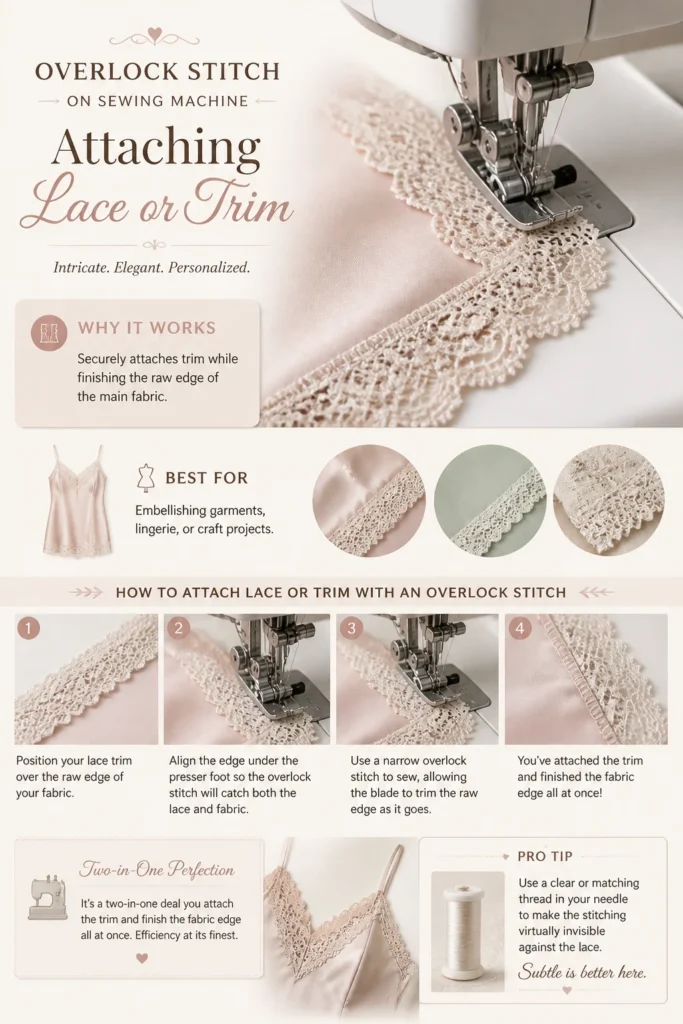
It’s a two-in-one deal: you attach the trim and finish the fabric edge all at once. Efficiency at its finest.
Pro Tip: Use a clear or matching thread in your needle to make the stitching virtually invisible against the lace. Subtle is better here.
10. Repairing Frayed Seams
- Best For: Giving new life to beloved but worn items.
- Vibe: Restored, cherished, sustainable.
- Why it works: Stops further unraveling and reinforces weakened seams.
Got a favorite pair of cotton pajamas with a seam that’s seen better days? Trim away the worst of the fraying, then use an overlock stitch right over the damaged area. It will stabilize the fabric and prevent the fray from spreading.
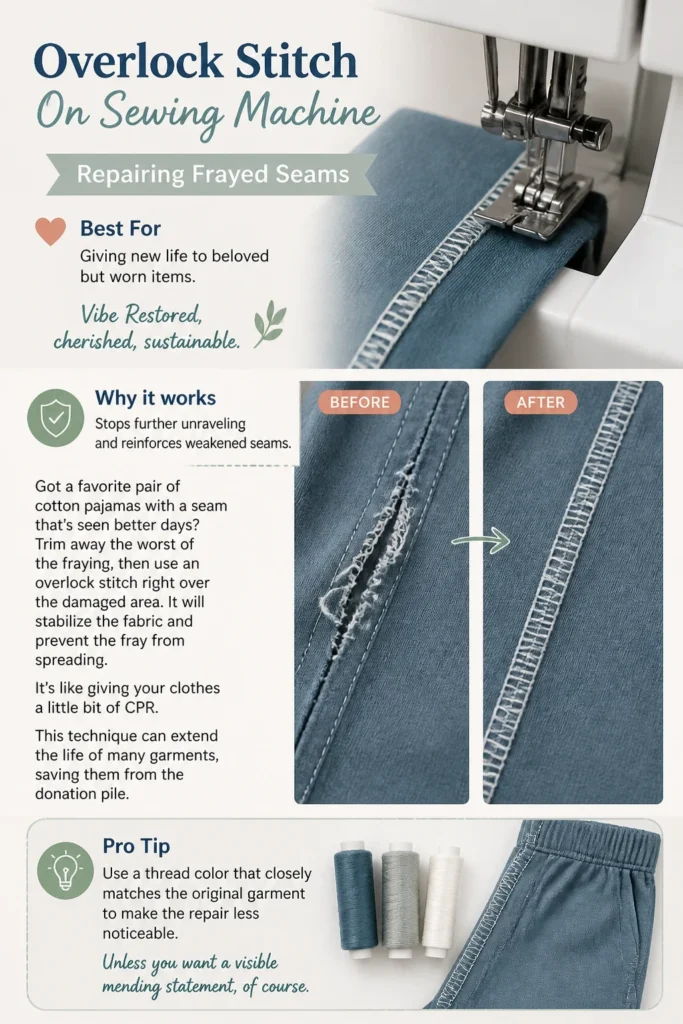
It’s like giving your clothes a little bit of CPR. This technique can extend the life of many garments, saving them from the donation pile.
Pro Tip: Use a thread color that closely matches the original garment to make the repair less noticeable. Unless you want a visible mending statement, of course.
11. Finishing Edges on Bags and Pouches
- Best For: Craft projects, tote bags, cosmetic pouches.
- Vibe: Neat, durable, handcrafted.
- Why it works: Creates clean, strong interior seams for items that get a lot of handling.
For a professional-looking interior in your handmade canvas tote bag or a small zippered pouch made from quilting cotton, an overlock stitch is your best friend. It keeps those raw edges from shedding threads all over your belongings.
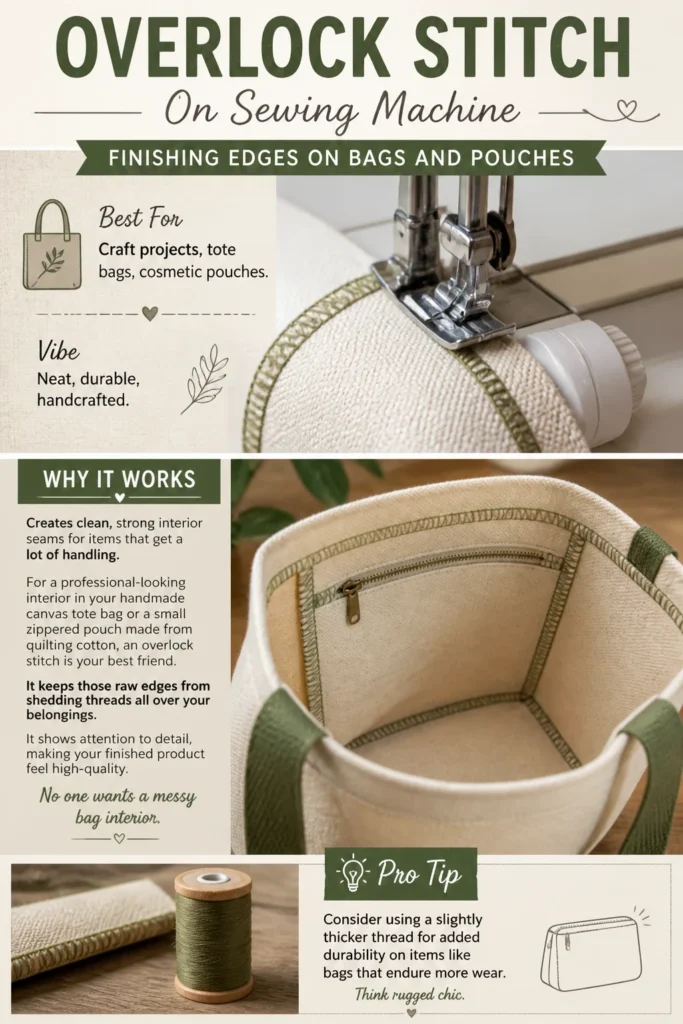
It shows attention to detail, making your finished product feel high-quality. No one wants a messy bag interior.
Pro Tip: Consider using a slightly thicker thread for added durability on items like bags that endure more wear. Think rugged chic.
12. Creating a Lettuce Edge
- Best For: Knit garments, children’s clothing, or activewear.
- Vibe: Playful, stretchy, fun.
- Why it works: Stretches and finishes the fabric edge simultaneously, creating a wavy effect.
Similar to ruffles but with a distinct wavy look, the lettuce edge is achieved by stretching knit fabric as you sew with an overlock stitch. This is super cute on the hem of a jersey t-shirt or the sleeves of a baby onesie made from rib knit.
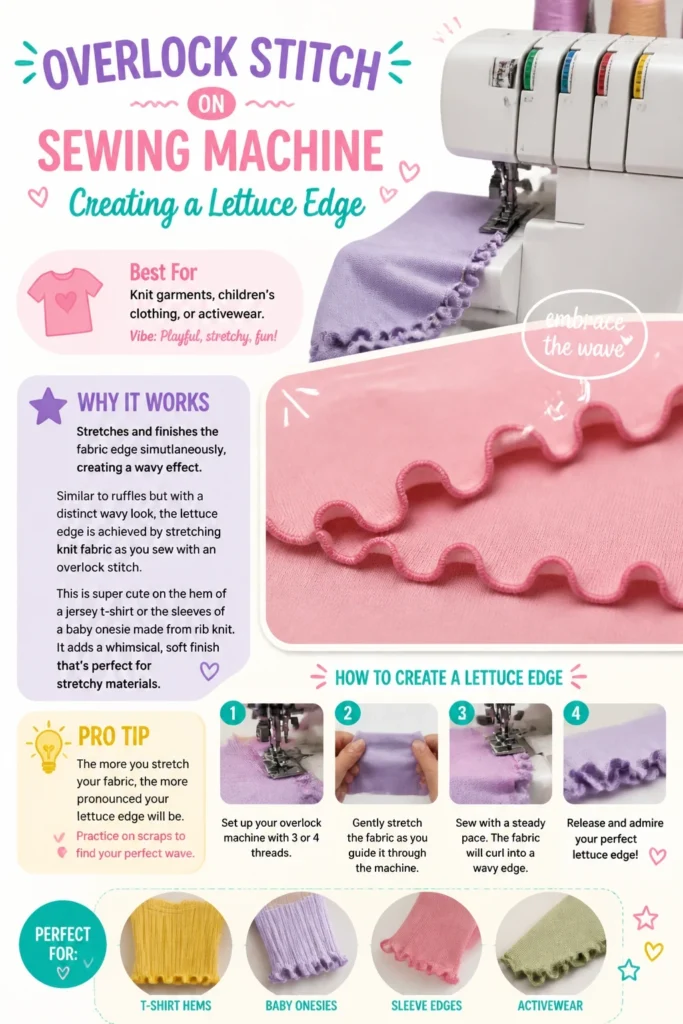
It adds a whimsical, soft finish that’s perfect for stretchy materials. Embrace the wave.
Pro Tip: The more you stretch your fabric, the more pronounced your lettuce edge will be. Practice on scraps to find your perfect wave.
13. Enclosing Raw Edges on Interfacings
- Best For: Collars, cuffs, plackets, or waistbands in tailored garments.
- Vibe: Structured, crisp, precise.
- Why it works: Prevents fraying of interfacing, keeping the garment structure clean.
When you’re using fusible interfacing, especially on woven fabrics, the edges can fray and become bulky. An overlock stitch on the raw edge of your cotton shirting interfacing for a collar will keep everything neat and contained.
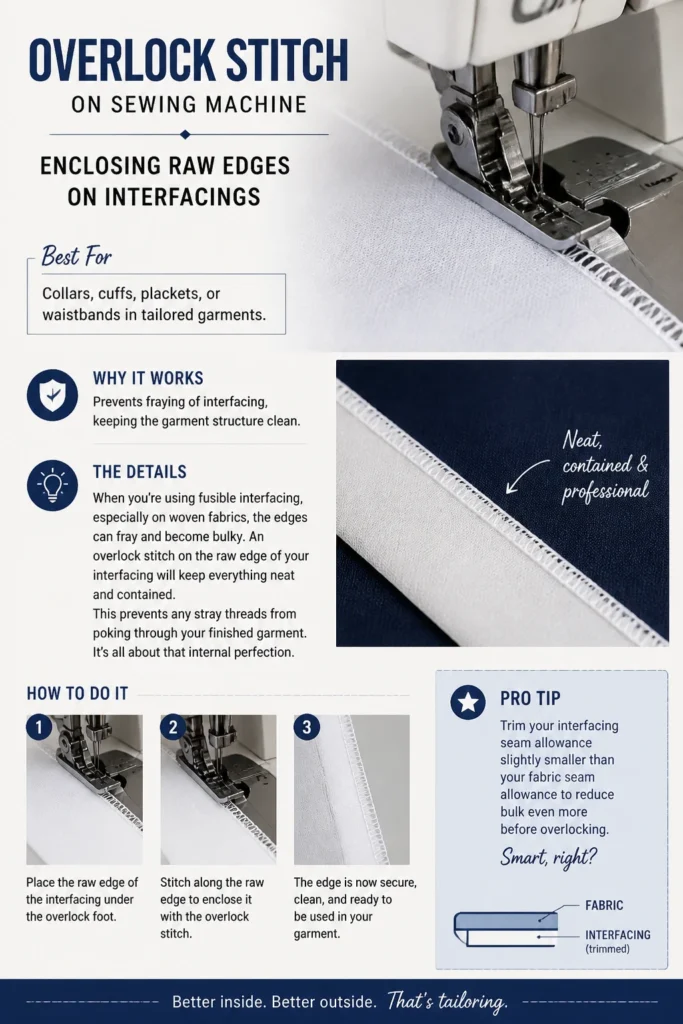
This prevents any stray threads from poking through your finished garment. It’s all about that internal perfection.
Pro Tip: Trim your interfacing seam allowance slightly smaller than your fabric seam allowance to reduce bulk even more before overlocking. Smart, right?
14. Quick Seam Allowance Trimming and Finishing
- Best For: Speed and efficiency in garment construction.
- Vibe: Fast, neat, practical.
- Why it works: Combines trimming and finishing into one efficient step.
If your machine has a side cutter attachment, or if you’re just really good with scissors, you can trim your seam allowance and overlock it in one swift motion. This is a huge time-saver for repetitive tasks on a batch of reusable shopping bags or a set of basic cotton pillowcases.
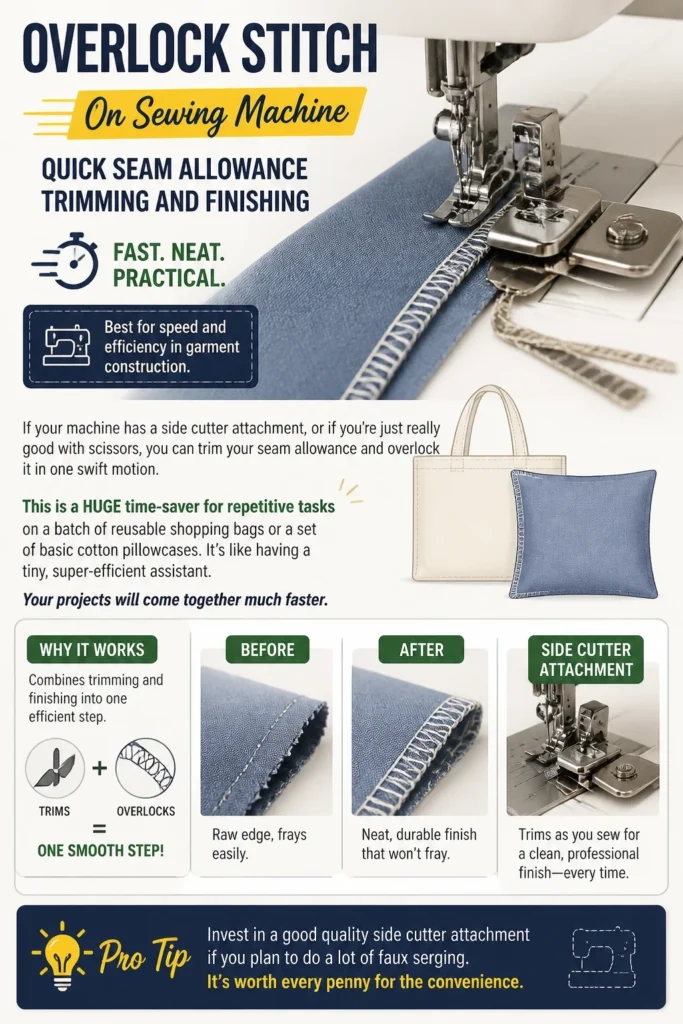
It’s like having a tiny, super-efficient assistant. Your projects will come together much faster.
Pro Tip: Invest in a good quality side cutter attachment if you plan to do a lot of faux serging. It’s worth every penny for the convenience.
15. Creating a Mock French Seam
- Best For: Sheer or delicate fabrics where internal seams need to be completely enclosed.
- Vibe: Elegant, invisible, couture.
- Why it works: Encloses all raw edges for a beautiful, clean finish on both sides.
Sew your first seam with wrong sides together, trim the seam allowance, then press it open. Then, fold right sides together, encasing the raw edge, and use a narrow overlock stitch to enclose everything. This is perfect for a sheer organza overlay or the delicate seams of a silk blouse.
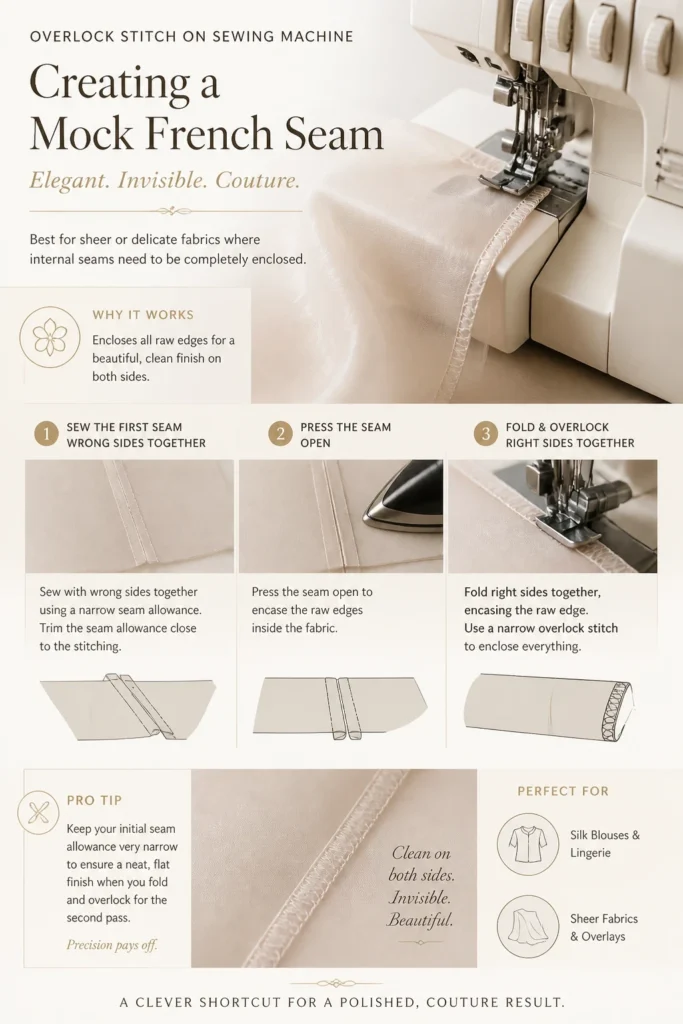
It gives you the clean look of a French seam without all the tiny, precise folding. It’s a clever shortcut for a polished result.
Pro Tip: Keep your initial seam allowance very narrow to ensure a neat, flat finish when you fold and overlock for the second pass. Precision pays off.
Our Top Recommended Finds
- A sturdy walking foot: Essential for handling tricky knits and multiple layers smoothly.
- A good quality set of sharp fabric shears: Clean cuts mean cleaner overlock stitches.
- A variety pack of polyester all-purpose thread: You’ll need different colors, and polyester offers strength and durability.
Which of these will you try first?
See? Your trusty sewing machine is a total powerhouse, even without a fancy serger. With a few smart stitches, you can elevate your makes from “homemade” to “handmade chic.” So, grab your fabric scraps and get experimenting. Which technique are you going to conquer first?