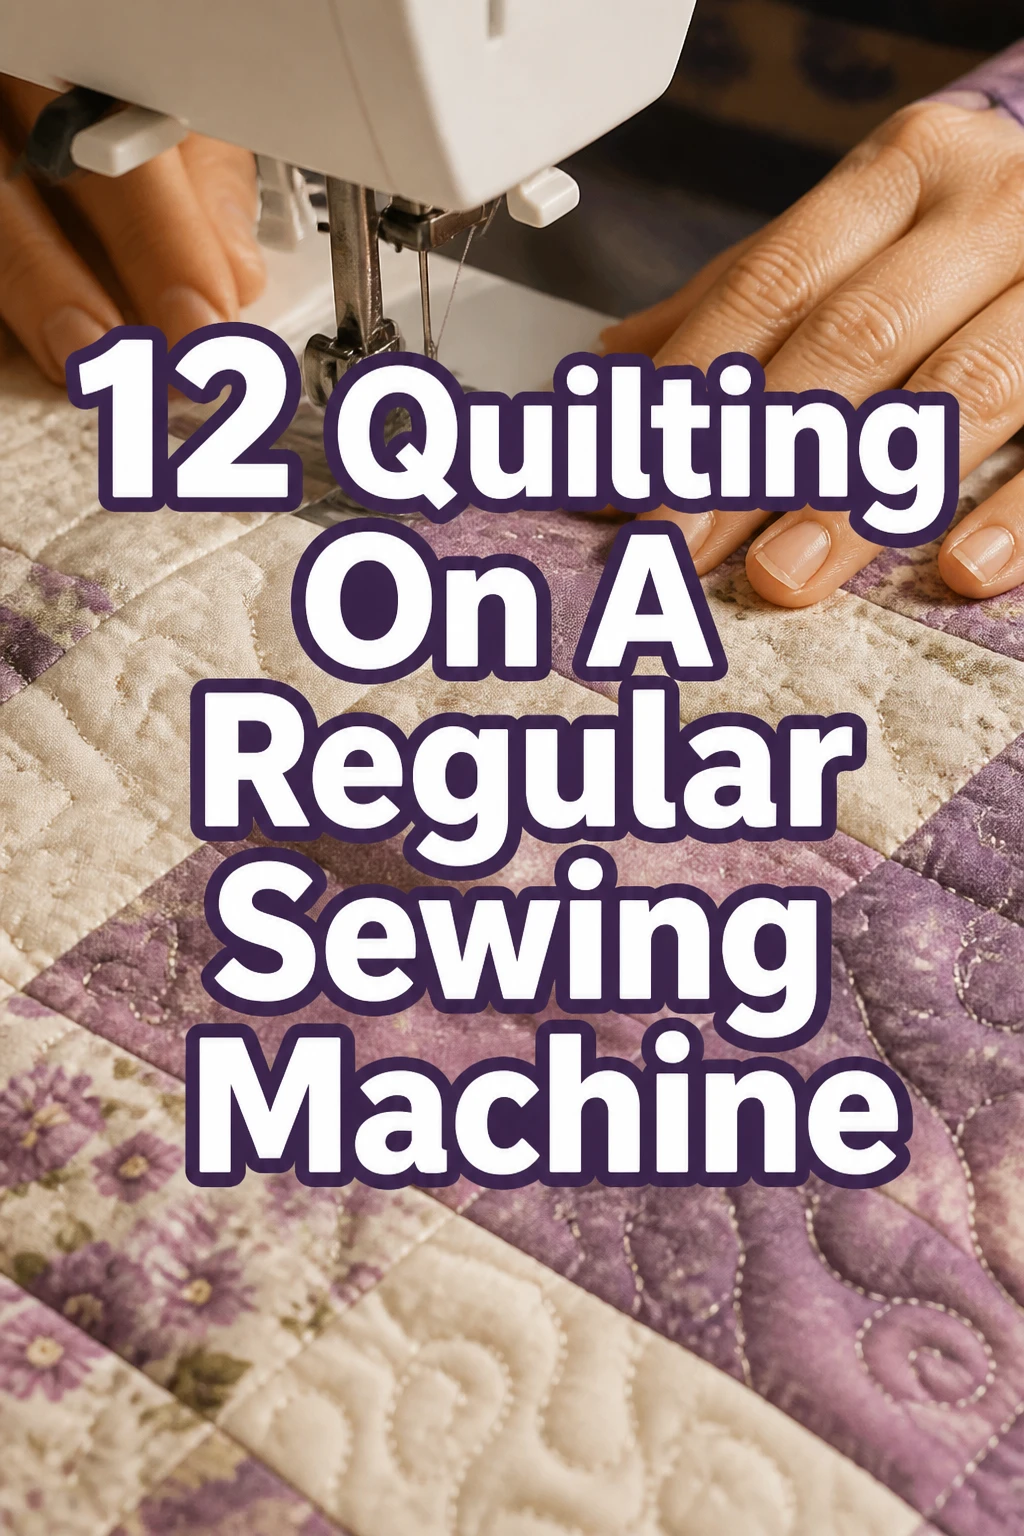
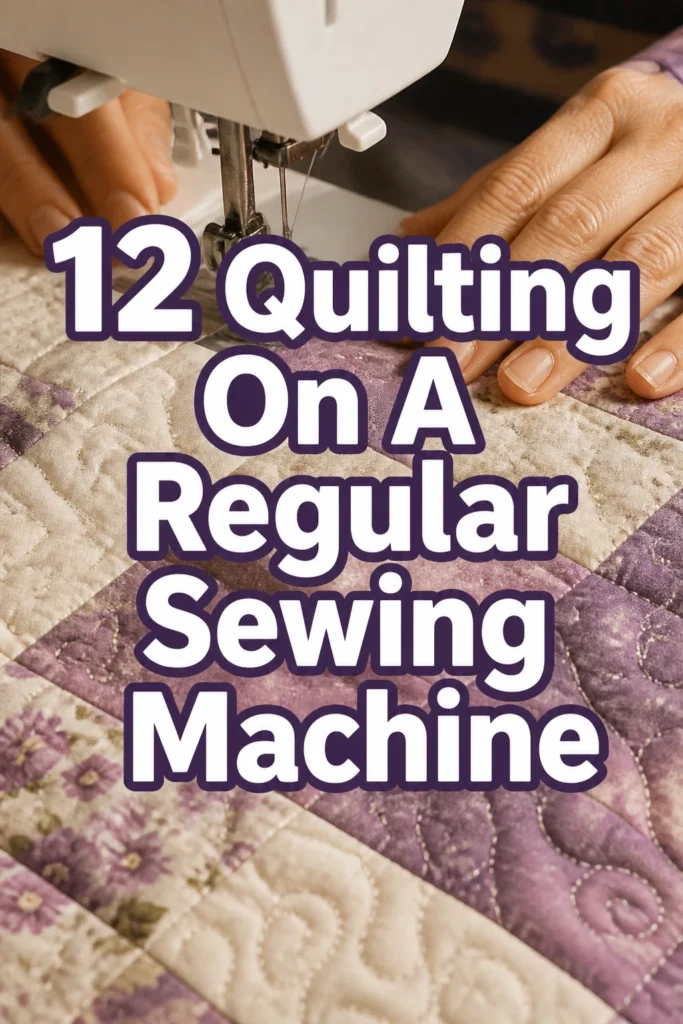
12 Quilting On A Regular Sewing Machine
Okay, real talk for a sec. You’ve seen those gorgeous quilts, right? The ones that look like they came straight from a fancy studio with a mega-expensive longarm machine.
But your sewing machine is, well, just a regular sewing machine. And you’re wondering if your quilting dreams are doomed.
Spoiler alert: They are absolutely not! We’re here to spill the tea on how to get your quilt game strong, no special equipment needed.
1. Walking Foot Wonders
- Best For: Beginner quilters, straight lines, even fabric feeding
- Vibe: Controlled, precise, no-fuss
- Why it works: It feeds all layers evenly, preventing puckers and shifting.
Seriously, if you don’t have one, get a walking foot. This gadget is your new best friend for keeping those quilt sandwiches (top, batting, backing) perfectly aligned. It’s like having an extra set of hands, minus the awkward conversation.
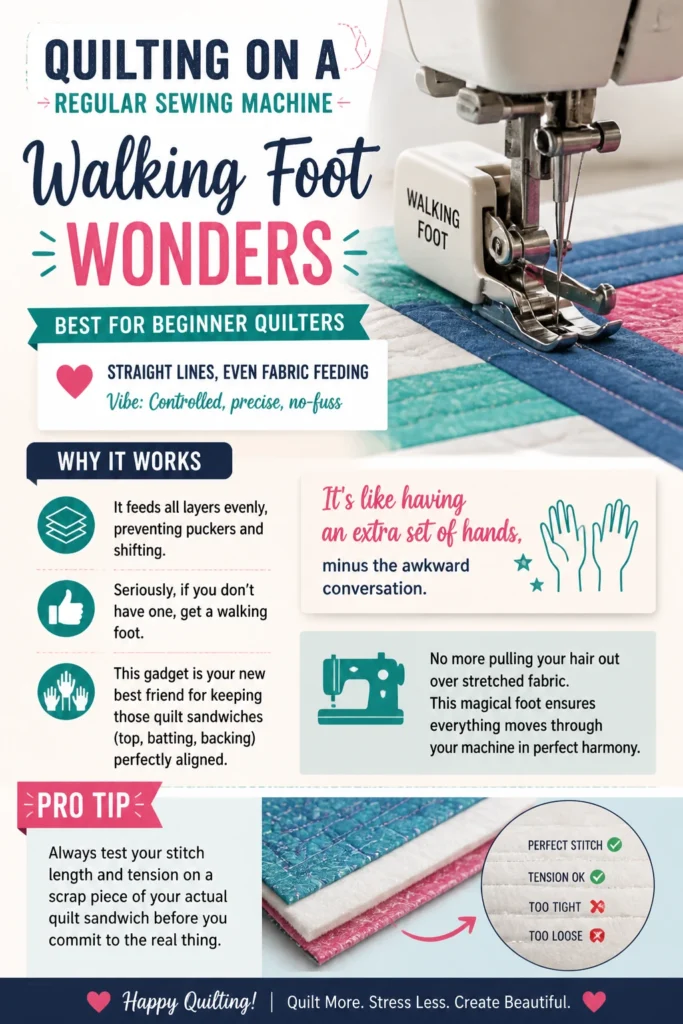
No more pulling your hair out over stretched fabric. This magical foot ensures everything moves through your machine in perfect harmony.
Pro Tip: Always test your stitch length and tension on a scrap piece of your actual quilt sandwich before you commit to the real thing.
2. Free-Motion Fun with Practice
- Best For: Adventurous quilters, custom designs, modern aesthetics
- Vibe: Artistic, free-flowing, unique
- Why it works: You gain full control over the fabric movement, allowing for intricate designs.
Yes, you can do free-motion quilting on a regular machine. You’ll need a darning foot or free-motion foot, and you’ll drop your feed dogs. Practice drawing loops, swirls, and stipples on paper first.
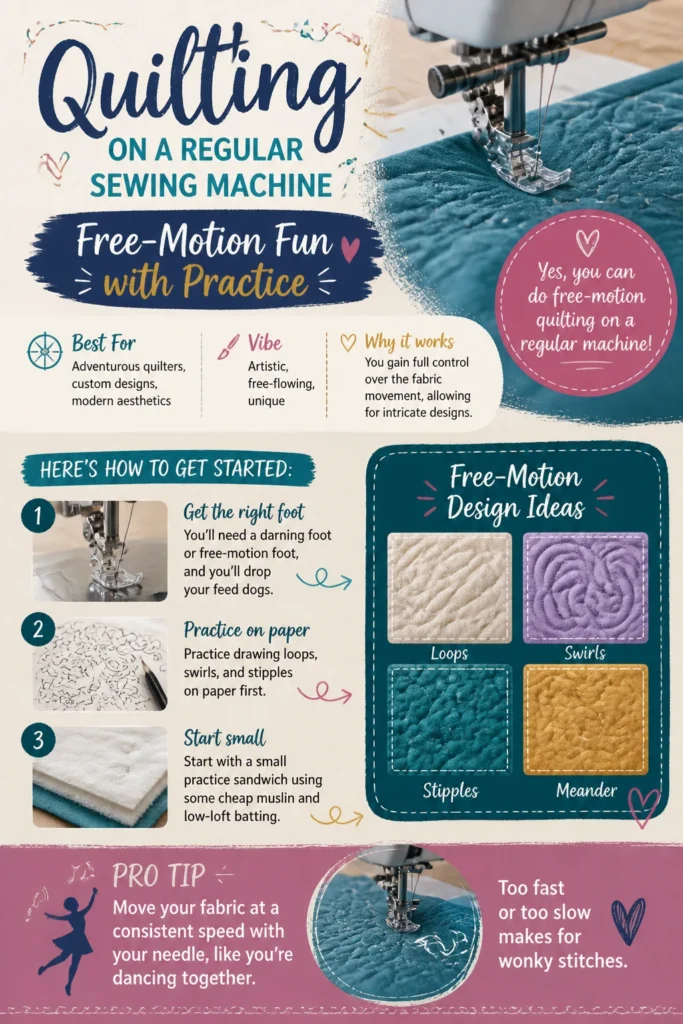
Start with a small practice sandwich using some cheap muslin and low-loft batting. It’s all about building that muscle memory.
Pro Tip: Move your fabric at a consistent speed with your needle, like you’re dancing together. Too fast or too slow makes for wonky stitches.
3. Stitch-in-the-Ditch Magic
- Best For: Emphasizing piecing, classic look, beginners
- Vibe: Clean, traditional, subtle
- Why it works: It defines your pieced blocks without distracting from the fabric.
This technique is all about quilting right in the seam lines of your pieced blocks. It gives a lovely, defined look without screaming “I’M QUILTED!” Use a stitch-in-the-ditch foot if you have one; it has a guide that keeps you perfectly aligned.
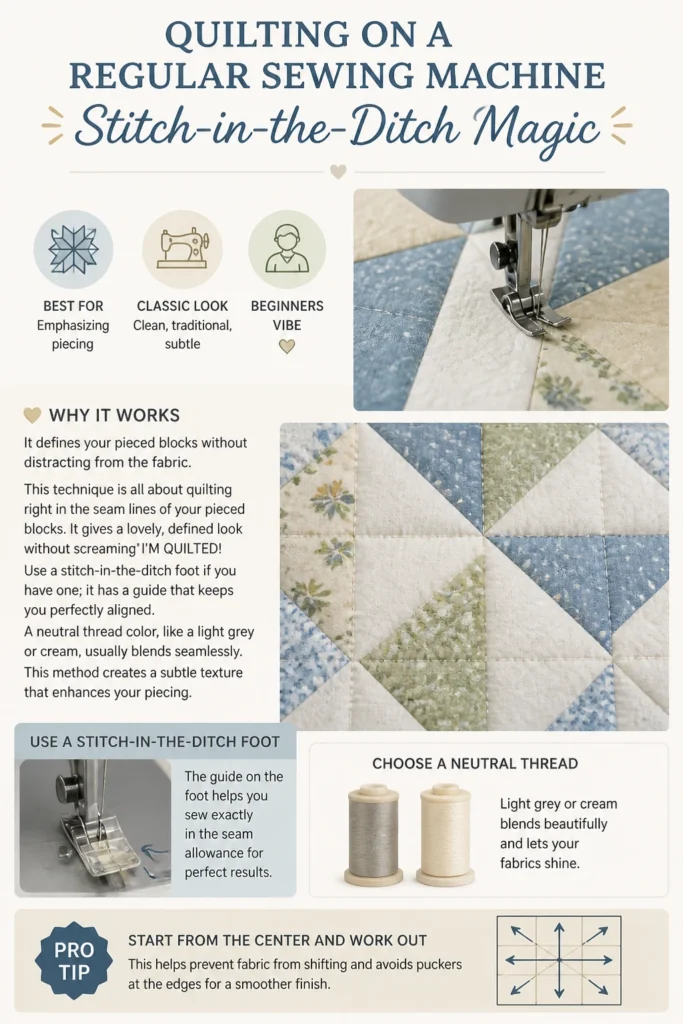
A neutral thread color, like a light grey or cream, usually blends seamlessly. This method creates a subtle texture that enhances your piecing.
Pro Tip: Start from the center of your quilt and work your way out to avoid pushing fabric to the edges and creating puckers.
4. Echo Quilting Elegance
- Best For: Highlighting specific motifs, adding texture, modern quilts
- Vibe: Graphic, dimensional, contemporary
- Why it works: It creates a halo effect around a shape, making it pop.
Echo quilting is essentially free-motion quilting, but you’re just following the contours of a shape, usually about a quarter-inch or half-inch away. Think of it as drawing ripples around a stone. This is fantastic for appliqué elements or a striking central fabric panel.
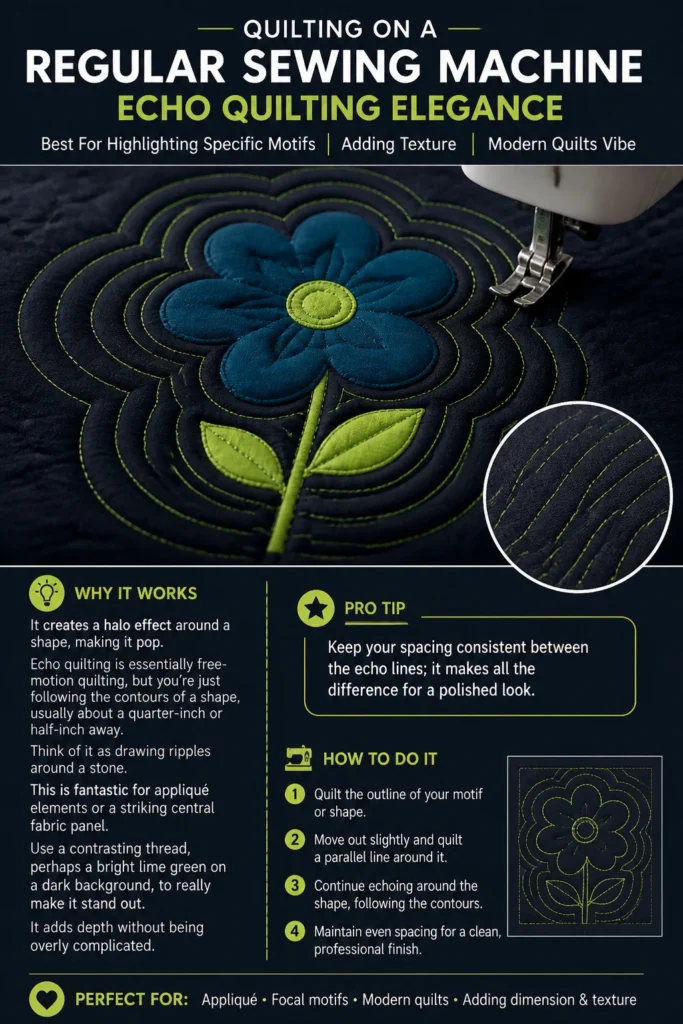
Use a contrasting thread, perhaps a bright lime green on a dark background, to really make it stand out. It adds depth without being overly complicated.
Pro Tip: Keep your spacing consistent between the echo lines; it makes all the difference for a polished look.
5. Straight Line Sophistication
- Best For: Modern quilts, minimalist designs, speed
- Vibe: Modern, crisp, geometric
- Why it works: Simple lines create powerful visual impact and texture.
Who says simple can’t be stunning? Straight lines are incredibly versatile. Use your walking foot and a quilting guide bar that attaches to your foot to keep your lines parallel.
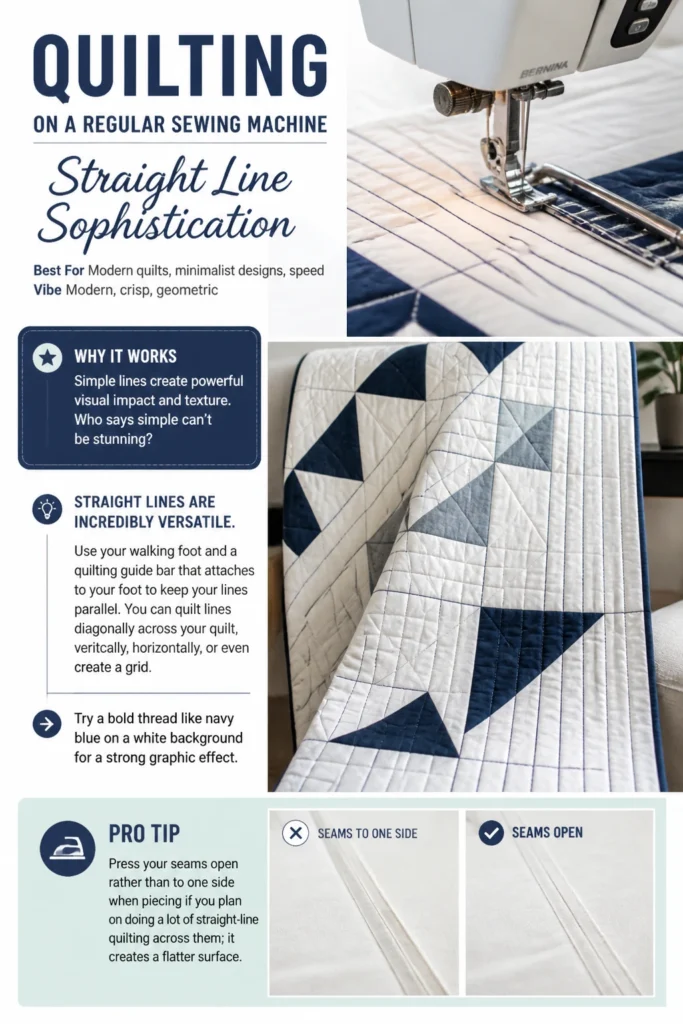
You can quilt lines diagonally across your quilt, vertically, horizontally, or even create a grid. Try a bold thread like navy blue on a white background for a strong graphic effect.
Pro Tip: Press your seams open rather than to one side when piecing if you plan on doing a lot of straight-line quilting across them; it creates a flatter surface.
6. Binding Brilliance
- Best For: Finishing quilts, adding a polished edge, all skill levels
- Vibe: Professional, complete, tidy
- Why it works: It frames your quilt and protects the raw edges.
Okay, this isn’t technically “quilting,” but a well-done binding makes your regular machine quilt look like a million bucks. Cut your binding strips at 2.5 inches wide, then sew them to the front of your quilt.
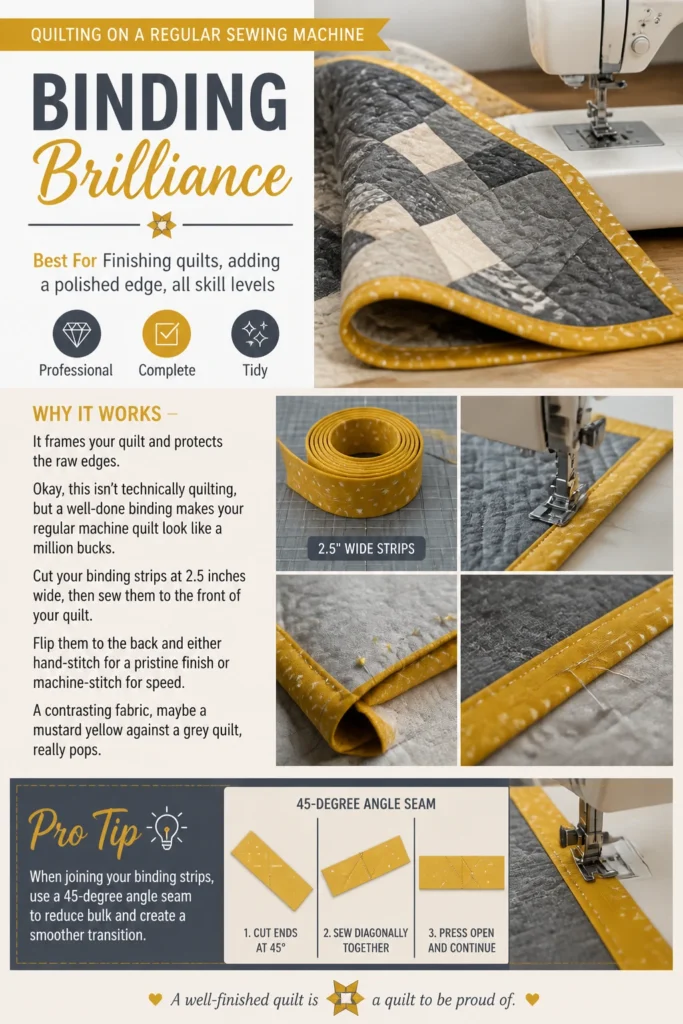
Flip them to the back and either hand-stitch for a pristine finish or machine-stitch for speed. A contrasting fabric, maybe a mustard yellow against a grey quilt, really pops.
Pro Tip: When joining your binding strips, use a 45-degree angle seam to reduce bulk and create a smoother transition.
7. Quilt-as-You-Go Queen
- Best For: Large quilts, managing bulk, small sewing spaces
- Vibe: Practical, achievable, less stressful
- Why it works: You quilt smaller sections individually, then join them.
Got a queen-sized quilt calling your name but a tiny sewing machine throat? Quilt-as-you-go is your savior. You quilt individual blocks or rows, then join those quilted pieces together.
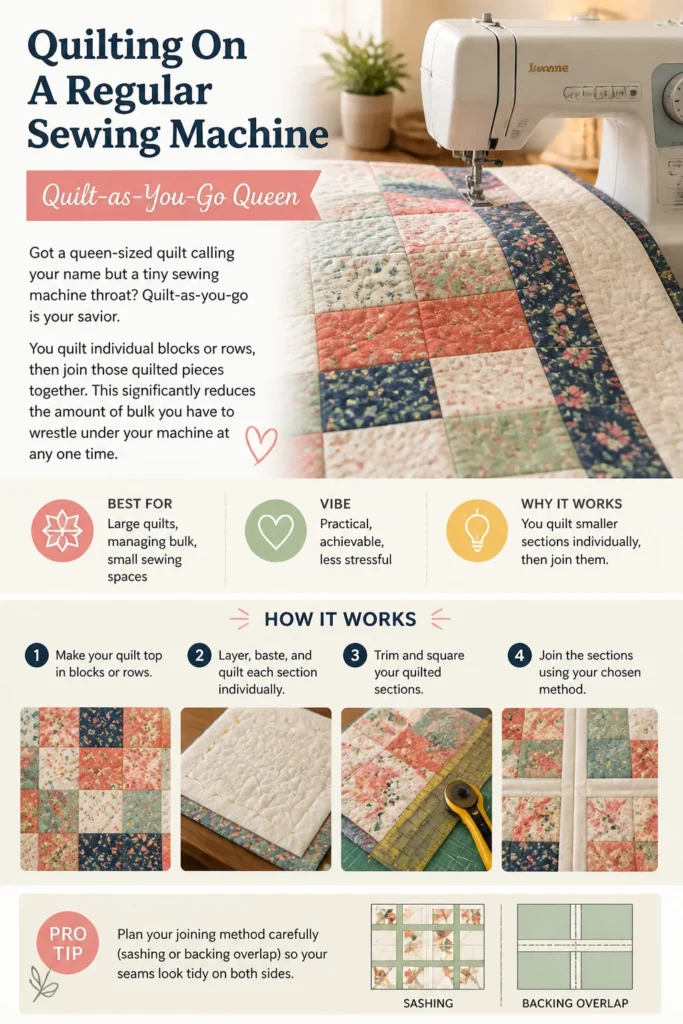
This significantly reduces the amount of bulk you have to wrestle under your machine at any one time. It’s brilliant for that huge throw blanket you’ve been dreaming of.
Pro Tip: Plan your joining method carefully (sashing or backing overlap) so your seams look tidy on both sides.
8. Big Stitch Beauty
- Best For: Adding texture, rustic charm, easy hand-look
- Vibe: Hand-stitched, cozy, artisanal
- Why it works: Creates a decorative, hand-quilted appearance with your machine.
Love the look of hand quilting but not the time commitment? Use a thicker thread, like a 30wt cotton or even embroidery floss with a larger needle (a Topstitch 90/14 works well). Set your machine to a longer stitch length, around 3.5 to 4.0mm.
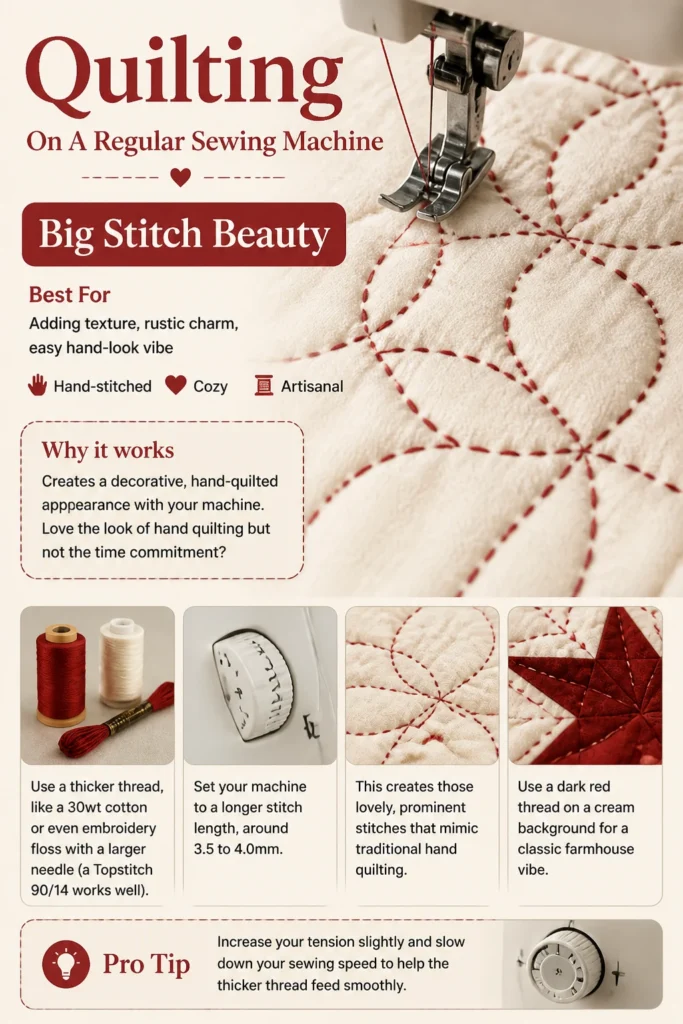
This creates those lovely, prominent stitches that mimic traditional hand quilting. Use a dark red thread on a cream background for a classic farmhouse vibe.
Pro Tip: Increase your tension slightly and slow down your sewing speed to help the thicker thread feed smoothly.
9. Decorative Stitch Delights
- Best For: Adding unique embellishments, personalizing projects, using machine features
- Vibe: Whimsical, personalized, creative
- Why it works: Utilizes your machine’s built-in stitches for quilting patterns.
Your machine probably has a bunch of decorative stitches you’ve never touched, right? Now’s their time to shine! Use a walking foot and experiment with wavy lines, little hearts, or leaf patterns.
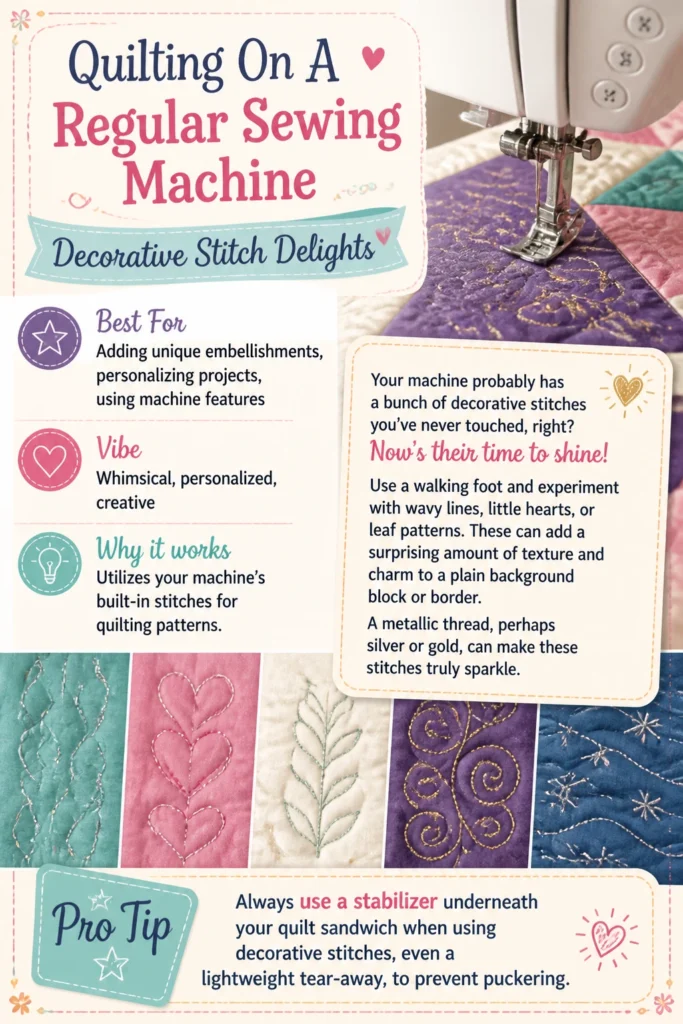
These can add a surprising amount of texture and charm to a plain background block or border. A metallic thread, perhaps silver or gold, can make these stitches truly sparkle.
Pro Tip: Always use a stabilizer underneath your quilt sandwich when using decorative stitches, even a lightweight tear-away, to prevent puckering.
10. Panel Play
- Best For: Quick projects, showcasing fabric, beginners
- Vibe: Focused, illustrative, story-driven
- Why it works: The central design guides your quilting, making it easy to enhance.
Got a gorgeous fabric panel? Don’t just piece a border around it and call it a day. Use the existing lines and motifs in the panel as your quilting guide.
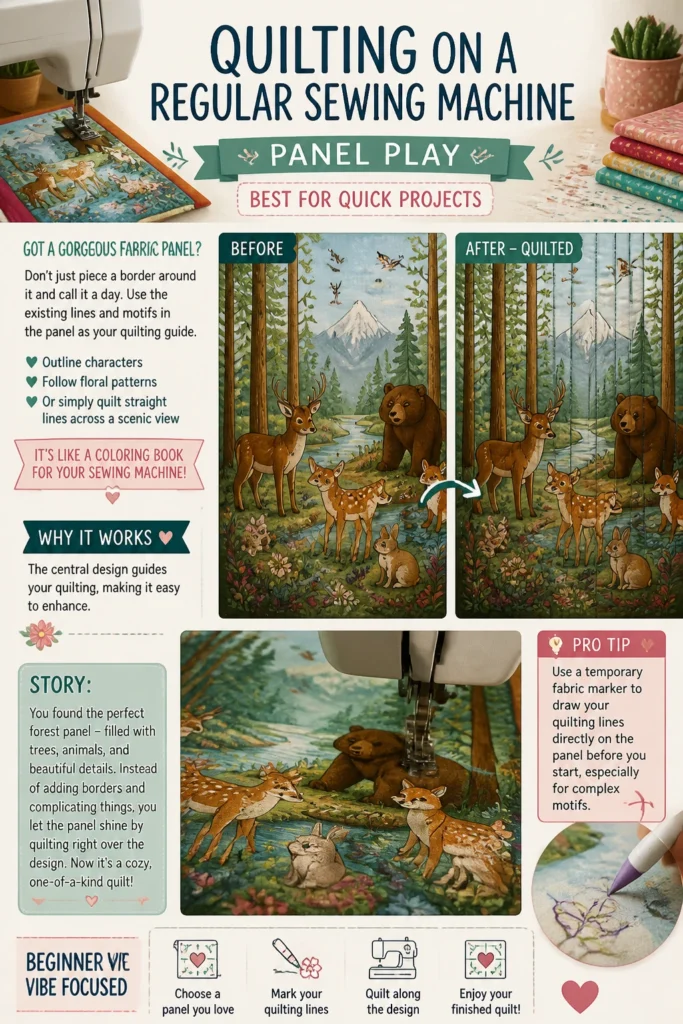
Outline characters, follow floral patterns, or simply quilt straight lines across a scenic view. It’s like a coloring book for your sewing machine. A panel featuring a large forest scene could be quilted with vertical lines mimicking trees.
Pro Tip: Use a temporary fabric marker to draw your quilting lines directly on the panel before you start, especially for complex motifs.
11. Appliqué Accents
- Best For: Adding dimension, showcasing small fabric pieces, personalized gifts
- Vibe: Layered, artistic, charming
- Why it works: Appliqué shapes can be quilted around or within, adding visual interest.
Appliqué isn’t just for adding shapes; it’s also a fantastic quilting opportunity. Once your appliqué pieces (like cute little fabric birds or stars) are secured, you can quilt around them, echoing their shape.
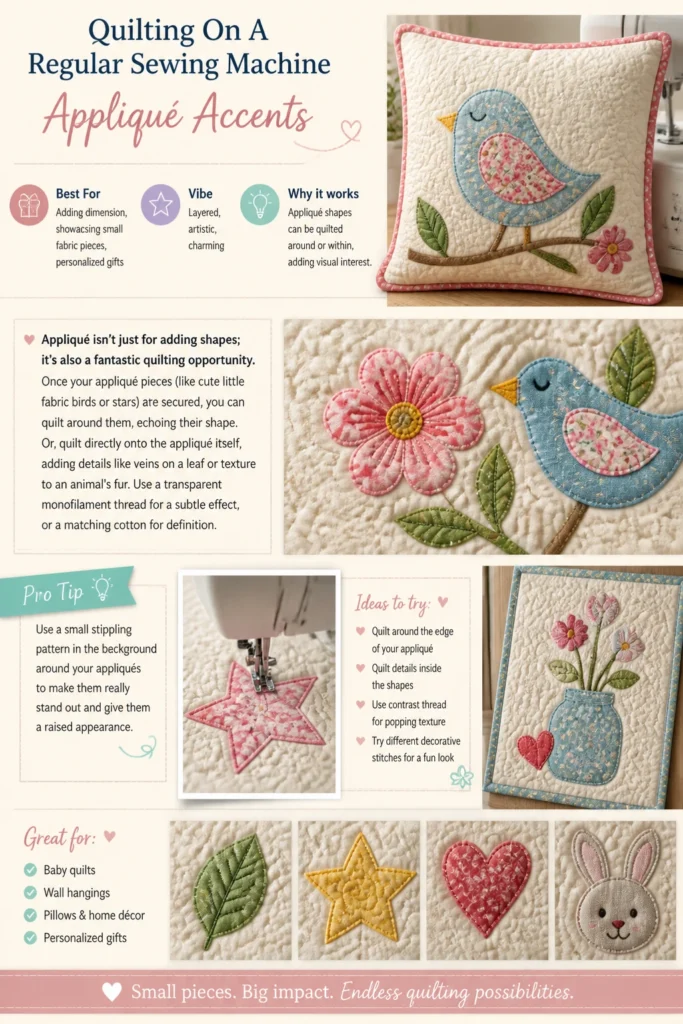
Or, quilt directly onto the appliqué itself, adding details like veins on a leaf or texture to an animal’s fur. Use a transparent monofilament thread for a subtle effect, or a matching cotton for definition.
Pro Tip: Use a small stippling pattern in the background around your appliqués to make them really stand out and give them a raised appearance.
12. Small Project Power
- Best For: Building confidence, trying new techniques, quick gifts
- Vibe: Achievable, experimental, low-pressure
- Why it works: Less fabric to manage means less frustration and quicker finishes.
Don’t dive into a king-sized quilt for your first machine quilting attempt. Start small! Think mug rugs, placemats, or even tiny wall hangings.
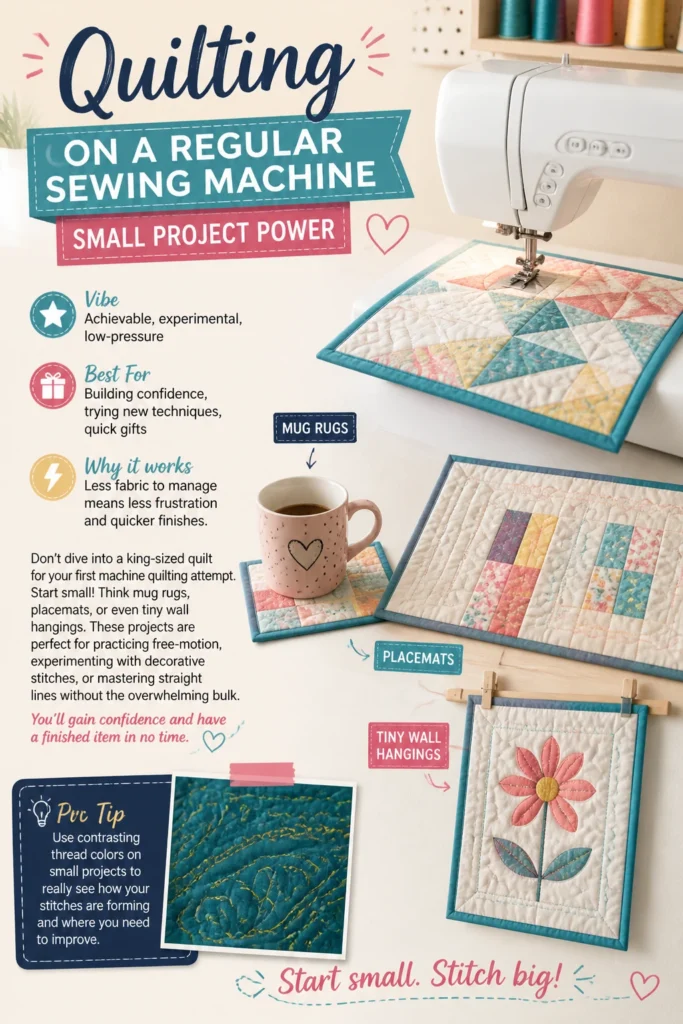
These projects are perfect for practicing free-motion, experimenting with decorative stitches, or mastering straight lines without the overwhelming bulk. You’ll gain confidence and have a finished item in no time.
Pro Tip: Use contrasting thread colors on small projects to really see how your stitches are forming and where you need to improve.
Our Top Recommended Finds
- Walking Foot: Seriously, this is non-negotiable for even feeding and preventing fabric drag. Your stitches will thank you.
- Quilting Gloves: These grippy gloves (like Machingers) help you move your quilt sandwich smoothly under the needle, especially for free-motion.
- Good Quality Thread: Invest in a few spools of Aurifil 50wt cotton thread in neutral colors. It makes a huge difference in stitch quality and lint control.
Which of these will you try first?
See? Your regular sewing machine is a total powerhouse, ready to tackle all your quilting ambitions. No need for fancy, expensive upgrades when you’ve got these tricks up your sleeve.
So, which brilliant idea are you going to conquer first on your path to quilting glory?