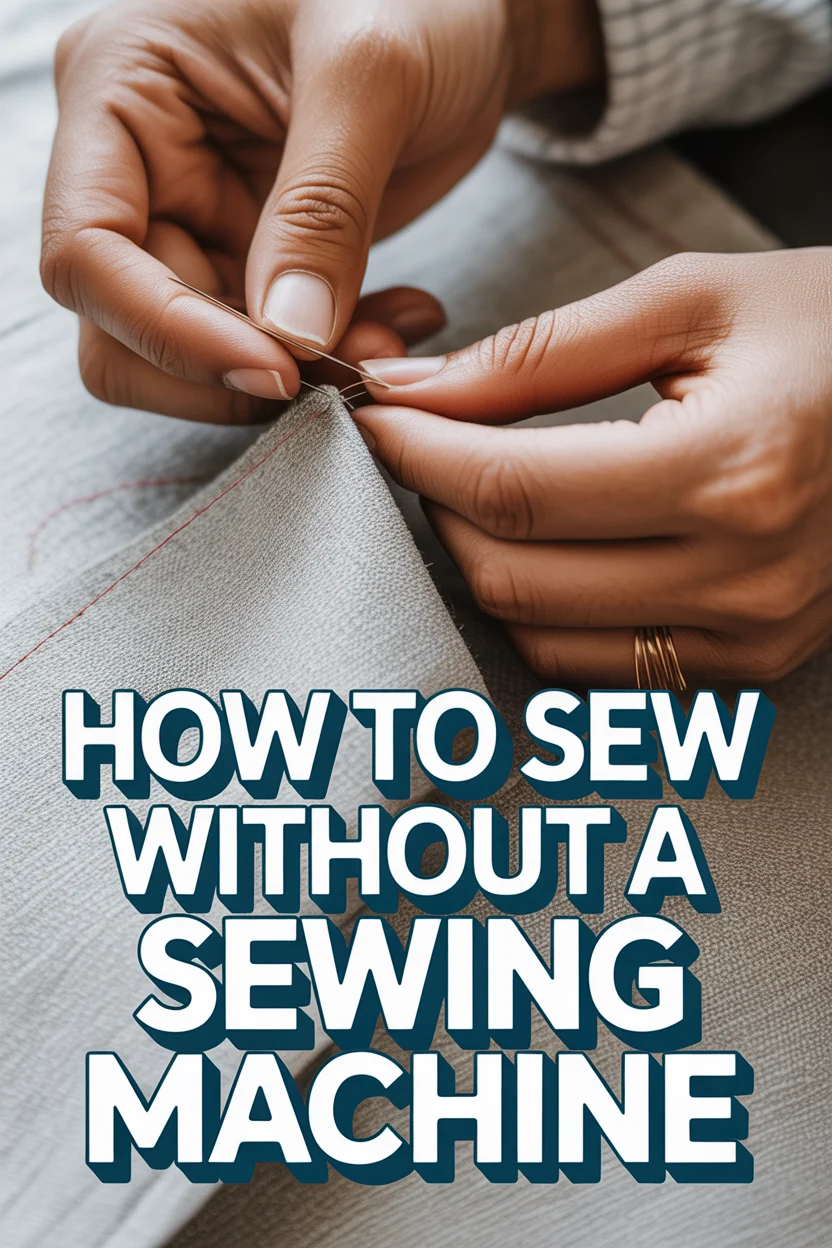
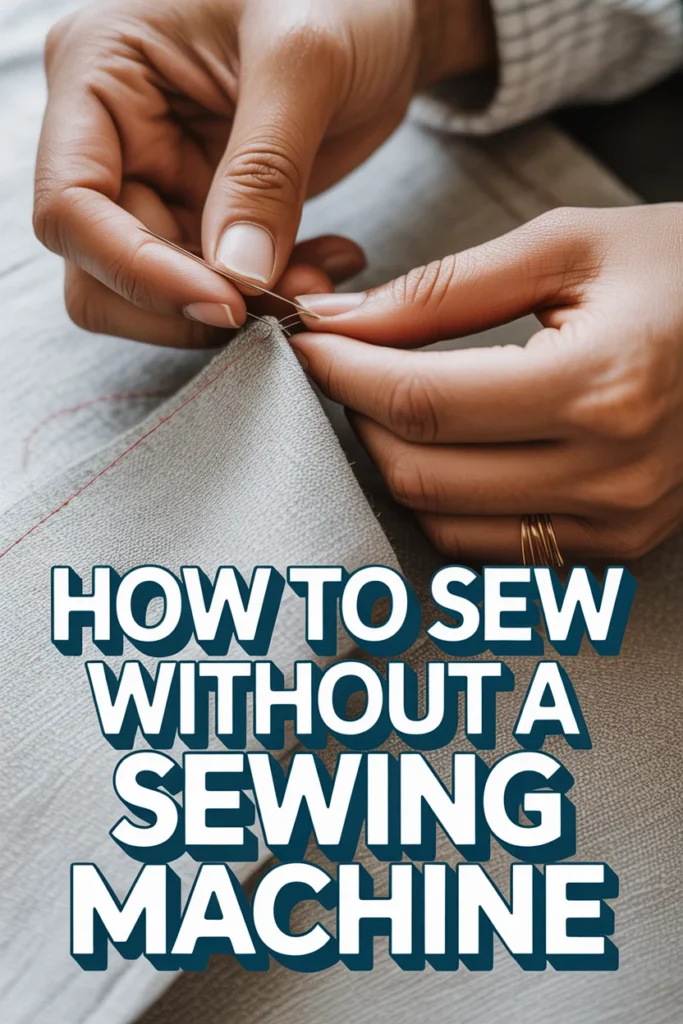
How To Sew Without A Sewing Machine
Learning to sew by hand is a truly rewarding skill.
It opens up a world of creativity, from mending clothes to crafting unique items, all without needing a bulky machine.
I’ve personally relied on hand sewing for years, tackling everything from minor repairs to complex garment alterations, proving its versatility and power.
Quick Overview
This guide will equip you with the essential knowledge and techniques to confidently sew by hand. You’ll learn how to select the right tools, master fundamental stitches, and troubleshoot common issues, enabling you to tackle a wide range of sewing projects.
- Time needed: 1-3 hours for initial learning and a simple project
- Difficulty: Beginner
- What you’ll need: Fabric, needle, thread, scissors, pins, thimble (optional)
Step-by-Step Instructions
Step 1: Gather Your Essential Tools
Before you begin, collect your basic sewing supplies. Having everything ready streamlines your process and makes the experience more enjoyable.
You’ll need a sharp pair of fabric scissors. These should be reserved only for fabric to keep them keen and prevent fraying.
Next, choose your needles. A variety pack is ideal, offering different sizes for various fabrics and threads. Sharper, finer needles are best for delicate fabrics, while thicker needles suit heavier materials.
Select a good quality all-purpose thread. Polyester thread is strong and durable for most projects. Match the thread color to your fabric as closely as possible for invisible seams.
Finally, grab some straight pins to hold fabric pieces together. A thimble is also highly recommended; it protects your finger from needle pokes and helps push the needle through tougher fabrics.
Pro Tip: Invest in good quality tools from the start. They will last longer and make your hand sewing much easier and more precise.
Step 2: Prepare Your Fabric
Proper fabric preparation is crucial for clean, professional results. Skipping this step can lead to crooked seams and a frustrating experience.
First, pre-wash your fabric if it’s new. This prevents shrinking after your project is complete and removes any manufacturing chemicals.
Once dry, iron your fabric flat. Wrinkles and creases can distort your pattern pieces and make accurate cutting difficult.
Next, lay out your pattern pieces on the fabric according to the grainline. The grainline ensures your fabric hangs correctly and doesn’t stretch out of shape.
Carefully pin the pattern pieces to the fabric. Use plenty of pins to keep everything secure and prevent shifting while you cut.
Finally, cut your fabric precisely along the pattern lines. Use your fabric-only scissors for a clean edge.
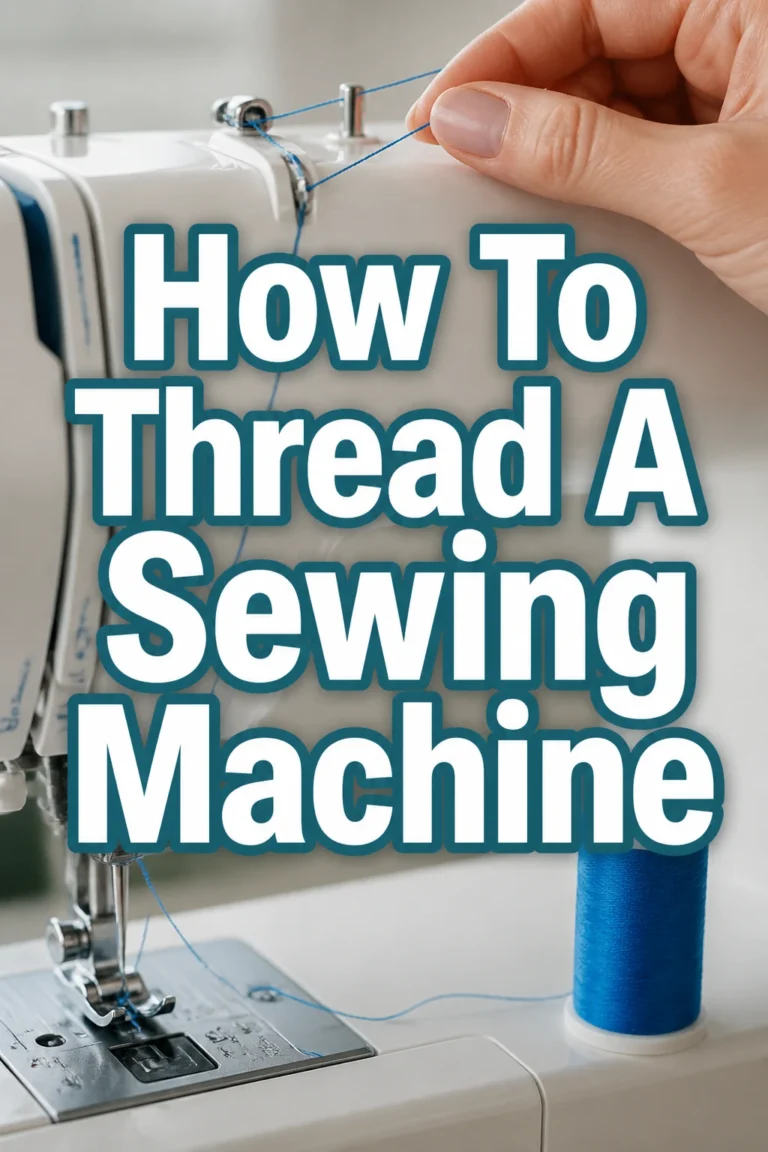
Step 3: Thread Your Needle and Knot the End
Threading a needle can sometimes be a fiddly task, but with a few tricks, it becomes much simpler. A well-threaded needle is essential for smooth sewing.
First, cut a length of thread, about 18-24 inches (45-60 cm) long. Longer pieces tend to tangle easily, so keep it manageable.
Moisten the end of the thread slightly with your lips or a damp sponge. This helps stiffen the thread, making it easier to guide through the needle eye.
Pinch the very tip of the thread between your thumb and forefinger. Hold the needle still and bring the thread to the eye, rather than trying to move the needle to the thread.
Once threaded, pull the thread through so one end is longer than the other. This creates a single strand for sewing.
Now, tie a knot at the end of the longer thread. Wrap the thread around your index finger once, roll it off with your thumb, and pull the loop tight to form a secure knot. You can double knot for extra security.
Pro Tip: For very fine needles or fuzzy thread, use a needle threader. It’s a small tool that makes threading incredibly easy.
Step 4: Master the Running Stitch
The running stitch is the most basic and versatile hand stitch. It’s perfect for gathering, basting, and creating simple seams.
To begin, bring your needle up from the back of the fabric, about 1/4 inch (6mm) from the edge where your seam starts. The knot should be hidden on the wrong side of the fabric.
Next, push the needle down through the fabric, making a small stitch. Then, without pulling the thread all the way through, bring the needle back up a short distance away.
Continue this motion, weaving the needle in and out of the fabric in a continuous line. Aim for stitches that are uniform in length and spacing.
For a strong seam, make your running stitches small, about 1/8 inch (3mm) or less. For basting, they can be longer.
When you reach the end of your desired seam, secure your stitch with a knot. Take a small stitch, loop the thread around the needle twice, and pull through to create a knot close to the fabric.
Step 5: Learn the Backstitch for Strong Seams
The backstitch is the strongest hand stitch and mimics the look of a machine stitch. Use it for seams that need durability, like garment construction.
First, bring your needle up from the back of the fabric, just like with the running stitch. Make sure your knot is secure on the wrong side.
Next, take a small stitch backward, inserting the needle a short distance behind where it emerged and bringing it up an equal distance in front.
Now, insert the needle back into the end of the previous stitch. This creates a continuous, strong line of stitching on the right side of the fabric.
Continue this process, always inserting the needle into the end of the last stitch and bringing it up a stitch length ahead. Keep your stitches even and close together for maximum strength.
The backstitch creates a solid, unbroken line on the front of your fabric and slightly overlapping stitches on the back. It’s ideal for joining two pieces of fabric permanently.
Pro Tip: Practice both the running stitch and backstitch on scrap fabric until your stitches are even and consistent. This builds muscle memory and improves your overall technique.
Step 6: Finish Edges with a Whipstitch or Hemming Stitch
Finishing raw edges prevents fraying and gives your project a neat, professional look. The whipstitch and hemming stitch are excellent for this.
For a whipstitch, fold the raw edge of your fabric under once or twice to create a clean hem. Pin it in place.
Bring your needle up from the back of the folded edge. Then, take small diagonal stitches over the folded edge, catching just a few threads of the main fabric and then the folded edge.
Keep your stitches close together and evenly spaced. The whipstitch is great for quickly securing hems or joining two finished edges.
For a neater, less visible hem, use a hemming stitch. Fold your fabric edge as before. Bring your needle up through the folded edge from the back.
Then, pick up just one or two threads from the main fabric, directly above where your thread emerged. Next, bring the needle through the folded edge again, about 1/4 inch (6mm) away from the previous stitch.
This creates tiny, almost invisible stitches on the right side of the fabric, while securing the hem securely on the wrong side.
Step 7: Secure Your Stitches with a Finishing Knot
A well-secured finishing knot is essential to prevent your hand sewing from unraveling. Don’t let all your hard work come undone.
When you’ve completed your seam or stitch line, take a very small stitch on the wrong side of your fabric. Do not pull the thread all the way through.
With the needle still in the fabric, wrap the thread around the needle two or three times. This creates a small loop of thread.
Carefully pull the needle all the way through the fabric, drawing the wrapped thread into a tight knot against the fabric surface. You should feel it cinch securely.
For extra security, repeat this knotting process one or two more times in the same spot. This ensures your stitches are firmly anchored.
Finally, trim the excess thread close to the knot using your sharp scissors. Be careful not to cut the knot itself or the fabric.
Common Mistakes to Avoid
Using Too Long a Thread
A common beginner mistake is cutting a very long piece of thread, thinking it saves time. However, long threads tangle easily, knot up, and fray, leading to frustration and wasted material. Keep your thread length manageable, around 18-24 inches (45-60 cm) at most, to ensure smooth sewing.
Incorrect Needle Choice
Using the wrong needle for your fabric can make sewing difficult and damage your material. A thick needle on delicate fabric leaves large holes, while a fine needle on heavy fabric can bend or break. Always match your needle’s size and sharpness to the fabric’s weight and weave for optimal performance.
Inconsistent Stitch Length
Uneven stitches, whether too long or too short, can weaken your seam and make your project look messy. Aim for consistency in both stitch length and spacing. Practice on scrap fabric to develop a rhythm and achieve uniform stitches, which contribute to a stronger and more attractive finish.
Forgetting to Secure Knots
Failing to properly knot the beginning and end of your thread is a sure way for your hand sewing to unravel. Always start with a secure knot hidden on the wrong side of the fabric, and finish with several strong knots to lock your stitches in place. This ensures your hard work lasts.
Troubleshooting
Thread Keeps Tangling
If your thread frequently tangles, it’s likely too long. Try cutting shorter lengths, around 18 inches (45 cm). You might also be pulling the thread too quickly or unevenly. Slow down and maintain a consistent tension. Using a high-quality, smoother thread can also reduce tangling.
Needle is Hard to Push Through Fabric
This often means your needle is too fine for the fabric, or the fabric is particularly dense. Try switching to a stronger, thicker needle. A thimble is invaluable here; wear it on your pushing finger to protect it and provide extra force to guide the needle through tough spots without pain.
Stitches Look Uneven or Loose
Uneven stitches usually indicate a lack of consistent tension or stitch length. Practice on scrap fabric, focusing on making each stitch the same size. Ensure you’re pulling the thread firmly after each stitch, but not so tight that it puckers the fabric. Consistent practice will improve your technique.
Key Takeaways
- Gathering the right tools before you start makes hand sewing much easier.
- Always prepare your fabric by pre-washing and ironing for best results.
- Master the running stitch for basic seams and the backstitch for strong, durable construction.
- Properly threading your needle and securing knots prevents frustration and unraveling.
- Consistent practice is key to developing even stitches and professional-looking finishes.
- Using a thimble protects your finger and helps push the needle through tough fabrics.
Frequently Asked Questions
Is hand sewing as strong as machine sewing?
A well-executed backstitch can be incredibly strong and durable, often comparable to machine sewing for many applications. For areas under extreme stress, machine sewing might offer more consistent strength, but for most garments and repairs, hand sewing is perfectly adequate and long-lasting.
What’s the best thread for general hand sewing?
All-purpose polyester thread is generally recommended for hand sewing. It’s strong, durable, and comes in a wide range of colors. Cotton thread can be used for cotton fabrics, but it tends to be less strong than polyester. Always choose a thread that matches the weight of your fabric.
How do I make my hand stitches look neat and even?
The key to neat, even stitches is practice and consistency. Start by drawing a straight line on your fabric as a guide. Focus on making each stitch the same length and spacing. Using a thimble can help maintain control, and taking your time rather than rushing will yield better results.
Can I sew thick fabrics like denim by hand?
Yes, you can sew thick fabrics like denim by hand, but it requires a heavier-duty needle and strong thread. A thimble is essential to push the needle through the dense material. Take smaller stitches and be patient; it will take more effort than sewing lighter fabrics.
Our Top Recommended Finds
- Assorted Hand Sewing Needles: A pack with various sizes ensures you have the right needle for any fabric type.
- All-Purpose Polyester Thread Kit: Having a range of common colors on hand means you’re ready for most projects and repairs.
- Comfortable Thimble: A well-fitting thimble, whether metal or leather, will protect your finger and make sewing much more comfortable.
Embrace the Art of Hand Stitching
Hand sewing is more than just a practical skill; it’s a meditative craft that connects you to generations of makers. With these steps, you now have the foundation to mend, create, and customize with confidence.
Don’t be afraid to experiment with different fabrics and projects. Each stitch you make builds your expertise and opens new creative possibilities.
Pick up your needle and thread today and start your journey into the wonderful world of hand sewing. The satisfaction of creating something beautiful with your own hands is truly unparalleled.