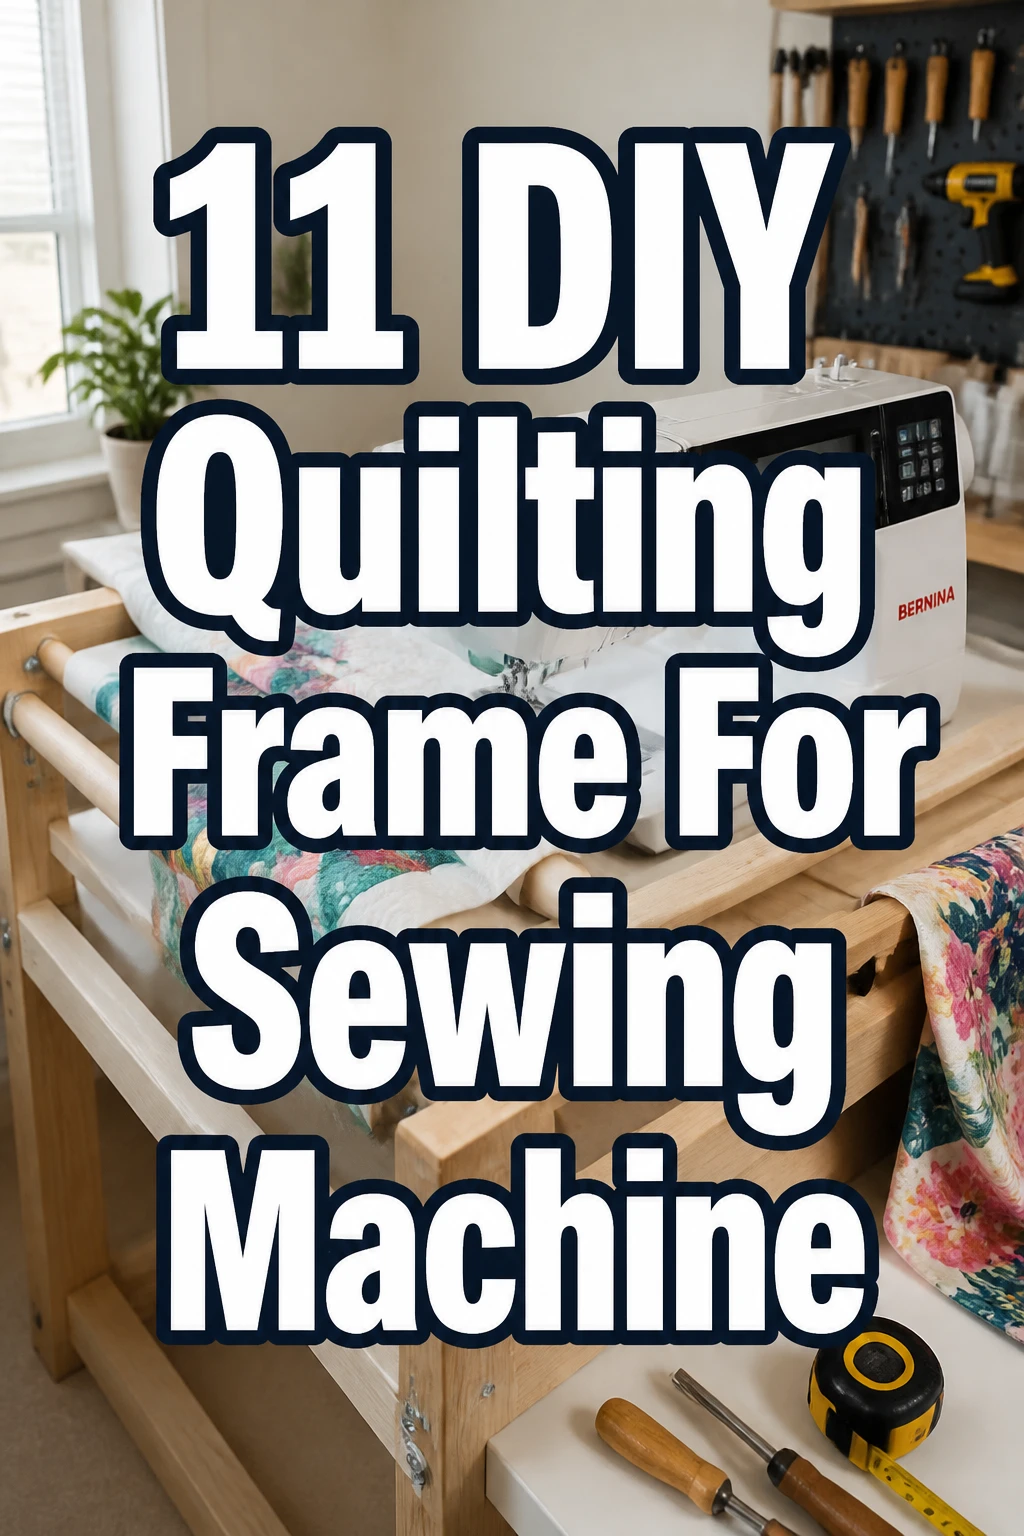
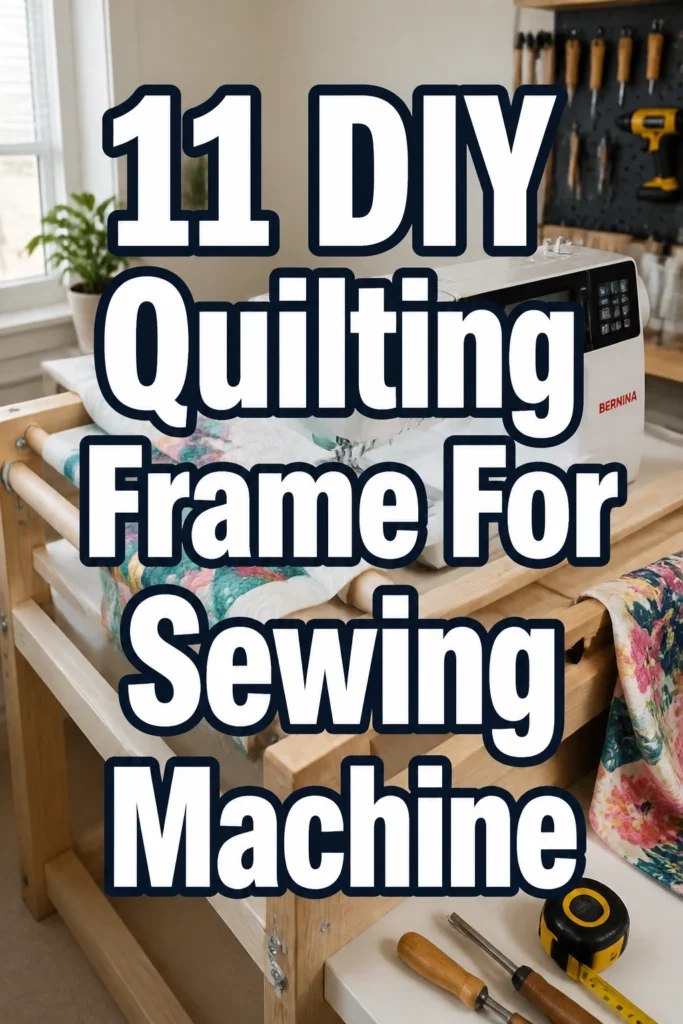
11 DIY Quilting Frame For Sewing Machine
Your shoulders hurt from dragging that heavy fabric through your machine.
You want professional results without spending a mortgage payment on a longarm.
Check out these clever builds to save your back and your budget.
1. The PVC Pipe Powerhouse
- Best For: Budget-conscious crafters
- Vibe: Industrial and functional
- Why it works: It provides a lightweight structure that keeps fabric taut without costing a fortune.
Grab some one-inch PVC pipes and elbow connectors from your local hardware store. You can assemble this in your living room while watching reality TV. This frame holds the weight of your quilt so your machine does not have to struggle.
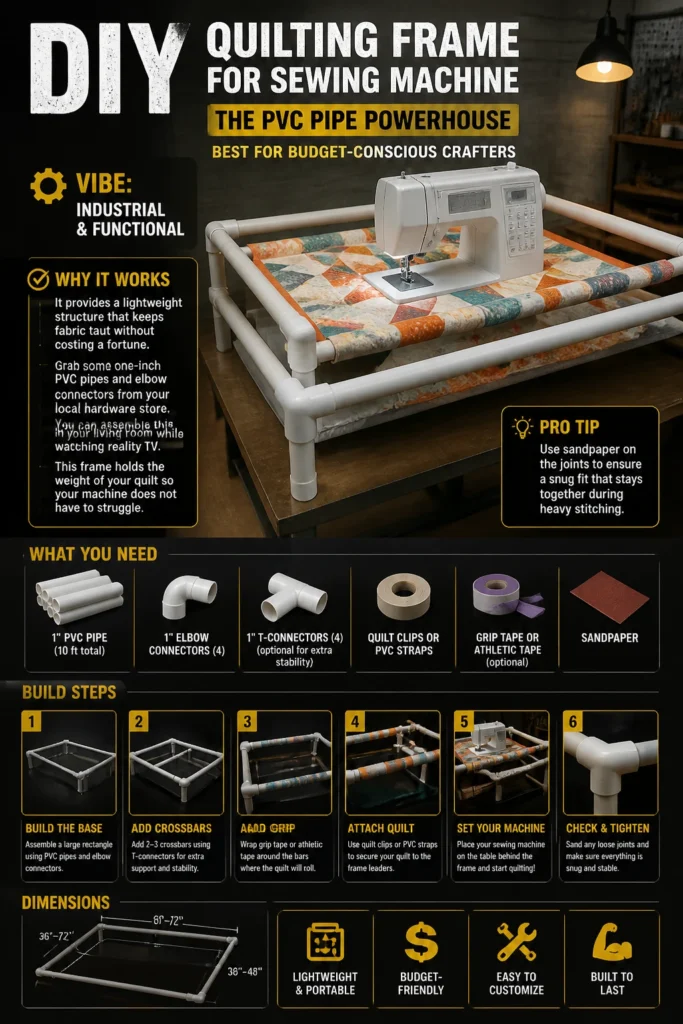
Pro Tip: Use sandpaper on the joints to ensure a snug fit that stays together during heavy stitching.
2. The Repurposed Wooden Ladder
- Best For: Vintage lovers
- Vibe: Rustic farmhouse
- Why it works: Old ladders provide stable horizontal bars for rolling the fabric smoothly.
Find a wooden ladder at a thrift store and clean it thoroughly. Secure it to your work table using heavy-duty C-clamps. The rungs act as the perfect rails for keeping your quilt layers organized and flat.
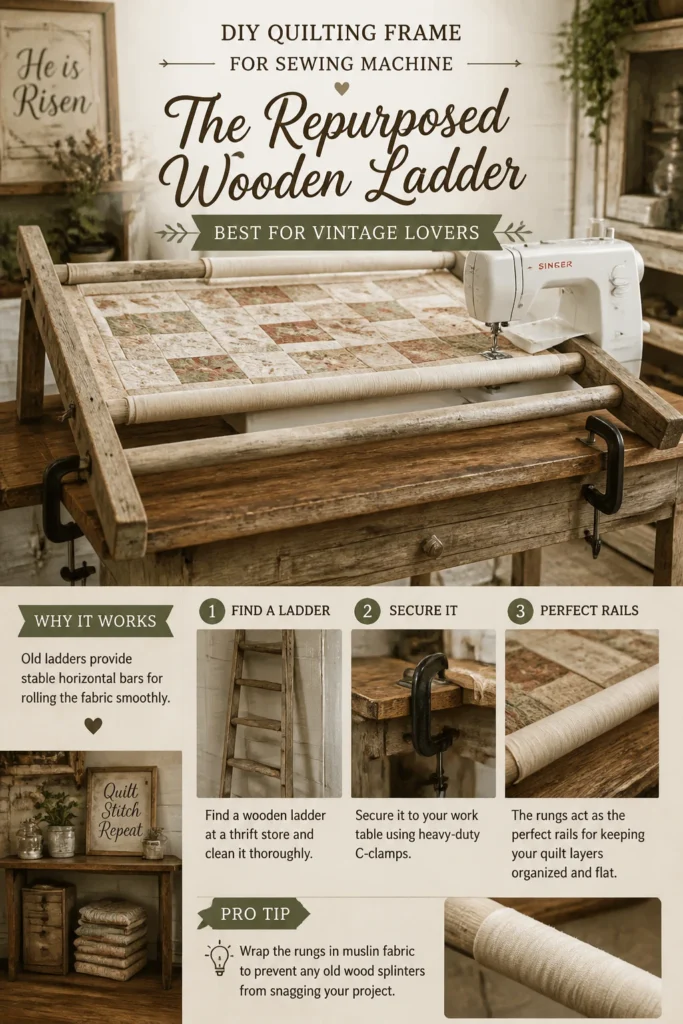
Pro Tip: Wrap the rungs in muslin fabric to prevent any old wood splinters from snagging your project.
3. The Conduit Rail System
- Best For: Serious DIYers
- Vibe: High-tech workshop
- Why it works: Metal conduit pipes offer a smoother surface for fabric to glide over during movement.
Purchase electrical conduit pipes and mount them to a custom wooden base. This setup mimics expensive professional frames for a fraction of the price. The metal stays perfectly straight even when you apply high tension to the quilt.
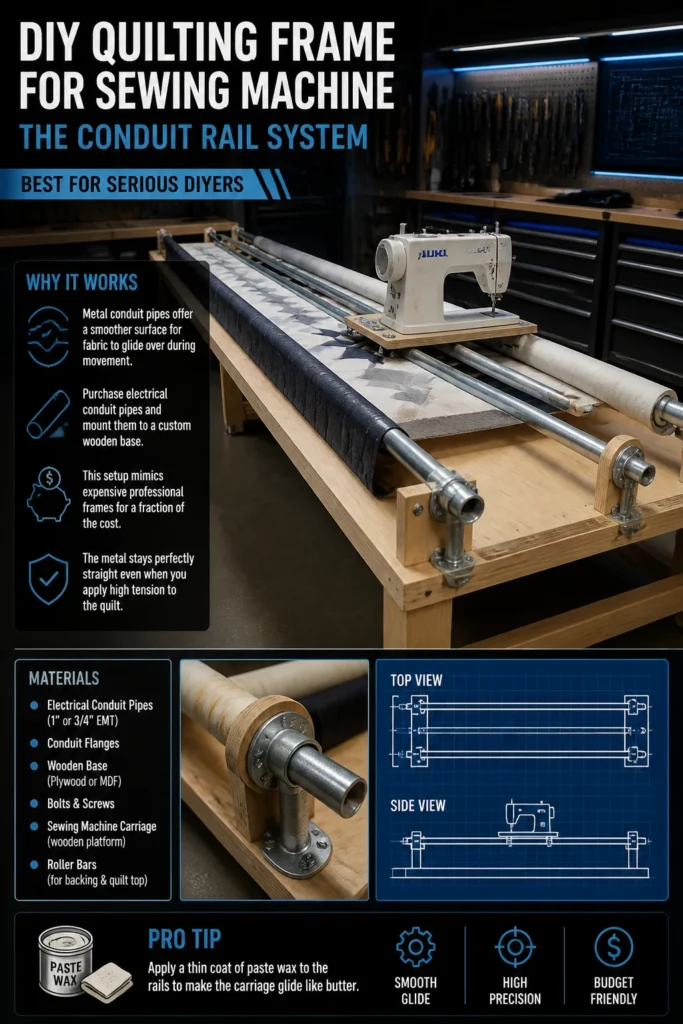
Pro Tip: Apply a thin coat of paste wax to the rails to make the carriage glide like butter.
4. The Table Extension Hack
- Best For: Small spaces
- Vibe: Minimalist and clean
- Why it works: It increases your surface area so the quilt does not drag on the floor.
Build a simple wooden platform that sits flush with your sewing machine needle plate. Use laminated plywood to ensure the fabric slides without any resistance. This design fits into any corner and stores away easily when you finish your project.
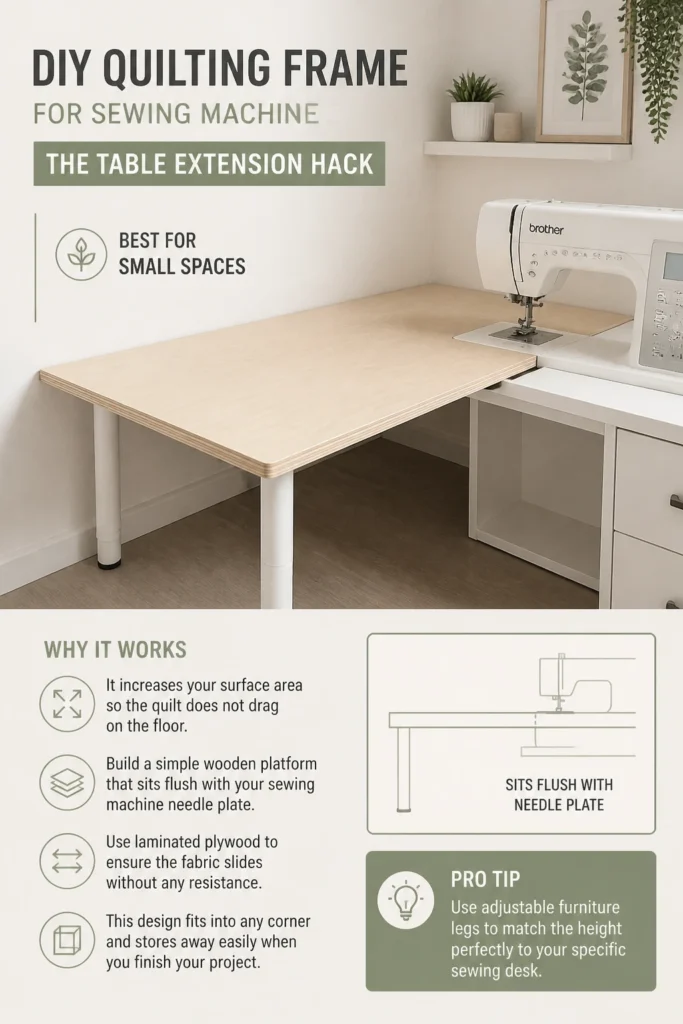
Pro Tip: Use adjustable furniture legs to match the height perfectly to your specific sewing desk.
5. The Floor-Based Timber Frame
- Best For: Permanent studios
- Vibe: Sturdy and professional
- Why it works: Solid wood construction prevents the frame from shifting during fast free-motion stitching.
Construct a large rectangle using two-by-four lumber and sturdy wood screws. This frame sits on the floor and allows you to stand while you work. It handles king-sized quilts with ease and provides a massive workspace for intricate designs.
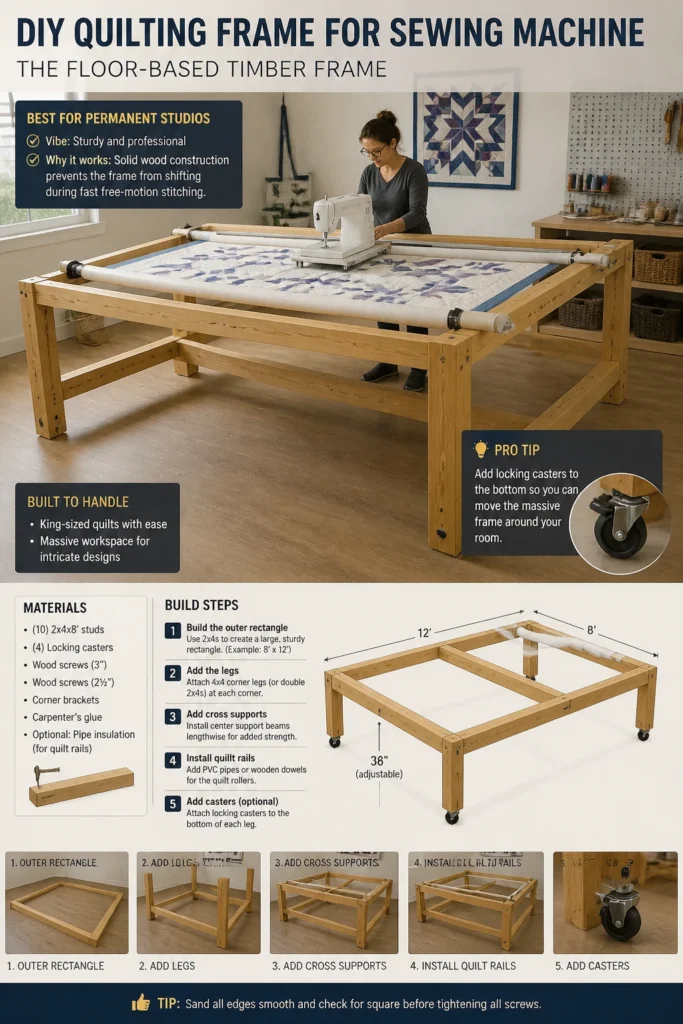
Pro Tip: Add locking casters to the bottom so you can move the massive frame around your room.
6. The Rolling Garment Rack Mod
- Best For: Apartment dwellers
- Vibe: Mobile and clever
- Why it works: You can wheel the entire setup into a closet when guests arrive at your home.
Modify a standard metal garment rack by adding horizontal support bars. Use spring clamps to hold the quilt edges to the frame. This vertical approach saves floor space while keeping the fabric perfectly organized.
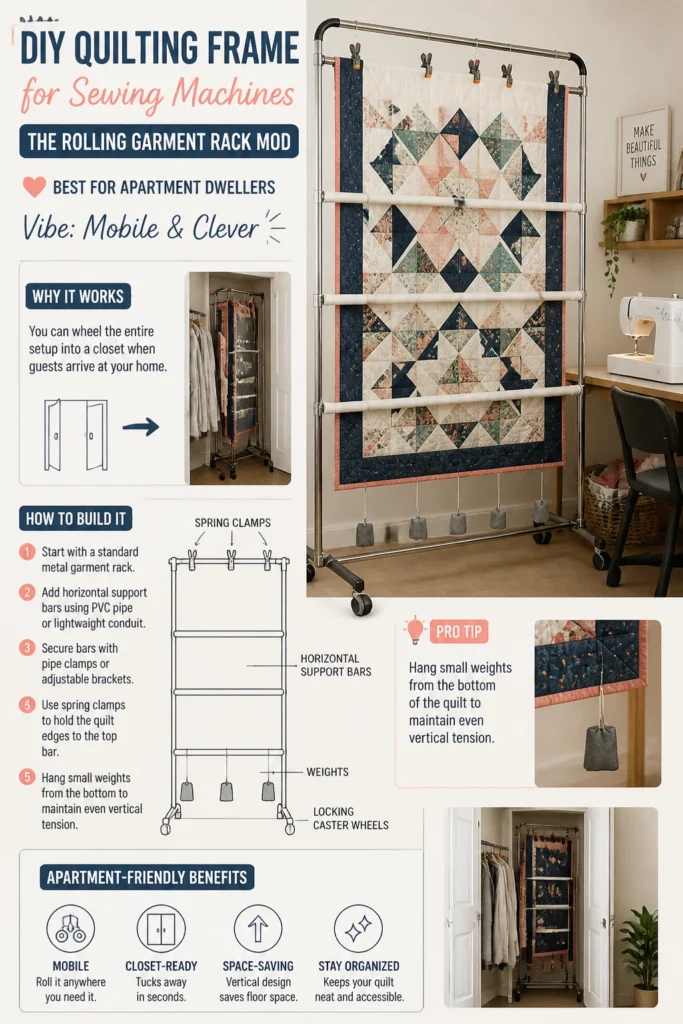
Pro Tip: Hang small weights from the bottom of the quilt to maintain even vertical tension.
7. The Plywood Handheld Hoop
- Best For: Total beginners
- Vibe: Simple and effective
- Why it works: It provides a rigid edge for your hands to grip while moving the fabric.
Cut a large square out of thin plywood to create a lightweight frame. Place your quilt inside the frame and secure it with binder clips. This tool gives you much better control over your stitches without needing a giant floor rig.
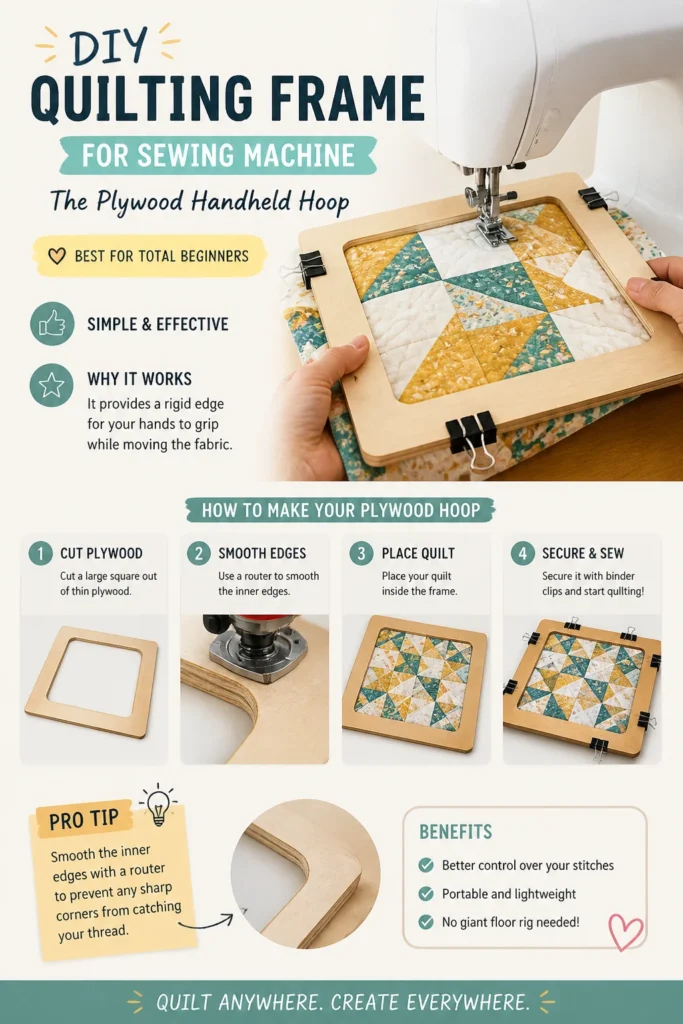
Pro Tip: Smooth the inner edges with a router to prevent any sharp corners from catching your thread.
8. The Suspended Ceiling Rig
- Best For: Gravity haters
- Vibe: Space-age and airy
- Why it works: Bungee cords hold the quilt weight from above to eliminate friction on the table.
Install eye bolts into your ceiling joists and attach elastic bungee cords. Clip the cords to the corners of your quilt to let it float above your machine. This setup makes a heavy quilt feel light as a feather while you sew.
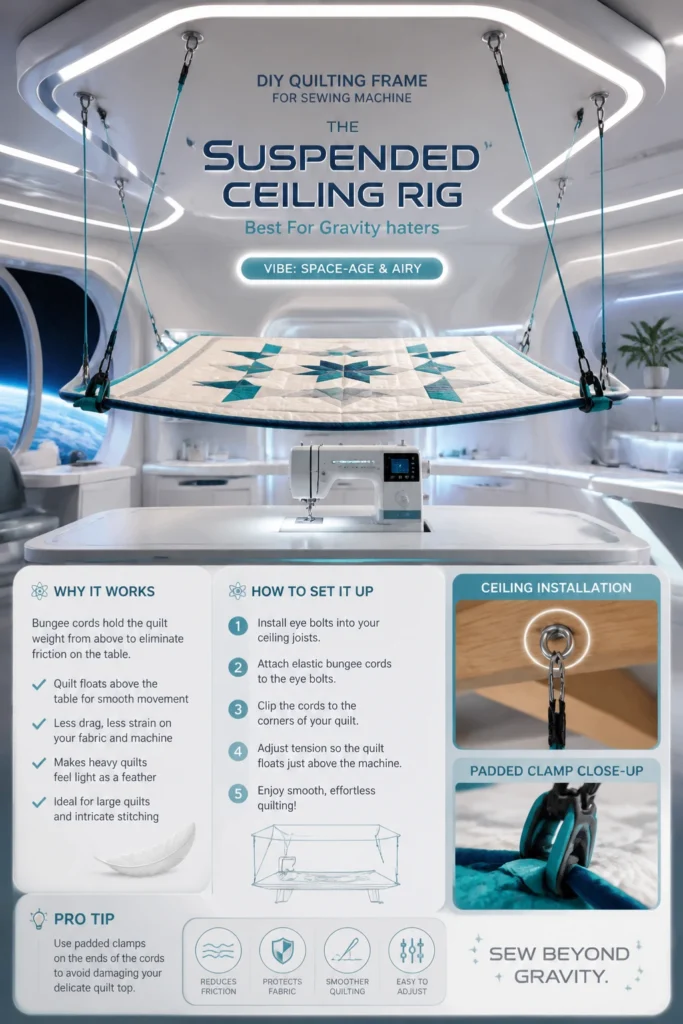
Pro Tip: Use padded clamps on the ends of the cords to avoid damaging your delicate quilt top.
9. The Foldable Sawhorse Setup
- Best For: Garage crafters
- Vibe: Rugged and utilitarian
- Why it works: Sawhorses are incredibly stable and collapse for easy storage in seconds.
Set up two plastic sawhorses and bridge them with long wooden dowels. Roll your quilt onto the dowels and secure them with rubber bands. This creates a temporary longarm station that you can set up anywhere.
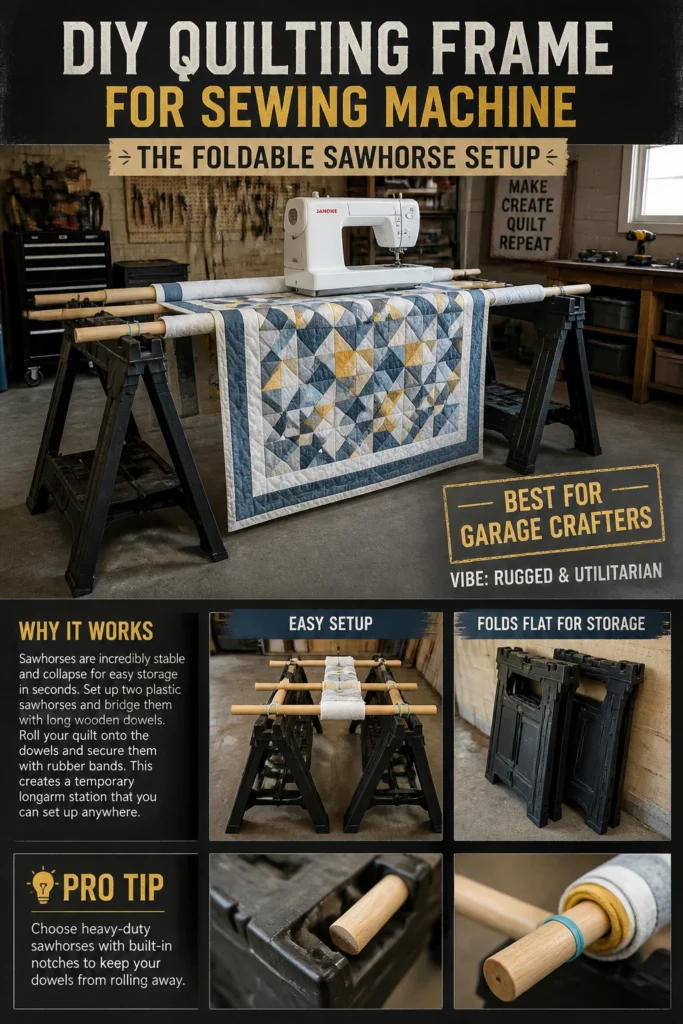
Pro Tip: Choose heavy-duty sawhorses with built-in notches to keep your dowels from rolling away.
10. The IKEA Table Transformation
- Best For: Modern decorators
- Vibe: Scandi-chic
- Why it works: Affordable tables can be joined to create a massive and stable quilting surface.
Buy three basic side tables and bolt them together in a row. Cut a hole in the center table to drop your sewing machine into a flush position. This creates a seamless transition from the machine to the frame surface.
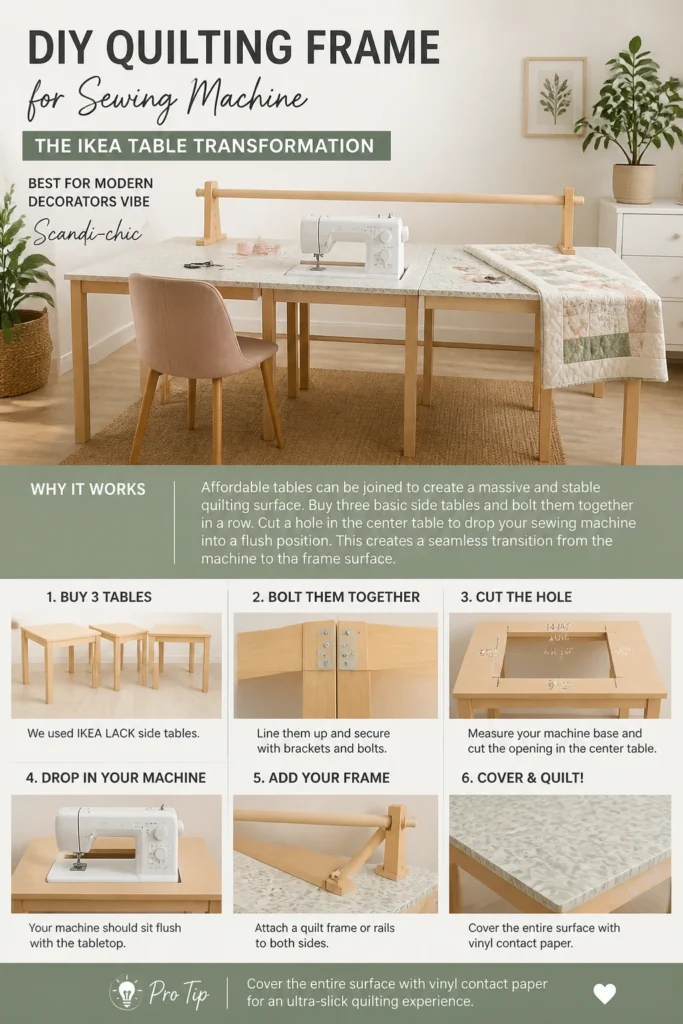
Pro Tip: Cover the entire surface with vinyl contact paper for an ultra-slick quilting experience.
11. The Copper Pipe Luxury Frame
- Best For: Aesthetics enthusiasts
- Vibe: High-end and shiny
- Why it works: Copper is sturdy and looks gorgeous in your craft room photos.
Assemble copper plumbing pipes using pressure-fit couplings for a stylish look. The weight of the copper provides natural stability while you move the machine. It is a functional tool that also serves as a piece of decor.
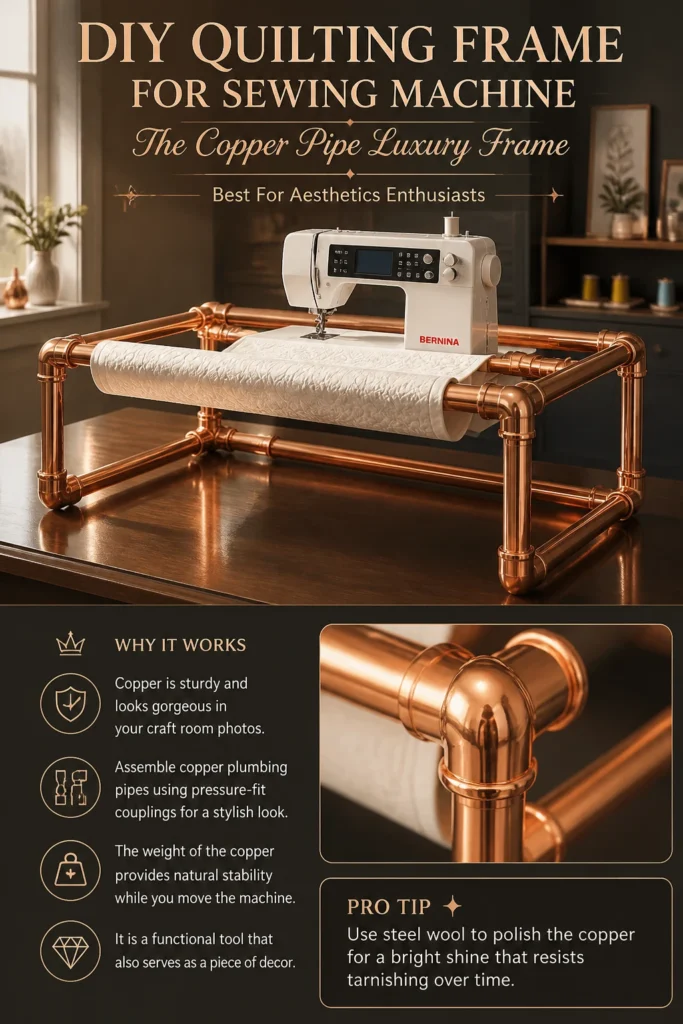
Pro Tip: Use steel wool to polish the copper for a bright shine that resists tarnishing over time.
Our Top Recommended Finds
- Heavy-duty spring clamps help you keep the fabric tight on any frame style you choose.
- Adhesive measuring tapes allow you to track your progress and keep your borders perfectly straight.
- Silicone lubricant spray keeps your rails moving smoothly and prevents the carriage from sticking.
Which of these will you try first?
Building your own frame is the ultimate way to level up your quilting game.
You save thousands of dollars and get a custom setup that fits your specific room.
Are you going for the industrial PVC look or the rustic ladder vibe?