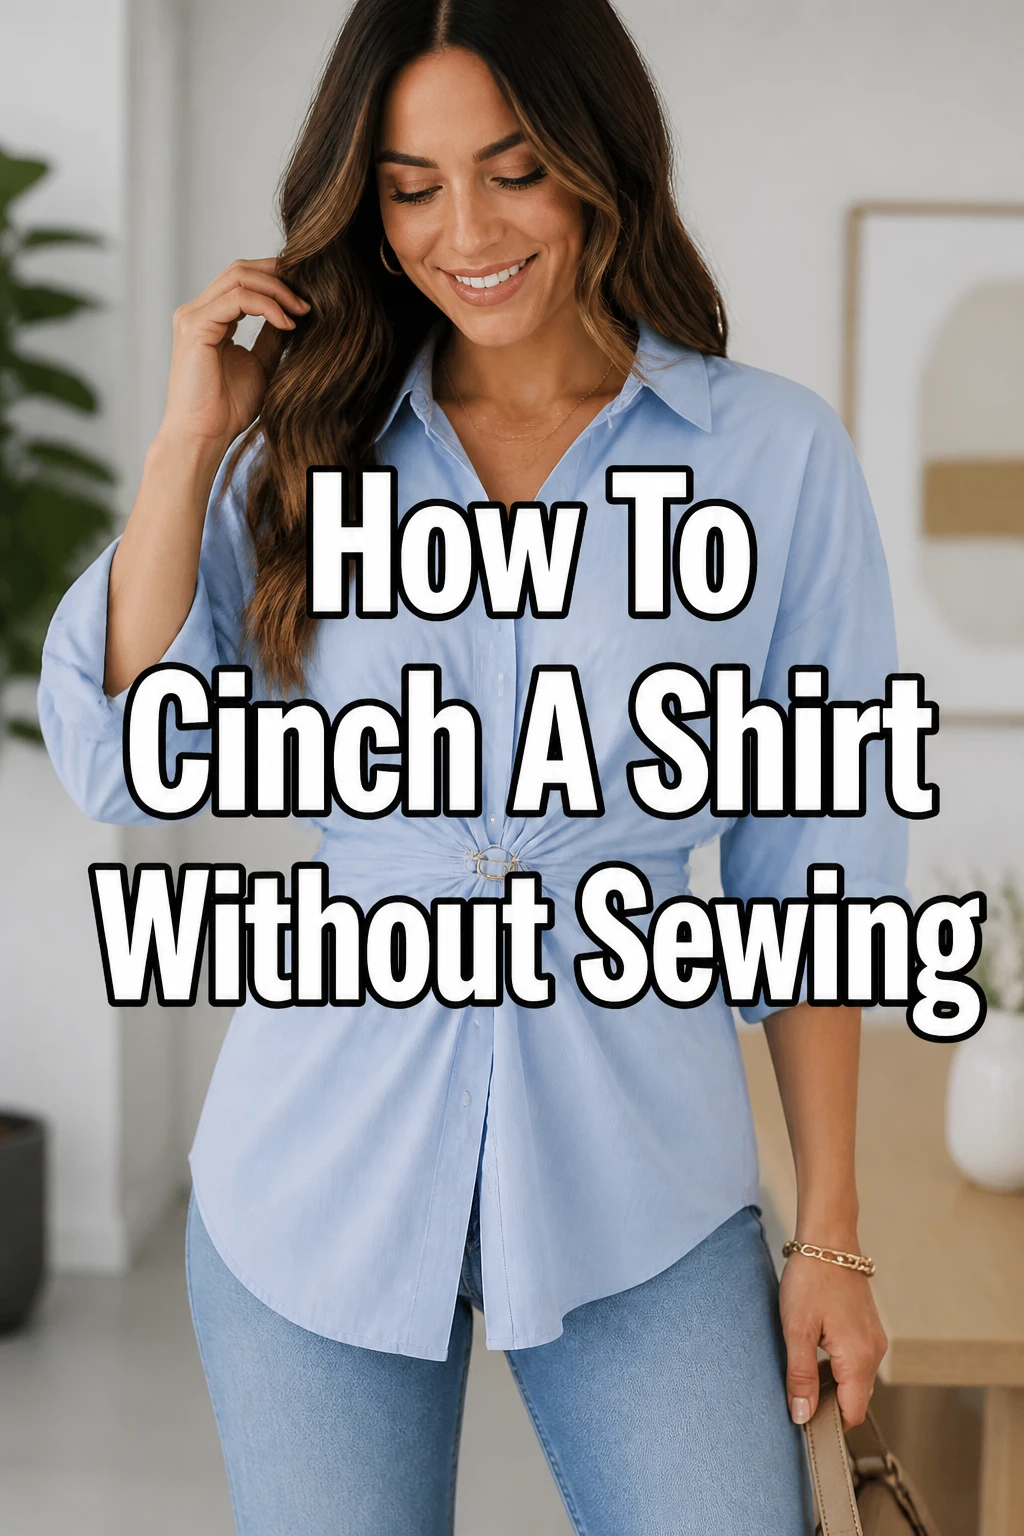
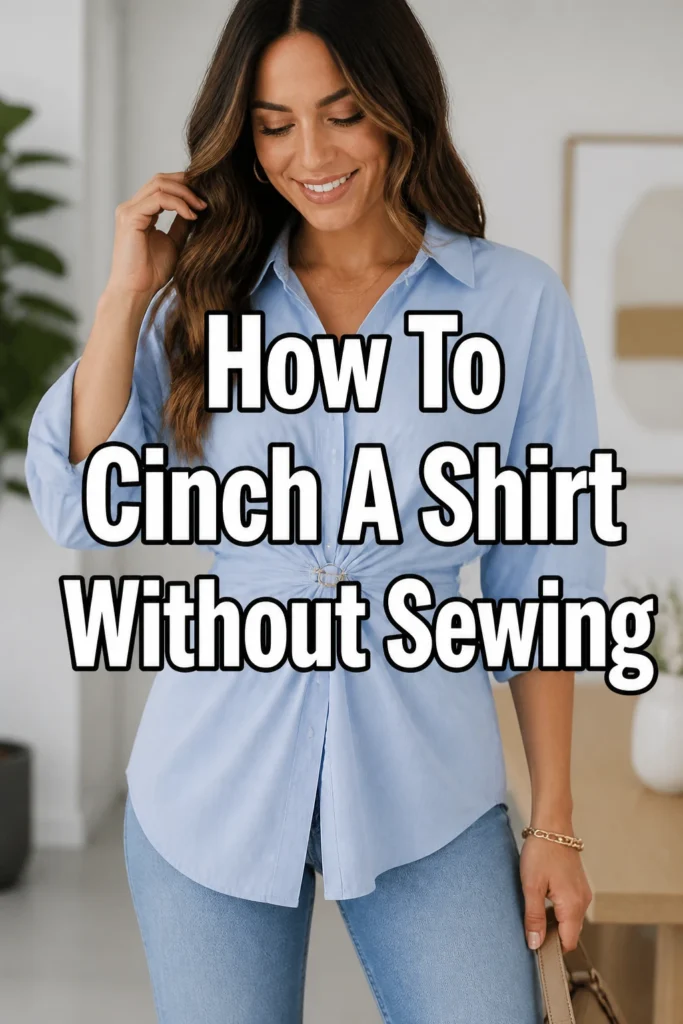
How To Cinch A Shirt Without Sewing
Ever wish your favorite oversized shirt had a little more shape?
I remember constantly feeling like I was drowning in fabric, especially with trendy button-downs, until I discovered the magic of cinching.
This guide will share the practical, no-sew tricks I’ve perfected to transform any loose top into a perfectly fitted, stylish piece.
Quick Overview
This guide provides several easy, no-sew methods to cinch your shirts, adding definition and style to any outfit.
You will learn to transform baggy tops into flattering silhouettes using everyday items.
- Time needed: 5-20 minutes per method
- Difficulty: Beginner
- What you’ll need: Hair ties, rubber bands, safety pins, brooches, small belts, scarves, fabric clips, or even just your hands.
Step-by-Step Instructions
Step 1: Choose Your Shirt and Desired Look
Select the shirt you want to cinch. Consider its fabric, length, and overall style.
Decide where you want the cinch to be – at the waist, hip, or even under the bust.
Different placement creates entirely different silhouettes, so visualize your desired outcome.
Step 2: The Classic Front Knot Cinch
Gather the excess fabric at the front of your shirt, typically around the hemline.
Hold the gathered fabric firmly, forming a small tail of material.
Tie a simple knot. You can do a single knot for a subtle cinch or a double knot for more security and a pronounced gather.
Adjust the knot’s tightness and position to achieve your preferred look.
Pro Tip: For a more casual, relaxed vibe, pull the knot slightly off-center. This adds an asymmetric detail that looks effortlessly chic.
Step 3: The Side Knot for Definition
Pull the extra fabric from one side of your shirt, usually around the hip area.
Twist the gathered fabric tightly to create a rope-like strand.
Form a small, neat knot with the twisted fabric. A double knot will help it stay in place.
Tuck any loose ends of the knot back into the shirt or beneath the knot itself for a cleaner finish.
Step 4: The Hair Tie or Rubber Band Method
Locate the area where you want to cinch the shirt, often at the back or side.
Pinch a small section of fabric from the inside of the shirt, directly at the desired cinch point.
Gather this pinched fabric into a small bunch, pulling it away from your body.
Secure the gathered fabric tightly with a small hair tie or a thin rubber band.
Adjust the shirt fabric around the secured point to hide the hair tie, making the cinch appear seamless from the outside.
Pro Tip: Use a hair tie that matches your shirt color or is clear to make it even less noticeable. This method is excellent for creating a subtle waistline at the back.
Step 5: The Safety Pin or Brooch Technique
Identify the specific spot where you want to create a gather or pleat.
Fold or pleat the fabric from the inside of the shirt, creating the desired amount of cinching.
Secure the folded fabric with a small safety pin, ensuring the pin is hidden on the inside of the garment.
Alternatively, for a decorative touch, use a stylish brooch to cinch the fabric on the outside, creating a visible and fashionable focal point.
Ensure the safety pin or brooch is strong enough to hold the fabric without slipping.
Step 6: Using a Belt or Scarf for a Waist Cinch
Put on your shirt and let it hang naturally.
Wrap a belt or a long, thin scarf around your natural waistline or slightly above it.
Cinch the belt or scarf to your comfort, gathering the excess shirt fabric underneath.
Adjust the shirt fabric evenly around the belt, allowing it to blouse slightly over the top for a soft, flattering effect.
Pro Tip: Experiment with different belt widths and scarf styles. A wide belt makes a bold statement, while a thin scarf offers a more delicate, bohemian touch.
Step 7: The Fabric Clip or Ring Method
Gather a small section of fabric at the desired cinch point, often at the front hem.
Feed the gathered fabric through a decorative fabric clip or a simple metal ring.
Pull the fabric through until you achieve the desired level of cinching.
Secure the fabric by tying a small knot or using a small elastic band on the inside, hidden by the clip or ring.
Position the clip or ring strategically to enhance the shirt’s shape.
Step 8: The Back Cinch with Internal Ties
Turn your shirt inside out.
Lay the shirt flat and decide where you want the cinch to be (e.g., at the natural waist across the back).
Pinch two small, equal sections of fabric, one on each side of the center back, at the same height.
Tie these two pinched sections together with a small, strong piece of string or a small elastic band.
Flip the shirt right side out and adjust the fabric to hide the internal tie, creating a subtle, tailored waist at the back.
Common Mistakes to Avoid
Cinching Too Tightly or Too Loosely
One common error is making the cinch either too restrictive or not impactful enough. A cinch that is too tight can be uncomfortable, distort the fabric awkwardly, and create unflattering bulges. Conversely, a cinch that is too loose will not achieve the desired shaping effect and may come undone easily, leaving your shirt looking unkempt.
Always aim for a comfortable tightness that gently gathers the fabric and creates a natural-looking drape. Experiment with the tension until you find the sweet spot that flatters your body shape and feels good to wear.
Using the Wrong Tools for the Job
Attempting to cinch with unsuitable items can lead to frustration and poor results. Using a fragile hair tie on heavy denim might cause it to snap, while a bulky rubber band on delicate silk can create an obvious and unattractive bump. Similarly, an overly large safety pin can be visible and detract from the aesthetic.
Always match your cinching tool to the fabric and the desired outcome. Opt for small, discreet items for light fabrics and choose stronger, more robust options for thicker materials. Consider the visual impact of the tool itself.
Ignoring Fabric Type and Weight
Not all fabrics cinch the same way. A crisp cotton shirt will hold a knot differently than a flowing rayon blouse or a stretchy knit top. Trying to force a method that doesn’t suit the fabric can result in a messy look or even damage to the garment.
Understand how your shirt’s material will react. Lightweight, drapey fabrics often work well with knots and internal ties, while stiffer materials might benefit more from belts or external clips that can hold their shape better. Adjust your technique based on the fabric’s characteristics.
Placing the Cinch Incorrectly
The placement of your cinch significantly impacts the overall silhouette. Cinching too high can make your torso look shorter, while cinching too low might make you appear boxy. An off-center cinch that isn’t intentional can look accidental and unbalanced.
Experiment with different placements in front of a mirror to find what flatters your body most. Generally, cinching at your natural waistline creates an hourglass shape. For a more relaxed look, try cinching slightly below the waist or off to one side intentionally.
Troubleshooting
Cinch Keeps Coming Undone
If your knot or elastic keeps loosening, it might be due to the fabric’s slickness or insufficient tension. For slippery fabrics like silk or rayon, a double knot is often necessary to provide extra grip and security. You can also try twisting the fabric more tightly before tying the knot.
When using an elastic band, ensure it’s wrapped around the gathered fabric at least twice, or even three times, to create enough tension. For safety pins, make sure they pierce through enough fabric layers to hold firmly without tearing.
Looks Bulky or Uneven
A bulky or uneven cinch can happen if too much fabric is gathered, or if it’s not distributed smoothly. To fix this, release the cinch and re-gather a smaller section of fabric. Try to create smaller, neater pleats or folds rather than a large, messy bunch.
When using a belt, ensure the shirt fabric is evenly bloused over and under it. For internal cinches, make sure the fabric is pulled from both sides equally to maintain symmetry. Practice helps in achieving a smoother, more balanced look.
Damaging the Fabric
Concerns about damaging the fabric often arise when using pins or very tight elastics. To prevent holes or tears, use small, sharp safety pins that glide easily through the fabric, avoiding dull pins that can snag. Always insert pins through the inside of the garment where they won’t be visible.
When using elastic bands, do not pull them so tight that they stretch the fabric to its breaking point. If you notice any strain or distortion, loosen the elastic or try a different method. For delicate fabrics, a soft, wide elastic or a fabric-friendly clip might be a better choice.
Key Takeaways
- Cinching your shirt without sewing is a versatile and easy way to update your wardrobe.
- Various everyday items like hair ties, safety pins, belts, and knots can be used effectively.
- Experiment with different methods and placements to find what best flatters your body shape.
- Always consider the fabric type of your shirt when choosing a cinching technique.
- Practice makes perfect; adjusting tightness and placement will improve your results over time.
- No-sew cinching adds definition, creates new silhouettes, and makes oversized shirts more wearable.
Frequently Asked Questions
Does cinching work on all fabric types?
While most fabrics can be cinched, the results vary. Stiffer fabrics like denim or crisp cotton hold a structured cinch well. Flowy materials like rayon or silk create a softer, more draped effect. Very delicate fabrics require gentle methods like soft ties or small, sharp pins to avoid damage.
Will cinching damage my shirt?
When done correctly and with appropriate tools, cinching should not damage your shirt. Avoid using overly tight elastics that stretch fabric, or large, blunt pins that can tear. Always secure pins on the inside of the garment to prevent visible holes or snags on the exterior fabric.
Can I wash my shirt with the cinch still in place?
It’s generally not recommended to wash your shirt with any cinching elements (like hair ties, pins, or clips) still attached. These items can get tangled, damage the washing machine, or even damage the shirt itself during the wash cycle. Always remove all accessories before laundering.
How long does a no-sew cinch typically last?
The longevity of a no-sew cinch depends on the method used, the fabric, and your activity level. A well-tied knot or a securely pinned cinch can last all day. Methods using elastic bands or belts are also very durable. Frequent movement might require occasional readjustment, but most methods are designed for extended wear.
Our Top Recommended Finds
- Clear Elastic Hair Ties: These are discreet and strong, perfect for internal cinching without being visible.
- Decorative Safety Pins/Brooches: Not only functional for cinching, but they also add a stylish accent to your outfit.
- Thin Faux Leather Belts: Versatile for cinching at the waist, these can transform a baggy shirt into a tailored look.
Transform Your Wardrobe with Simple Cinching
You now have a toolkit of simple, effective ways to reshape your shirts without ever picking up a needle and thread.
Think of the possibilities: turning a flowy tunic into a defined top, or an oversized tee into a chic, cropped look.
Take these techniques and apply them to your existing wardrobe today. Experiment with different shirts, try various placements, and discover new favorite outfits just waiting to be created.