How To Make Sewing Patterns
Creating your own sewing patterns is the ultimate way to achieve a perfect fit and unique style.
I spent years struggling with store-bought patterns that never quite fit my proportions before I decided to learn the art of pattern making myself.
This guide will show you how to turn your design ideas into wearable reality using professional techniques.
Quick Overview
You will learn the fundamental process of drafting a custom pattern from scratch, starting with measurements and ending with a finished template.
- Time needed: 3 to 5 hours
- Difficulty: Intermediate
- What you’ll need: Pattern paper, measuring tape, rulers, pencils, and muslin fabric.
Step 1: Gather Your Professional Tools
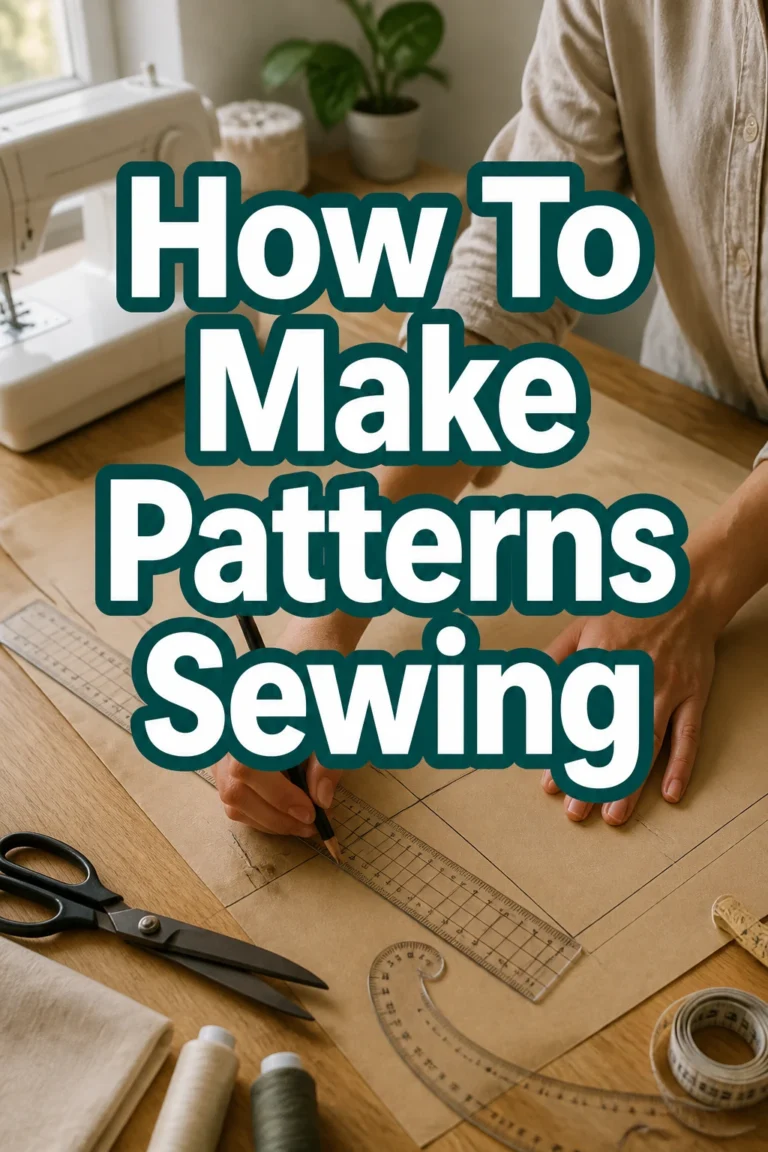
Collect high-quality drafting tools to ensure your lines are crisp and your measurements are exact.
Invest in a clear gridded ruler, which allows you to see your previous lines while drawing new ones.
Acquire a French curve or a hip curve ruler to help you draw the natural contours of the human body.
Select a large, flat workspace where you can spread out your paper without it folding or hanging off the edge.
Choose the right paper for your needs, such as heavy kraft paper for permanent slopers or translucent tracing paper for drafting variations.
Pro Tip: Using a mechanical pencil with thin lead will provide much more accurate lines than a standard wooden pencil.
Step 2: Take Accurate Body Measurements
Stand in front of a full-length mirror while wearing the undergarments you plan to wear with the finished garment.
Wrap the measuring tape around the fullest part of your bust, making sure it stays level across your back.
Identify your natural waist by bending to the side; the point where your body creases is where you should measure.
Measure your hips at the widest point, which is usually several inches below the pelvic bone.
Record the length from your shoulder to your waist and from your waist to your desired hemline.
Note the width across your back from shoulder to shoulder to ensure the garment does not restrict movement.
Pro Tip: Tie a piece of elastic around your waist while measuring to provide a consistent reference point for all vertical measurements.
Step 3: Draft Your Basic Sloper
Begin by drawing a vertical line on your paper that represents the center front or center back of the garment.
Mark horizontal lines across this vertical axis to represent the bust, waist, and hip levels based on your measurements.
Divide your total circumference measurements by four, as you are usually drafting only one-quarter of the pattern at a time.
Connect these points using your straight and curved rulers to create the outline of the torso or skirt.
Draw the armholes and necklines using the French curve to create smooth, professional arcs.
Keep this initial draft without any seam allowances, as this serves as your “sloper” or master template for future designs.
Pro Tip: A sloper should fit like a second skin with zero “design ease,” acting as a map of your body.
Step 4: Add Design Ease and Style Lines
Decide how loose or tight you want the final garment to feel on your body.
Add “wearing ease” to your sloper by extending the side seams slightly to allow for breathing and movement.
Sketch your desired style lines, such as a V-neck, a sweetheart neckline, or specific seam placements like princess seams.
Determine where you want the garment to open, whether it is a center back zipper or a front button placket.
Modify the length of the pattern to match your design, whether you are making a cropped top or a floor-length gown.
Trace these new lines onto a fresh piece of paper so you do not ruin your original sloper template.
Step 5: Include Seam Allowances
Outline the entire perimeter of your pattern pieces with an additional border for sewing.
Use a standard 5/8 inch (1.5 cm) seam allowance for most garment seams to provide enough room for adjustments.
Apply a smaller 1/4 inch (6 mm) allowance for tight curves like necklines or collars to reduce bulk.
Add a larger allowance of 1 to 2 inches for hems to give the garment a professional weight and finish.
Ensure that the seam allowances are consistent across all pieces that will be sewn together.
Pro Tip: Use a seam allowance gauge or a compass to maintain a perfectly even distance from your original stitching line.
Step 6: Mark Grainlines and Notches
Draw a long, straight arrow on every pattern piece to indicate the grainline of the fabric.
Align this arrow perfectly parallel to the center front or center back to ensure the fabric hangs correctly.
Place small marks, known as notches, along the seams where different pieces need to join together.
Use single notches for the front of the garment and double notches for the back to avoid confusion during assembly.
Label every piece with important information, including the name of the pattern, the piece name, and how many to cut.
Indicate which pieces should be cut on the fold by drawing a bracket with arrows pointing toward the folded edge.
Step 7: Create a Muslin Mock-up
Cut your pattern pieces out of inexpensive cotton muslin fabric to test the fit before using your expensive material.
Transfer all markings and notches to the fabric using a tracing wheel or tailor’s chalk.
Baste the pieces together using a long stitch length on your sewing machine for easy removal.
Try the garment on and look for any pulling, sagging, or discomfort in the fit.
Mark any necessary changes directly onto the muslin fabric with a felt-tip pen.
Transfer those corrections back to your paper pattern to finalize the design.
Pro Tip: Never skip the muslin stage, as it is the only way to catch fit issues before they become permanent mistakes.
Common Mistakes to Avoid
Ignoring the Grainline
One of the most frequent errors is failing to mark or follow the grainline on the pattern pieces. If the grainline is crooked, the finished garment will twist around your body or stretch unevenly over time. Always use a long ruler to ensure your grainline arrow is perfectly parallel to the selvage of the fabric.
Forgetting Seam Allowances
Drafting a pattern based on body measurements without adding seam allowances will result in a garment that is much too small. It is easy to get caught up in the creative design process and forget that the machine needs extra fabric to join pieces together. Clearly label your pattern as “seam allowance included” or “seam allowance not included” to prevent confusion later.
Inaccurate Corner Matching
When two pattern pieces meet at an angle, the seam allowances must be drafted so they line up perfectly at the stitching line. If you simply draw a square box around a slanted seam, the edges will not match when you try to sew them. Always “walk” your pattern pieces together on the table to ensure the lengths and angles are identical.
Troubleshooting
The Pattern Pieces Do Not Align
If you find that one side of a seam is longer than the other, you likely made an error during the drafting or tracing phase. Lay the two pieces on top of each other and trace the stitching line rather than the outer edge to find the discrepancy. Adjust the shorter piece by adding length or trim the longer piece if the notches still line up correctly.
The Finished Garment Is Too Tight
This usually happens when there is not enough “ease” included in the design or if measurements were taken too snugly. You can often fix this by letting out the seam allowances if you provided enough extra fabric during the cutting phase. For future patterns, add an extra half-inch to the side seams of your sloper to ensure you have room to breathe.
The Neckline Is Gaping
A gaping neckline occurs when the curve is too long for the flat area of the chest. This is a common issue for contoured designs and can be fixed by “pinching out” the excess fabric on your muslin mock-up. Transfer this small wedge-shaped change to your paper pattern to pull the neckline closer to the body.
Key Takeaways
- Start with a sloper: Having a basic template of your body measurements saves time on every future project.
- Accuracy is essential: Use specialized rulers and sharp pencils to keep your lines precise.
- Always add seam allowances: Remember to include the extra space needed for sewing before you cut your fabric.
- Label everything: Include the grainline, piece name, and cutting instructions on every single pattern part.
- Test with muslin: Creating a mock-up is the best way to ensure a perfect fit and professional look.
- Refine your work: Pattern making is an iterative process that improves with every garment you create.
Frequently Asked Questions
What kind of paper is best for making patterns?
Many professionals use “spotted” pattern paper which has a grid of dots or numbers to help with alignment. For beginners, brown kraft paper or even rolls of medical exam paper work well because they are inexpensive and easy to find. If you want to see through the paper to trace existing designs, look for specialized Swedish tracing paper which is durable and sewable.
Do I need a dress form to make patterns?
While a dress form is helpful for draping and visualizing the 3D shape, it is not strictly necessary for flat pattern drafting. You can create highly accurate patterns using only your measurements and a set of rulers on a flat table. Many designers prefer flat drafting because it offers more mathematical precision for tailored garments.
Can I make a pattern from a piece of clothing I already own?
Yes, this is a popular method called “rub-off” or tracing. You can carefully pin the garment to a piece of paper and trace the seam lines using a tracing wheel. You must remember to add seam allowances to the resulting shapes, as the garment you traced already has them hidden inside the seams.
How do I know how much ease to add?
The amount of ease depends on the style of the garment and the type of fabric you are using. For a fitted blouse, you might add 2 inches of ease to the bust, while a winter coat might require 5 or 6 inches to fit over other layers. Stretchy fabrics require very little ease, and sometimes even “negative ease” where the pattern is smaller than the body.
Our Top Recommended Finds
- French Curve Ruler Set: These curved tools are vital for drawing professional-looking necklines, armholes, and hip curves.
- Pattern Notcher: This specialized tool cuts a small clean slit into the edge of your paper pattern to mark alignment points clearly.
- Tracing Wheel: A serrated wheel allows you to transfer lines from your paper pattern onto fabric or from one piece of paper to another.
Begin Your Custom Wardrobe Journey
Now that you understand the fundamental steps of drafting, you can begin experimenting with your own unique designs.
Start with a simple project like a basic skirt or a sleeveless top to build your confidence with the tools and techniques.
As you master the sloper and the mock-up process, you will find that the possibilities for your wardrobe are truly limitless.
Take your measurements today and draft your first template to see how much better a custom garment feels on your body.