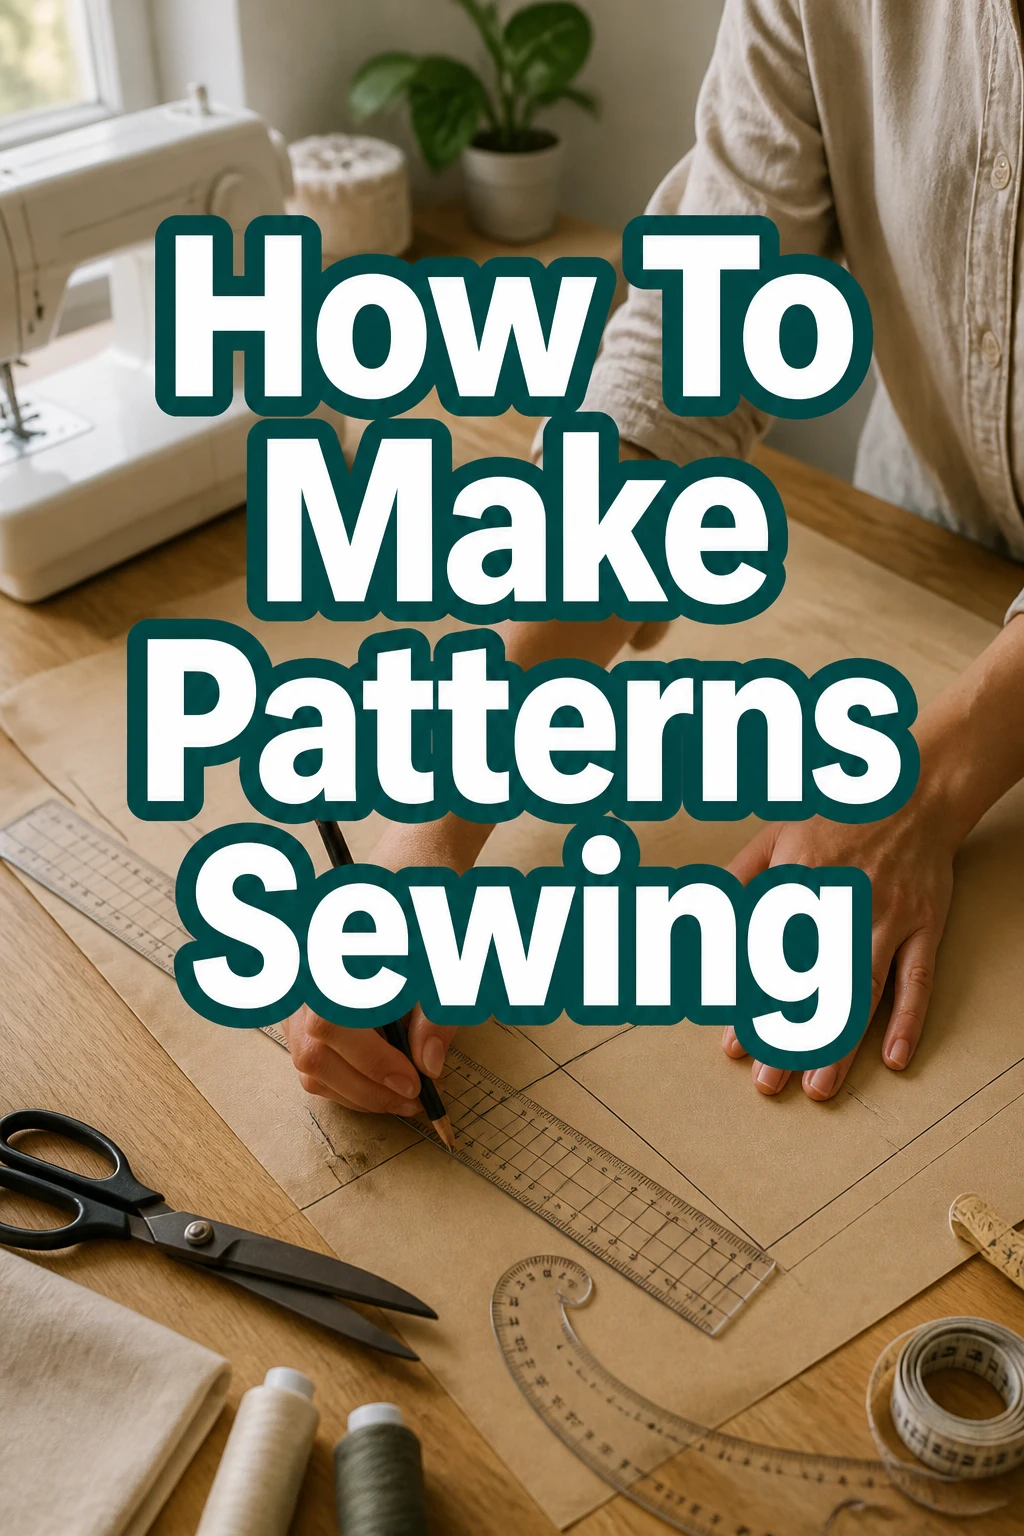
How To Make Patterns Sewing
Learning to make your own sewing patterns is a truly empowering skill.
I remember the frustration of finding a pattern almost perfect, but not quite, for my unique body shape or design vision.
This guide will walk you through the practical steps to create custom patterns that fit beautifully and bring your creative ideas to life.
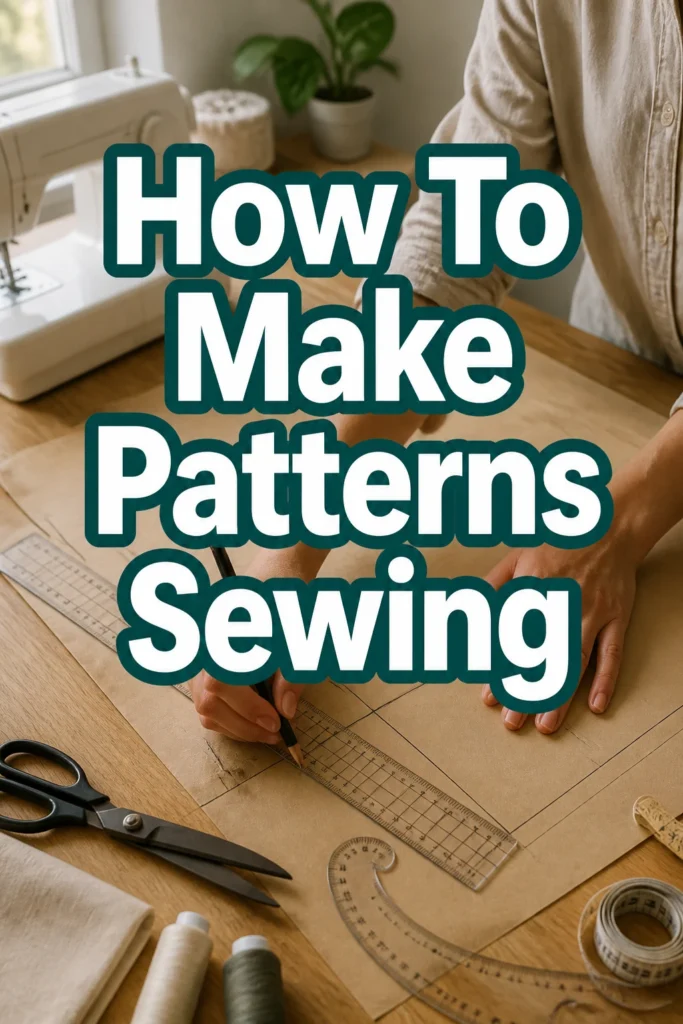
Quick Overview
In this guide, you will learn the fundamental process of creating custom sewing patterns from scratch. You will gain the skills to translate your design ideas into tangible pattern pieces, ready for fabric cutting and garment construction.
- Time needed: 8-12 hours for a basic pattern, spread over several sessions.
- Difficulty: Intermediate (requires patience and precision).
- What you’ll need: Measuring tape, paper (pattern paper, craft paper, or large rolls), pencils, rulers (straight and curved), scissors, French curve, hip curve, clear plastic ruler, fabric for a toile/muslin, basic sewing machine.
Step-by-Step Instructions
Step 1: Define Your Design and Take Accurate Measurements
Before drawing any lines, clearly visualize the garment you want to create. Sketch your design, considering necklines, sleeves, waistlines, and overall silhouette. This visual roadmap will guide your pattern-making process.
Gather all necessary body measurements for your specific garment. For a top, you’ll need bust, waist, hip, shoulder width, arm length, and back waist length. Use a flexible measuring tape and have someone assist you for accuracy.
Wear light clothing or undergarments to get the truest measurements. Record everything carefully in a notebook, labeling each measurement clearly.
Pro Tip: Measure twice, cut once applies even to pattern drafting. Inaccurate measurements are the leading cause of poor fit. Also, consider ease – the extra room in a garment for comfort and movement. Decide how much ease you want for your design.
Step 2: Choose Your Pattern Making Method
Several methods exist for creating sewing patterns. The most common for home sewers are flat pattern drafting and adapting existing patterns or blocks.
Flat pattern drafting involves drawing a pattern directly onto paper using measurements and mathematical calculations. This method offers ultimate customization and precision.
Alternatively, you can adapt a basic block (also known as a sloper), which is a fitted, basic pattern for a specific body type. Modifying a block saves time as it already has your fundamental fit.
For this guide, we will focus on the principles of flat pattern drafting, which you can also apply to adapting blocks.
Step 3: Gather and Prepare Your Tools and Workspace
Lay out all your essential tools. You’ll need a large, flat surface like a dining table or a dedicated cutting mat area. Ensure you have good lighting.
Unroll your pattern paper and secure it if needed to prevent shifting. Some people prefer using brown craft paper or even large sheets of newspaper taped together for initial drafts.
Have your pencils sharpened, erasers ready, and all rulers within easy reach. A dedicated pattern-making ruler with various curves can be incredibly helpful.
Step 4: Draft Your Basic Block (Sloper) Sections
Begin by drafting the core sections of your pattern. For a simple top, this typically includes the front bodice, back bodice, and sleeve. Start with a rectangle based on your bust/chest measurement and desired length.
Mark key points like the neckline, shoulder slope, armhole curve, bust point, waistline, and hip line using your body measurements. Use a straight ruler for straight lines and a French curve or hip curve for natural body curves.
Draw the front and back pieces separately, paying attention to details like shoulder darts, bust darts, and waist darts if your design requires them for shaping.
Pro Tip: Many excellent pattern drafting books and online resources offer detailed instructions and formulas for creating basic blocks. Follow one set of instructions consistently to ensure accuracy in your initial draft. Don’t be afraid to erase and redraw lines until they look right.
Step 5: Develop Your Design from the Basic Block
Once your basic block is drafted, you can start transforming it into your specific design. If you want a different neckline, redraw it directly onto your block, ensuring it’s symmetrical.
To add fullness for a gathered skirt, slash and spread your pattern pieces. For pleats or tucks, you’ll manipulate the paper by folding or adding extra width.
For sleeves, you might alter the length, add fullness, or change the cuff design. Always work on a copy of your basic block so you can refer back to the original.
Remember to maintain the integrity of the original fit points, especially around the shoulder and armhole, unless your design specifically alters them.
Step 6: Add Seam Allowances and Pattern Markings
After your design lines are finalized, you must add seam allowances to all edges where two pieces of fabric will be sewn together. Standard seam allowances are typically 1/2 inch or 5/8 inch (1.2 cm or 1.5 cm), but always check your preferred sewing practices.
Carefully measure and draw this allowance around all perimeter edges of your pattern pieces. Use a ruler to maintain consistent width.
Add essential pattern markings: grainlines (parallel to the selvage), notches (to align pieces), fold lines (for fabric cut on the fold), dart legs, button placements, and zipper placements. Label each pattern piece clearly (e.g., “Front Bodice,” “Back Sleeve,” “Cut 2”).
Pro Tip: Use a clear plastic ruler with a grid for easily adding consistent seam allowances. For curved edges, use a seam gauge or mark dots at the desired allowance and then connect them with a smooth curve.
Step 7: Create a Muslin (Toile) and Conduct a Fitting
Transfer your drafted pattern onto inexpensive fabric like muslin, calico, or an old bedsheet. Cut out all pieces carefully, making sure to transfer all notches and markings.
Baste (sew with long, temporary stitches) the muslin pieces together. Do not worry about finishing edges or precise closures at this stage; focus on the overall fit and shape.
Try on the muslin. Pin out excess fabric or pin in additional fabric where it feels too tight. Pay close attention to the shoulders, bust, waist, hips, and armholes. Check for drag lines, gaping, or pulling.
Step 8: Refine and Finalize Your Pattern
Carefully remove the muslin and lay it flat. Transfer all the adjustments you made during the fitting back onto your paper pattern. If you pinned out fabric, redraw the lines to reflect the smaller size. If you added fabric, extend your pattern lines.
Smooth out any jagged lines or awkward curves. Use your French curve and hip curve to ensure all new lines are fluid and aesthetically pleasing.
Double-check that all corresponding seams (e.g., side seams of front and back) still match in length after adjustments. Make any necessary corrections to notches or other markings.
Step 9: Transfer and Store Your Master Pattern
Once you are completely satisfied with the fit and design, trace your finalized pattern onto more durable pattern paper or even lightweight interfacing. This creates your master pattern, which you can use repeatedly.
Clearly label the master pattern with the garment name, size, date, and any specific notes about the fabric or fitting. Consider adding cutting instructions like “Cut 1 on fold” or “Cut 2.”
Store your patterns carefully. Rolling them up and securing them with a rubber band, or hanging them on a pattern hook, prevents creases and damage. Keep them in a dry, cool place away from direct sunlight.
Common Mistakes to Avoid
Ignoring Ease Requirements
Many new pattern makers draft patterns to exact body measurements, forgetting to add “ease” for movement and comfort. This results in garments that are too tight, restrictive, and uncomfortable to wear. Always factor in appropriate amounts of ease based on the garment style and fabric type.
Inaccurate Measurements
Rushing through the measuring process or not having someone assist you can lead to skewed measurements. Even a small error here will compound into significant fit issues later. Take your time, measure carefully, and double-check every number.
Skipping the Muslin/Toile
It’s tempting to jump straight to your final fabric, especially for simple designs. However, skipping the muslin fitting is a common mistake that often leads to wasted expensive fabric and disappointment. The muslin allows you to test the fit and make adjustments without risking your good material.
Neglecting Seam Allowances and Markings
Forgetting to add seam allowances means your cut fabric pieces will be too small, leading to an ill-fitting garment. Similarly, omitting grainlines, notches, and other critical markings will make the sewing process difficult and prone to errors in garment construction and alignment.
Troubleshooting
Garment is Too Tight/Small
If your muslin feels too tight, you likely didn’t add enough ease, or your initial body measurements were slightly off. Carefully mark on the muslin where you need more room. Remove the muslin and add the necessary amount to your pattern at those points, smoothing out the new lines.
Garment is Too Loose/Baggy
Excessive looseness indicates too much ease was added or your measurements were overestimated. Pin out the extra fabric directly on the muslin while wearing it. Transfer these adjustments back to your paper pattern by redrawing the lines to make the pattern pieces smaller.
Shoulder Seams Don’t Align
Misaligned shoulder seams often point to an incorrect shoulder slope or width measurement. Check your original body measurements for shoulder width and back waist length, as these affect shoulder placement. Adjust the shoulder line on both front and back pattern pieces to match perfectly.
Key Takeaways
- Accurate body measurements are the absolute foundation of successful pattern making.
- Always draft with ease in mind; exact body measurements will result in a garment that is too small.
- A muslin fitting is a crucial step for testing and refining your pattern before cutting into final fabric.
- Properly adding seam allowances and all necessary pattern markings ensures smooth construction.
- Patience and precision are your best allies throughout the pattern drafting and fitting process.
- Don’t be afraid to make mistakes; they are valuable learning opportunities.
Frequently Asked Questions
Can I make patterns without a dress form?
Yes, absolutely. While a dress form is helpful for draping, you can successfully create patterns using the flat pattern drafting method with just your body measurements and a flat surface. A helpful assistant for taking measurements is often more important than a dress form.
What’s the difference between a pattern block and a sloper?
These terms are often used interchangeably. Both refer to a basic, fitted pattern that represents the fundamental shape of a body part (e.g., bodice, skirt, sleeve) without any design features or seam allowances. They serve as a starting point for developing various garment styles.
How do I know what amount of ease to add?
The amount of ease depends entirely on the garment style and desired fit. For a fitted woven garment, minimal ease (1-2 inches) is appropriate. For loose, flowing garments, much more ease (4+ inches) might be needed. Research standard ease amounts for different garment types, or measure existing garments you like the fit of.
Is pattern making only for experienced sewers?
While pattern making does require some understanding of garment construction and takes practice, it is not exclusively for experienced sewers. Beginners with patience and a willingness to learn can certainly start making basic patterns. Start with simple shapes like skirts or basic tops before moving to more complex designs.
Our Top Recommended Finds
- Large Roll of Pattern Paper: Essential for drafting full-size patterns without running out. Look for dotted or gridded versions for easier alignment.
- Pattern Master Ruler Set: Includes a combination of straight, French curve, and hip curve rulers, streamlining the drawing of accurate garment curves.
- Muslin Fabric (unbleached): Inexpensive and perfect for creating toiles. Its stable weave makes it ideal for testing garment fit and structure.
Unleash Your Creative Vision
Making your own sewing patterns opens up a world of possibilities beyond store-bought options. You gain the freedom to create garments that perfectly fit your body and express your unique style.
Don’t let the initial complexity deter you. Start with a simple project, like a basic skirt or a sleeveless top, and build your skills gradually.
Embrace the process, learn from each attempt, and enjoy the profound satisfaction of wearing something truly custom-made by you. Begin your pattern-making journey today and transform your sewing experience.