11 Sewing Machine Basics For Beginners
Okay, so you just unboxed that shiny new sewing machine and now it’s staring at you, looking suspiciously like a complicated robot.
Don’t sweat it; we’ve all been there, wondering if we’ve bitten off more than we can stitch.
Let’s demystify this contraption and get you from ‘huh?’ to ‘heck yes!’ with these essential starting points.
1. Understanding Your Machine’s Anatomy
- Best For: Absolute novices, visual learners.
- Vibe: Getting acquainted, first date energy.
- Why it works: Knowing the parts makes instructions way less intimidating.
Before you even think about fabric, get cozy with your machine. Locate the presser foot, the needle plate, and the bobbin compartment.
Seriously, read the manual—it’s not just for emergency situations, though it often feels like it.
Pro Tip: Label key parts with painter’s tape if you’re feeling extra forgetful; no judgment here.
2. Threading the Machine
- Best For: Everyone, this is non-negotiable.
- Vibe: Following a treasure map, but with thread.
- Why it works: No thread, no stitch. Simple math.
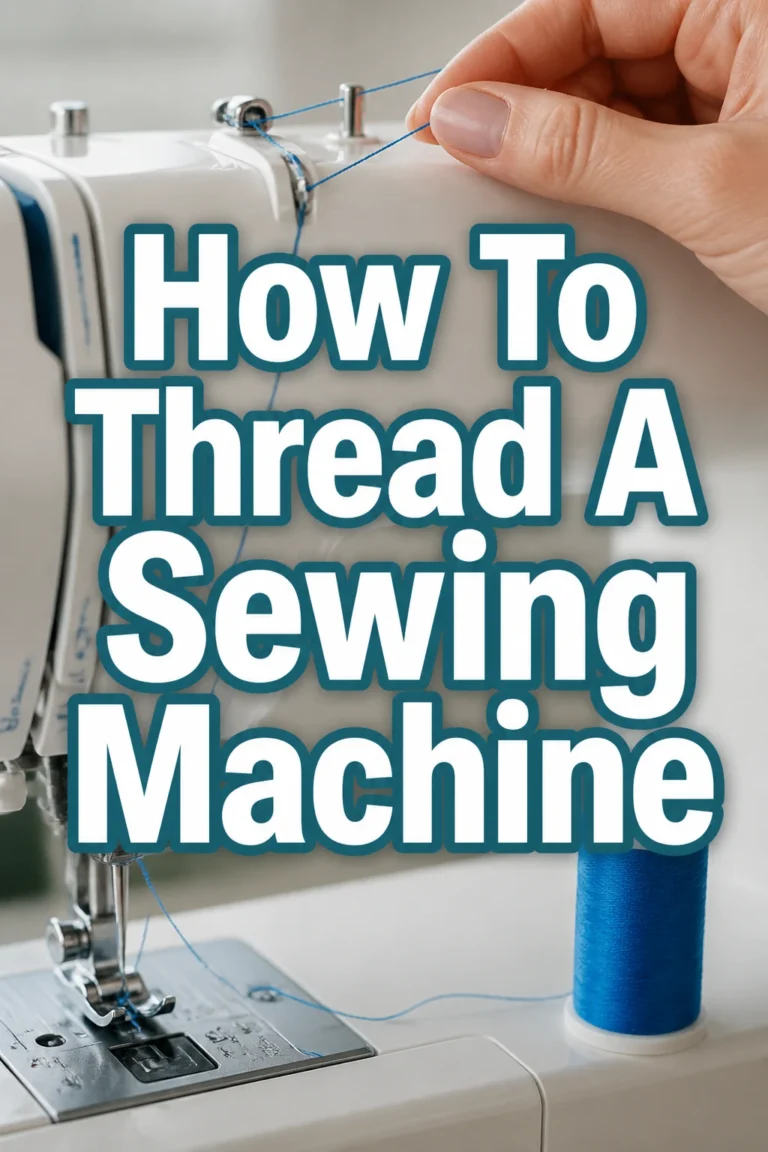
This is where the magic (or frustration) begins. Follow the numbered guides on your machine; they’re usually little arrows showing the path for your upper thread.
Make sure your presser foot is up when threading, otherwise the tension disks won’t properly grip the thread, leading to a tangled mess.
Pro Tip: Use a contrasting thread color initially so you can easily spot if it’s gone rogue.
3. Winding a Bobbin
- Best For: Anyone running low on bottom thread.
- Vibe: Prepping for battle, one tiny spool at a time.
- Why it works: The bobbin is your machine’s unsung hero, creating the bottom half of every stitch.
Your machine needs two threads to sew: one from the top and one from the bobbin underneath. Find your bobbin winder and follow the simple diagram.
Wind a few bobbins in your primary thread colors like black, white, and a neutral beige.
Pro Tip: Always wind a fresh bobbin before starting a new project; nothing worse than running out mid-seam.
4. Choosing the Right Needle
- Best For: Preventing skipped stitches and fabric damage.
- Vibe: Matchmaker, matchmaker, make me a match.
- Why it works: A dull or incorrect needle is a recipe for disaster.
Just like you wouldn’t use a butter knife for steak, don’t use a universal needle on everything. A ballpoint needle is for knits, a sharp needle for wovens, and a denim needle for, well, denim.
Needles also come in different sizes, typically 70/10 for fine fabrics and 90/14 for medium-weight cottons.
Pro Tip: Change your needle every 8-10 hours of sewing, or after every project, whichever comes first. They dull faster than you think.
5. Selecting Fabric and Thread
- Best For: Ensuring project success and aesthetic appeal.
- Vibe: Fashion stylist meets engineer.
- Why it works: The right combo means smooth sailing, the wrong means total meltdown.
Match your thread weight to your fabric weight. All-purpose polyester thread works for most projects, but consider cotton for quilting or silk for delicate items.
Starting with something stable like quilting cotton in a fun print is far easier than wrestling with slippery silk or stretchy knits.
Pro Tip: Always buy a good quality thread; cheap thread breaks easily and gums up your machine. Gutermann or Coats & Clark are solid choices.
6. Mastering Basic Stitches
- Best For: Building foundational sewing skills.
- Vibe: Learning to walk before you run, but with style.
- Why it works: Most projects only need a few core stitches.
Your machine probably has a gazillion stitches, but you’ll mostly use the straight stitch and the zigzag stitch.
Practice adjusting the stitch length and width on scrap fabric. A longer stitch length (around 2.5-3.0) is standard for seams.
Pro Tip: Don’t forget your reverse stitch button; it locks your stitches at the beginning and end of a seam to prevent unraveling. Genius, right?
7. Practicing Straight Lines and Curves
- Best For: Developing muscle memory and precision.
- Vibe: Driver’s ed for your hands and feet.
- Why it works: Control is king when you’re making things that actually fit.
Grab some scrap fabric and draw lines and curves with a fabric marker. Practice sewing directly on those lines, focusing on keeping your stitches even.
Use the feed dogs and the edge of your presser foot as guides for straight lines, keeping your eyes on the fabric, not the needle.
Pro Tip: Go slow. Seriously, slow down. Speed comes with practice, but accuracy is built on patience.
8. Troubleshooting Common Issues
- Best For: Saving your sanity and avoiding throwing the machine out the window.
- Vibe: Detective work, but for fabric.
- Why it works: Knowing what to check prevents minor hiccups from becoming major meltdowns.
If your machine is jamming or skipping stitches, don’t panic. First, re-thread the entire machine, both top and bobbin.
Check your needle; is it bent or dull? Is the bobbin wound correctly and inserted properly? Nine times out of ten, it’s a threading or needle issue.
Pro Tip: Always have a small pair of snips or a seam ripper handy for when things inevitably go wrong. It’s part of the process.
9. Basic Seam Finishes
- Best For: Making your projects look professional and last longer.
- Vibe: The glow-up your raw edges desperately need.
- Why it works: Unfinished seams fray, turning your hard work into a stringy mess.
Once you sew a seam, you’ll have raw edges that want to unravel. A simple zigzag stitch along the raw edge is a great beginner finish.
Alternatively, you can use pinking shears to trim the edges, which creates a jagged cut that helps prevent fraying.
Pro Tip: Practice on scraps. Some fabrics, like linen or loosely woven cotton, fray more aggressively and need a good finish.
10. Pressing Your Seams
- Best For: Professional-looking results and crisp edges.
- Vibe: The secret weapon for making handmade look store-bought.
- Why it works: Pressing isn’t just ironing; it’s shaping and setting your stitches.
This is arguably the most overlooked step by beginners, but it makes a HUGE difference. Always press your seams as you go, not just at the end.
Press seams open or to one side, depending on your pattern, using a good quality steam iron on an appropriate heat setting for your fabric.
Pro Tip: A pressing ham or a seam roll can be your best friend for pressing curved seams or sleeves without creating unwanted creases.
11. Machine Maintenance
- Best For: Extending your machine’s life and preventing costly repairs.
- Vibe: Showing your workhorse some love.
- Why it works: A clean machine is a happy machine that stitches smoothly.
Just like your car needs an oil change, your sewing machine needs regular cleaning. Remove the needle plate and use a small brush to clear out lint and dust around the feed dogs and bobbin area.
A little bit of TLC goes a long way. Consult your manual for specific oiling instructions, as not all machines require it.
Pro Tip: Keep a dedicated small brush and a tiny screwdriver (often included with your machine) near your sewing area for quick clean-ups.
Our Top Recommended Finds
- Olfa Rotary Cutter and Mat Set: Perfect for precise, straight cuts on fabric without needing scissors. Seriously, it’s a game-changer for speed and accuracy.
- Good Quality All-Purpose Thread (Gutermann or Coats & Clark): Investing in decent thread prevents tangles and skipped stitches, saving you major headaches down the line.
- Magnetic Seam Guide: Sticks to your machine’s needle plate and provides a perfect, consistent guide for your seam allowance. It’s like having training wheels for straight lines.
Which of these will you try first?
See? Your sewing machine isn’t a scary beast; it’s just a tool waiting for you to unleash your creative genius.
Go on, pick one of these basics and give it a whirl. Which tip are you most excited to tackle first?