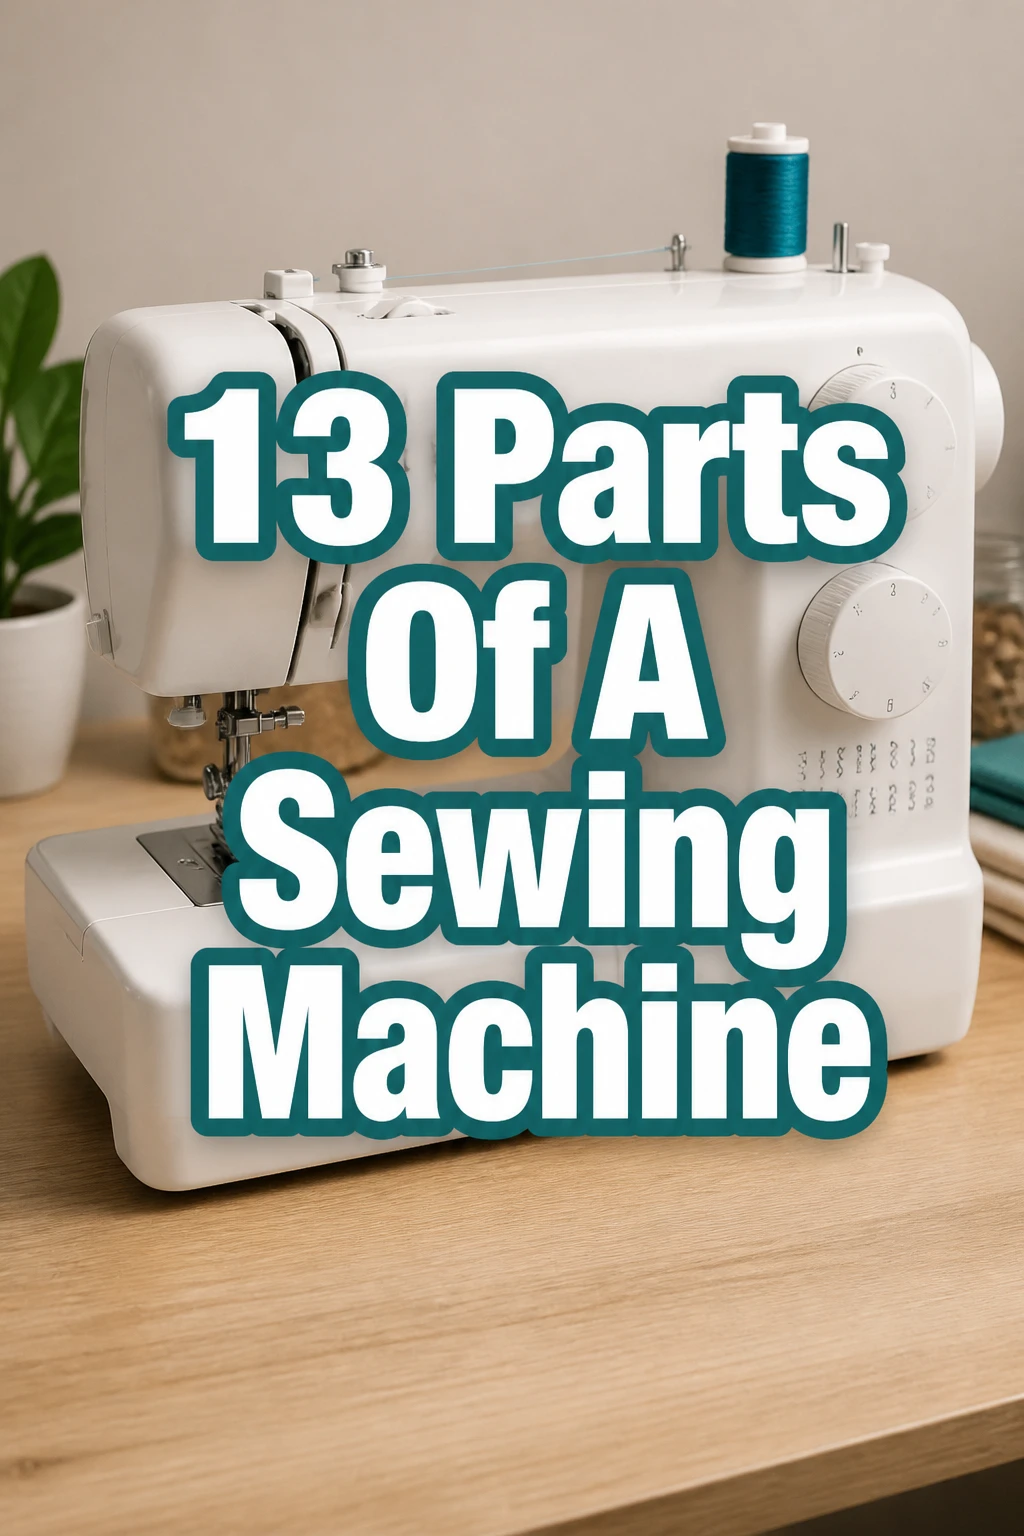
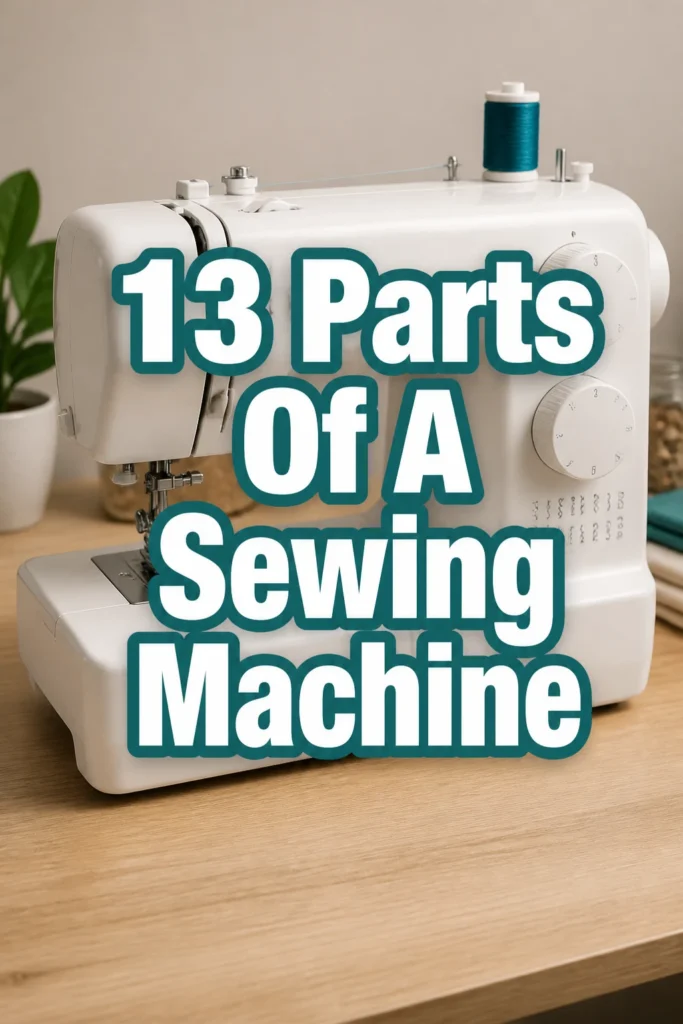
13 Parts Of A Sewing Machine
Ever stare at your sewing machine feeling like you need a secret decoder ring just to get started?
Seriously, it’s not a spaceship, but all those knobs and doodads can feel a bit much.
Don’t sweat it. We’re breaking down the essential bits so you can stitch like a boss, no engineering degree required.
1. The Needle
- Best For: Piercing fabric like a tiny, determined warrior.
- Vibe: Sharp, precise, sometimes a little temperamental.
- Why it works: It carries the upper thread through your fabric, creating that magical stitch.
This little guy is the true MVP, often made from hardened steel. You wouldn’t believe how many types exist, from universal to specialized denim needles that can punch through anything.
Always make sure you’re using the right size and type for your fabric, or prepare for some seriously sad-looking stitches and possibly a broken needle.
Pro Tip: Change your needle after every 8-10 hours of sewing, even if it looks fine. A dull needle causes skipped stitches and fabric snags.
2. The Presser Foot
- Best For: Holding your fabric down with gentle authority.
- Vibe: Firm, steady, surprisingly versatile.
- Why it works: It applies pressure to keep your fabric flat and moving evenly under the needle.
Think of the presser foot as your fabric’s personal bodyguard. It comes in various styles, like the standard zigzag foot or a fancy zipper foot that lets you get super close to the teeth.
Most are metal, but you can find clear plastic ones for better visibility, especially when you’re trying to stay on a straight line. Without it, your fabric would just bounce around like it’s at a rave.
Pro Tip: Invest in a walking foot for tricky fabrics like knits or quilting multiple layers. It helps prevent stretching and puckering.
3. The Bobbin
- Best For: Supplying the crucial under-thread for every stitch.
- Vibe: Hidden hero, easily overlooked but totally essential.
- Why it works: It holds the lower thread that interlocks with the upper thread to form a stitch.
This small spool, often clear plastic or metal, lives a secret life beneath your needle plate. It’s where the bottom thread hangs out, waiting for its cue.
Winding it correctly is a rite of passage for every sewist; mess it up and your stitches will look like a hot mess. Always use the bobbin type specified for your machine, because they’re not all universal.
Pro Tip: Keep several bobbins pre-wound with your most-used thread colors like black, white, and cream. Your future self will thank you.
4. The Spool Pin
- Best For: Giving your thread spool a comfy perch.
- Vibe: Simple, upright, a loyal thread holder.
- Why it works: It securely holds the spool of upper thread so it can unwind smoothly during sewing.
This is usually a vertical or horizontal pin, often metal or plastic, sticking up from the top of your machine. It’s where your main thread spool sits, patiently feeding thread through the system.
Some machines have multiple spool pins for twin needle sewing or just holding an extra spool. It’s not glamorous, but without it, your thread would be rolling around on the floor, getting tangled.
Pro Tip: Use a felt pad under your spool on horizontal spool pins to ensure smooth, snag-free thread delivery.
5. The Thread Guide
- Best For: Directing your thread on its proper, twisty journey.
- Vibe: Unsung navigator, keeping things in line.
- Why it works: It directs the thread along a specific path to ensure correct tension and smooth feeding to the needle.
These are a series of hooks, loops, and slots, often metal or plastic, that your thread must pass through before it reaches the needle. They look innocent, but skipping one is a rookie mistake that causes major headaches.
Following the correct threading path is critical for achieving perfectly balanced stitches. It’s like a tiny obstacle course for your thread.
Pro Tip: Always re-thread your machine with the presser foot up. This opens the tension discs, ensuring the thread seats properly.
6. The Tension Dial
- Best For: Playing Goldilocks with your thread—not too tight, not too loose.
- Vibe: Fussy, precise, the arbiter of stitch perfection.
- Why it works: It controls the tightness of the upper thread, ensuring balanced stitches with the bobbin thread.
This little dial, usually with numbers from 0-9, dictates how much resistance your upper thread encounters. Getting the tension just right is the secret to strong, beautiful stitches on both sides of your fabric.
Too high, and your fabric will pucker; too low, and your stitches will look like saggy loops. It’s a delicate dance, but once you get it, you’ll feel like a genius.
Pro Tip: When in doubt, start with the tension dial set to the middle (usually 4 or 5) and adjust from there on a scrap piece of your project fabric.
7. The Handwheel
- Best For: Manual, slow-motion control of your needle.
- Vibe: Old school, deliberate, perfect for precision turns.
- Why it works: It manually raises and lowers the needle, giving you fine control over stitch placement.
This large, usually black or gray plastic wheel on the right side of your machine is your manual override. Turn it towards you to slowly raise or lower the needle, perfect for starting seams precisely or navigating tricky corners.
It’s invaluable for those moments when you need to be super precise, like when you’re hand-cranking the first few stitches of a delicate fabric. Just don’t crank it away from you, unless you like tangled thread.
Pro Tip: Always make sure your needle is in the highest position before removing fabric to prevent bending or breaking it.
8. The Foot Pedal
- Best For: Channeling your inner race car driver, but for sewing.
- Vibe: Responsive, powerful, the accelerator for your stitches.
- Why it works: It controls the sewing speed, allowing you to sew faster or slower depending on the pressure applied.
The foot pedal, often a sleek black plastic rectangle on the floor, is your speed control. Press it gently for a slow, steady pace, or floor it (carefully!) for a burst of speed.
Mastering the sensitivity of your foot pedal is key to smooth sewing without sudden jerks. It’s like learning to drive a car, but with less risk of a fender bender.
Pro Tip: Practice on scrap fabric just using your foot pedal to get a feel for the speed control before tackling your actual project.
9. The Stitch Selector
- Best For: Choosing your stitch adventure.
- Vibe: Creative, versatile, the menu for your sewing machine.
- Why it works: It allows you to select different stitch patterns, like straight, zigzag, or decorative stitches.
This is where the magic happens, usually a dial or buttons on the front of your machine. It lets you pick from a basic straight stitch to a fancy zigzag or even a buttonhole stitch.
Modern machines can have dozens of options, indicated by clear icons, letting you tackle everything from mending to elaborate embroidery. Don’t be afraid to experiment with different stitches.
Pro Tip: Always test a new stitch setting on a scrap of your project fabric to ensure it looks good and works with your material.
10. The Reverse Lever Button
- Best For: Locking down your stitches like a pro.
- Vibe: Practical, secure, the little button that prevents unraveling.
- Why it works: It allows the machine to sew backward, securing the beginning and end of seams.
This small lever or button, often located near the needle area, is your secret weapon against unraveling seams. Press and hold it to make your machine stitch backward for a few stitches.
It’s essential for “backtacking” or “reinforcing” the beginning and end of every seam. Without it, your carefully sewn projects might just fall apart at the slightest tug, which is just rude.
Pro Tip: Always backstitch at the beginning and end of every seam for about 3-4 stitches to prevent your work from coming undone.
11. The Feed Dogs
- Best For: Gently pulling your fabric along, like a tiny conveyor belt.
- Vibe: Grippy, rhythmic, the unsung mover and shaker.
- Why it works: These small teeth move the fabric under the presser foot, ensuring even stitch length.
These are the two rows of tiny, often serrated metal teeth located directly under the presser foot. They pop up and down, grabbing your fabric and moving it precisely forward with each stitch.
They ensure your stitches are even and consistent, preventing your fabric from bunching up. Some machines let you drop the feed dogs for free-motion quilting or embroidery, which is pretty neat.
Pro Tip: If your fabric isn’t moving smoothly, check for lint buildup around the feed dogs. A small brush can work wonders.
12. The Needle Plate
- Best For: Providing a smooth, flat surface for your fabric.
- Vibe: Stable, guiding, the stage for your sewing performance.
- Why it works: It covers the bobbin area and provides seam allowance markings to guide your fabric.
This is the flat metal plate directly under the needle and presser foot. It has a small hole where the needle goes through and often features engraved lines for seam allowances, like a built-in ruler.
Those lines are your best friend for keeping your seams straight and consistent, whether you need a 1/4-inch or 5/8-inch allowance. Keep it clean for smooth fabric feeding.
Pro Tip: Use a magnetic seam guide placed on your needle plate for extra help maintaining a perfectly straight seam allowance, especially for beginners.
13. The Light
- Best For: Illuminating your workspace, because who sews in the dark?
- Vibe: Bright, helpful, preventing eyestrain.
- Why it works: It provides essential illumination to see your fabric and stitches clearly while sewing.
Most modern machines come with a built-in light, often an LED bulb, shining directly onto your needle area. It might seem like a minor detail, but trust us, it’s a game-changer.
Trying to sew without proper lighting is a recipe for headaches and crooked stitches. A well-lit workspace helps you see those tiny threads and intricate details, saving your eyes from unnecessary strain.
Pro Tip: Even with a built-in light, consider adding an adjustable task lamp to your sewing area for optimal visibility and to reduce shadows.
Our Top Recommended Finds
- A sturdy pair of fabric shears: Because dull scissors are the enemy of smooth cuts.
- A good quality seam ripper: For those inevitable “oops” moments, because perfection is overrated.
- A set of assorted machine needles: Having the right needle for every fabric will save you endless frustration.
Which of these will you try first?
Now that you know the ins and outs of your sewing machine, you’re officially ready to conquer those fabric mountains. Go forth and create something amazing!