13 Sewing Tips And Tricks For Beginners
So, you finally decided to brave the sewing machine, huh?
We get it. That thing can look a little intimidating, like a metal beast just waiting to eat your fabric.
But honestly, it’s not as scary as it looks. You just need a few solid pointers to get past that initial “what even is this contraption” stage.
Let’s dive into some no-nonsense tips that’ll have you whipping up cool stuff in no time, without the usual beginner blunders.
1. Befriend Your Machine Manual
- Best For: First-timers, anyone who’s ever uttered “how do I thread this thing”
- Vibe: Practical, foundational
- Why it works: It’s literally the instruction book for your specific model.
Seriously, this isn’t just a dusty old pamphlet. Your manual holds the keys to threading, bobbin winding, and stitch selection for your exact model. Ignore it at your peril; trust us, we’ve been there, staring blankly at a tangled mess.
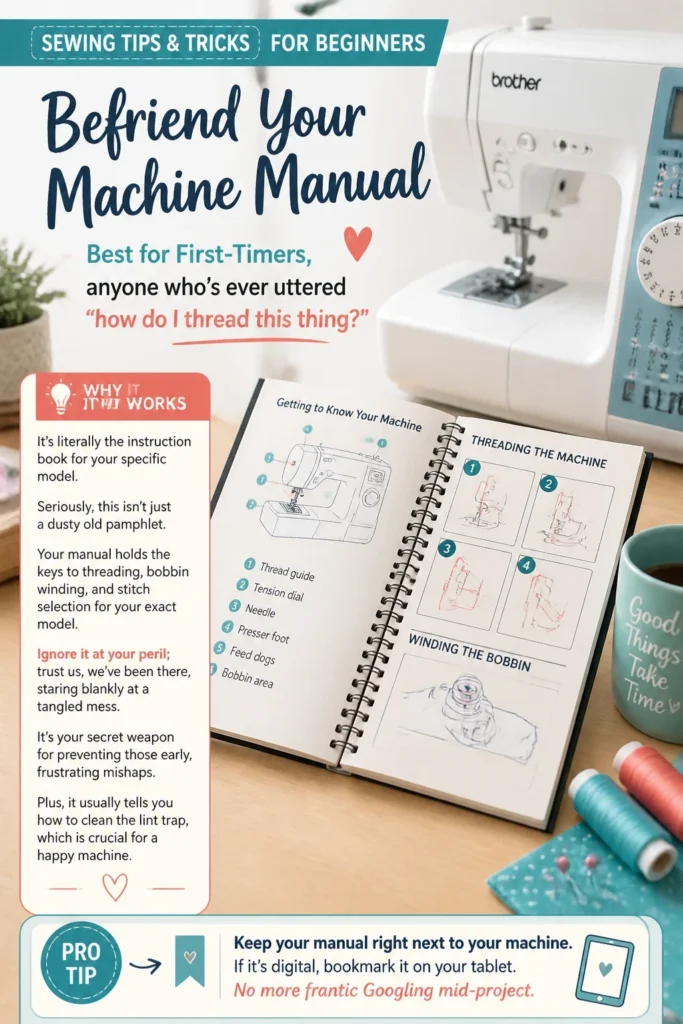
It’s your secret weapon for preventing those early, frustrating mishaps. Plus, it usually tells you how to clean the lint trap, which is crucial for a happy machine.
Pro Tip: Keep your manual right next to your machine. If it’s digital, bookmark it on your tablet. No more frantic Googling mid-project.
2. Start With Simple Fabric
- Best For: Absolute novices, practicing straight seams
- Vibe: Low-stress, confidence-building
- Why it works: Easy to cut, pin, and sew without slipping or stretching.
Ditch the silk and satin for now. We’re talking about quilting cotton or a sturdy linen blend. These fabrics are forgiving, hold their shape, and don’t slide around like they’re on ice skates.
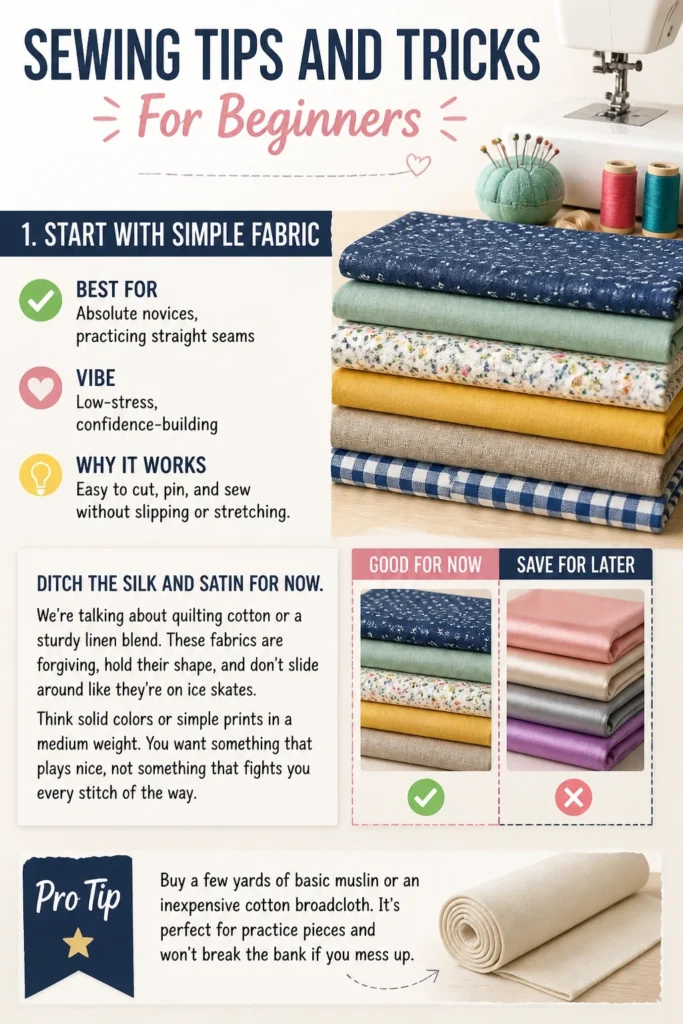
Think solid colors or simple prints in a medium weight. You want something that plays nice, not something that fights you every stitch of the way. Save the slippery stuff for when you’re a sewing wizard.
Pro Tip: Buy a few yards of basic muslin or an inexpensive cotton broadcloth. It’s perfect for practice pieces and won’t break the bank if you mess up.
3. Master the Straight Stitch First
- Best For: Developing muscle memory, basic construction
- Vibe: Essential, building blocks
- Why it works: It’s the most common stitch and forms the backbone of almost every project.
Before you get fancy with zigzags or decorative stitches, nail the straight line. Practice on scrap fabric, drawing lines with a fabric marker, and trying to follow them perfectly. Focus on keeping an even seam allowance.
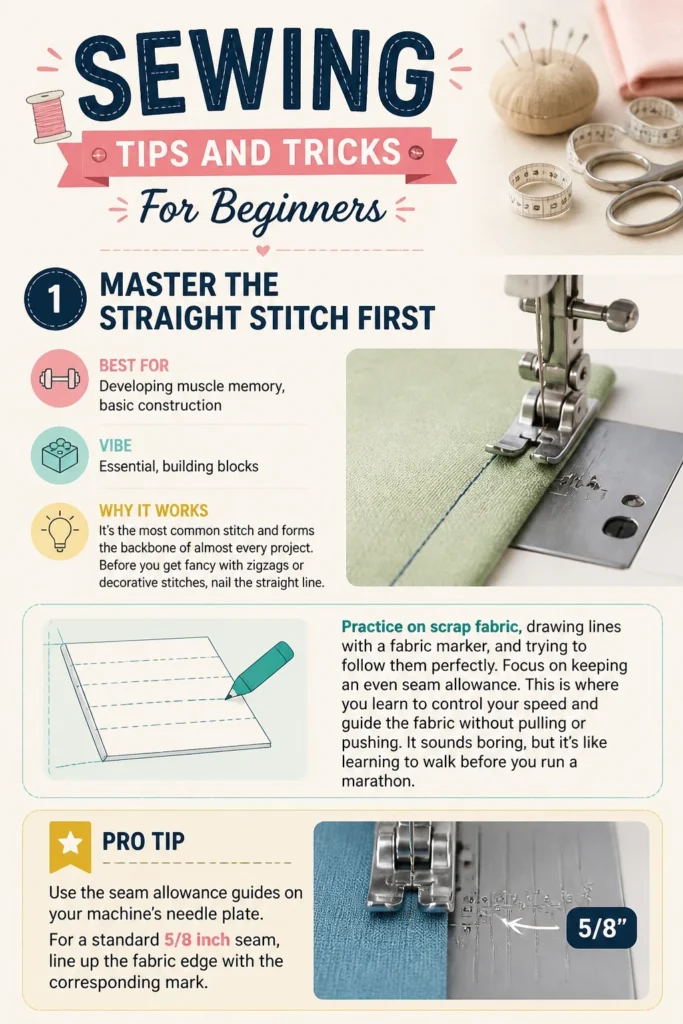
This is where you learn to control your speed and guide the fabric without pulling or pushing. It sounds boring, but it’s like learning to walk before you run a marathon.
Pro Tip: Use the seam allowance guides on your machine’s needle plate. For a standard 5/8 inch seam, line up the fabric edge with the corresponding mark.
4. Invest in Good Scissors
- Best For: Accurate cutting, preventing fabric distortion
- Vibe: Professional, precise
- Why it works: Sharp scissors make clean cuts, which are essential for well-fitting pieces.
Seriously, this is non-negotiable. Get a pair of fabric-only scissors and guard them with your life. Tell everyone in your household these are for fabric ONLY. No paper, no cardboard, no attacking rogue threads on your partner’s shirt.
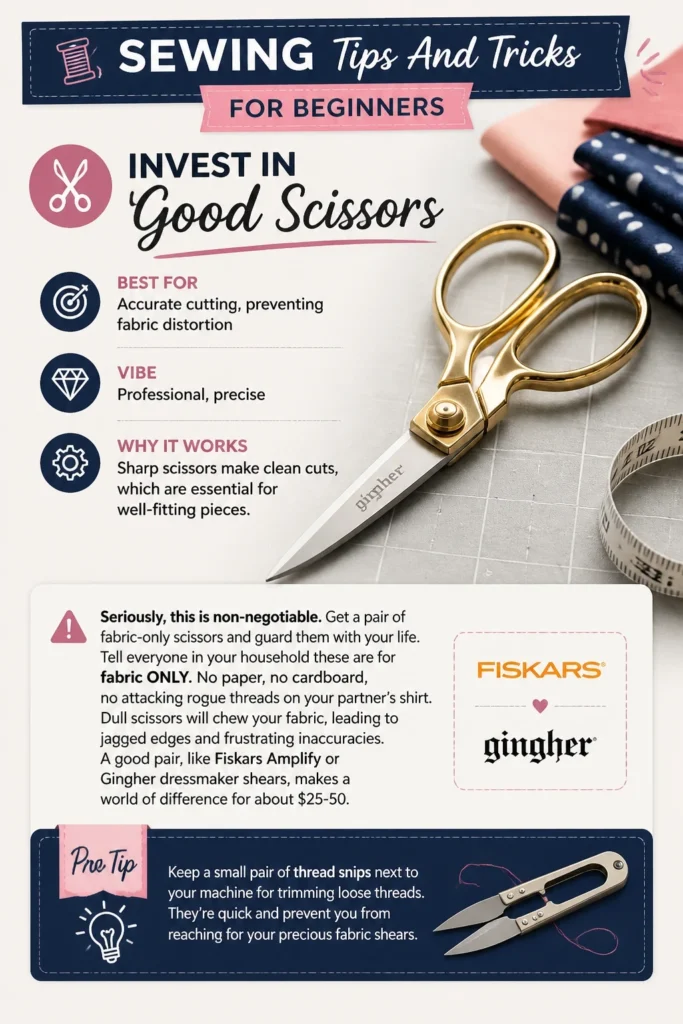
Dull scissors will chew your fabric, leading to jagged edges and frustrating inaccuracies. A good pair, like Fiskars Amplify or Gingher dressmaker shears, makes a world of difference for about $25-50.
Pro Tip: Keep a small pair of thread snips next to your machine for trimming loose threads. They’re quick and prevent you from reaching for your precious fabric shears.
5. Pin Like a Pro
- Best For: Holding fabric layers together, matching seams
- Vibe: Organized, secure
- Why it works: Prevents fabric shifting, especially on longer seams.
Don’t be shy with the pins. They’re your temporary best friends. Pin often, especially at seam intersections, curves, and where you need to match patterns. Point the pins perpendicular to your seam line, with the heads facing out.
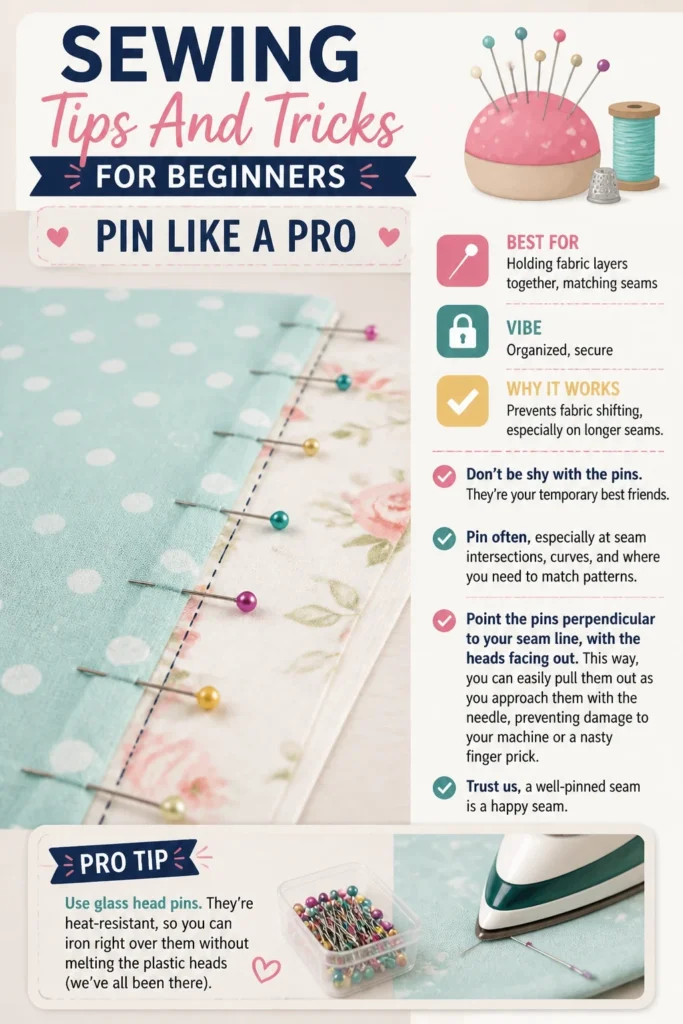
This way, you can easily pull them out as you approach them with the needle, preventing damage to your machine or a nasty finger prick. Trust us, a well-pinned seam is a happy seam.
Pro Tip: Use glass head pins. They’re heat-resistant, so you can iron right over them without melting the plastic heads (we’ve all been there).
6. Pressing is Your Other Best Friend
- Best For: Crisp seams, professional finish
- Vibe: Refined, polished
- Why it works: Heat sets stitches and flattens seams, making your project look infinitely better.
Do not skip pressing. It’s not just ironing; it’s a critical step after almost every seam. Press seams open, press hems, press darts. It helps your fabric lie flat and makes subsequent sewing steps much easier and more accurate.
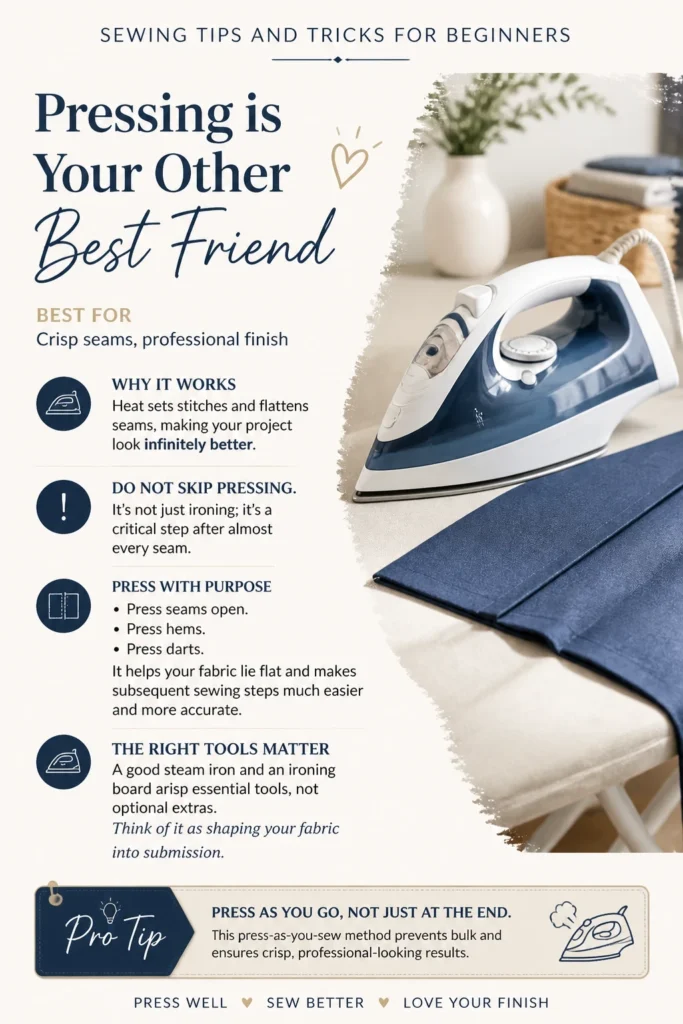
A good steam iron and an ironing board are essential tools, not optional extras. Think of it as shaping your fabric into submission.
Pro Tip: Press as you go, not just at the end. This “press-as-you-sew” method prevents bulk and ensures crisp, professional-looking results.
7. Use the Right Needle for Your Fabric
- Best For: Preventing skipped stitches, fabric damage
- Vibe: Informed, preventative
- Why it works: A needle suited to the fabric glides through smoothly.
This is a big one. You wouldn’t use a hammer to drive a screw, right? Same principle applies here. Use a universal needle for most woven cottons, a ballpoint or stretch needle for knits, and a denim needle for heavier fabrics.
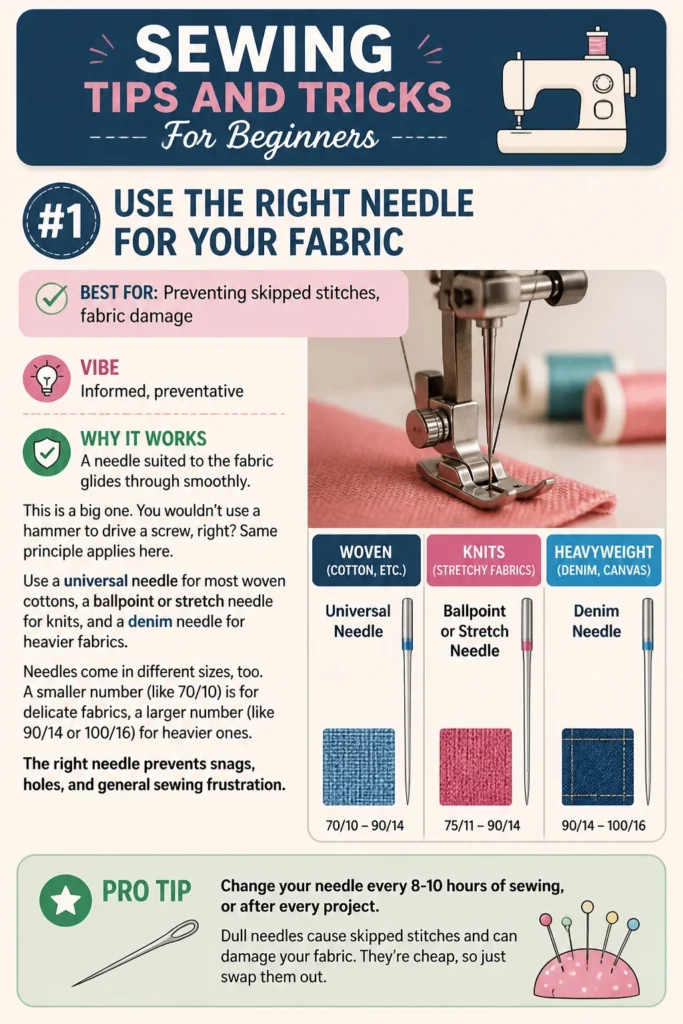
Needles come in different sizes, too. A smaller number (like 70/10) is for delicate fabrics, a larger number (like 90/14 or 100/16) for heavier ones. The right needle prevents snags, holes, and general sewing frustration.
Pro Tip: Change your needle every 8-10 hours of sewing, or after every project. Dull needles cause skipped stitches and can damage your fabric. They’re cheap, so just swap them out.
8. Always Test Your Stitch
- Best For: Adjusting tension, checking stitch length
- Vibe: Cautious, prepared
- Why it works: Ensures your settings are perfect before you commit to your project.
Before you start sewing on your actual project fabric, grab a scrap piece of the exact same fabric. Fold it over twice, mimicking a seam, and sew a few inches. Check the stitch quality on both sides.
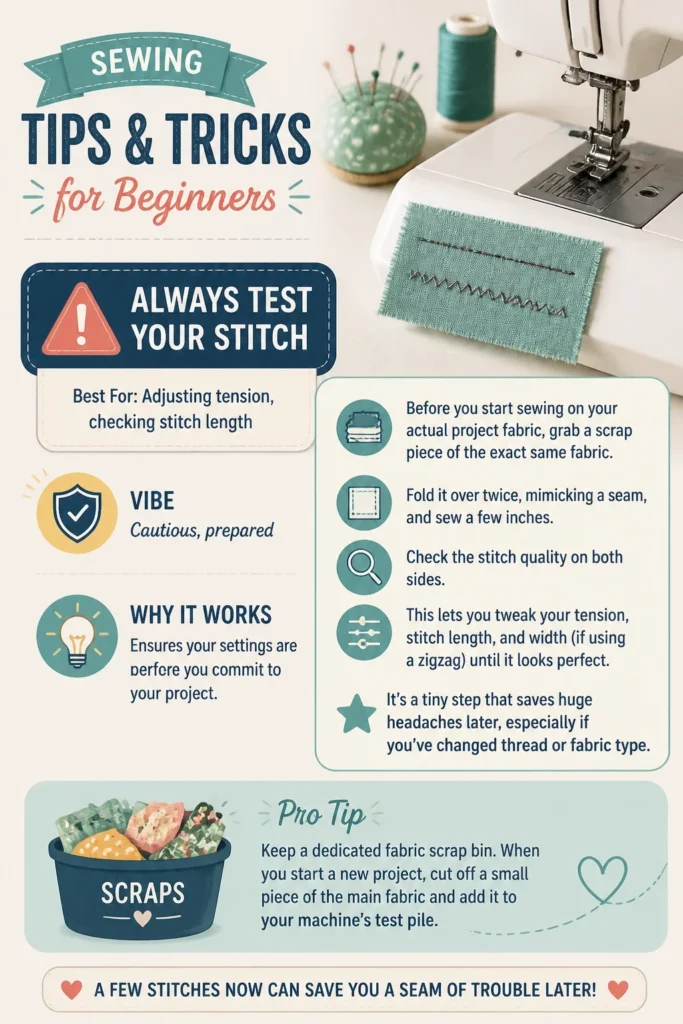
This lets you tweak your tension, stitch length, and width (if using a zigzag) until it looks perfect. It’s a tiny step that saves huge headaches later, especially if you’ve changed thread or fabric type.
Pro Tip: Keep a dedicated fabric scrap bin. When you start a new project, cut off a small piece of the main fabric and add it to your machine’s test pile.
9. Use Quality Thread
- Best For: Durable seams, preventing breakage
- Vibe: Reliable, strong
- Why it works: Cheap thread breaks easily and can cause machine issues.
Don’t skimp on thread. It’s the literal glue holding your project together. Invest in a good quality polyester all-purpose thread like Gutermann or Coats & Clark Dual Duty XP. These threads are strong, consistent, and less likely to fray or break.
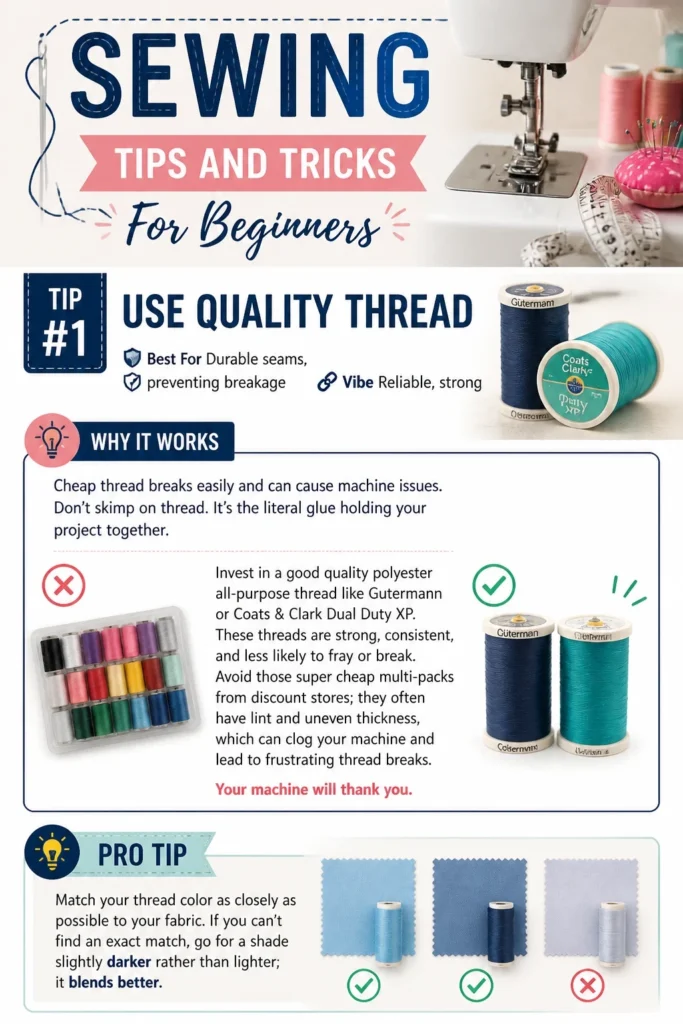
Avoid those super cheap multi-packs from discount stores; they often have lint and uneven thickness, which can clog your machine and lead to frustrating thread breaks. Your machine will thank you.
Pro Tip: Match your thread color as closely as possible to your fabric. If you can’t find an exact match, go for a shade slightly darker rather than lighter; it blends better.
10. Finish Your Seam Edges
- Best For: Preventing fraying, durable garments
- Vibe: Neat, long-lasting
- Why it works: Stops fabric from unraveling, especially after washing.
Once you’ve sewn a seam, those raw edges are just waiting to unravel in the wash. You can use a simple zigzag stitch along the raw edges, or a serger if you’re feeling fancy (and have one).
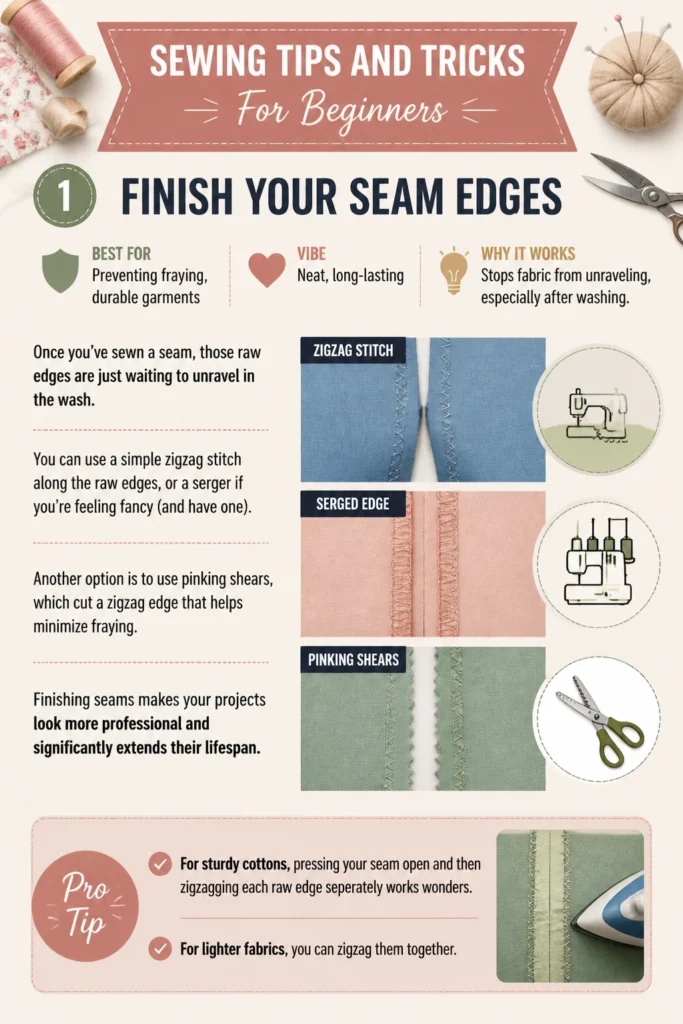
Another option is to use pinking shears, which cut a zigzag edge that helps minimize fraying. Finishing seams makes your projects look more professional and significantly extends their lifespan.
Pro Tip: For sturdy cottons, pressing your seam open and then zigzagging each raw edge separately works wonders. For lighter fabrics, you can zigzag them together.
11. Take Your Time
- Best For: Accuracy, reducing mistakes
- Vibe: Patient, mindful
- Why it works: Rushing leads to errors, crooked seams, and frustration.
Sewing is not a race. Go at a comfortable pace. If you find yourself speeding up and making mistakes, take a deep breath and slow down. Use your machine’s speed control if it has one, or simply ease up on the foot pedal.
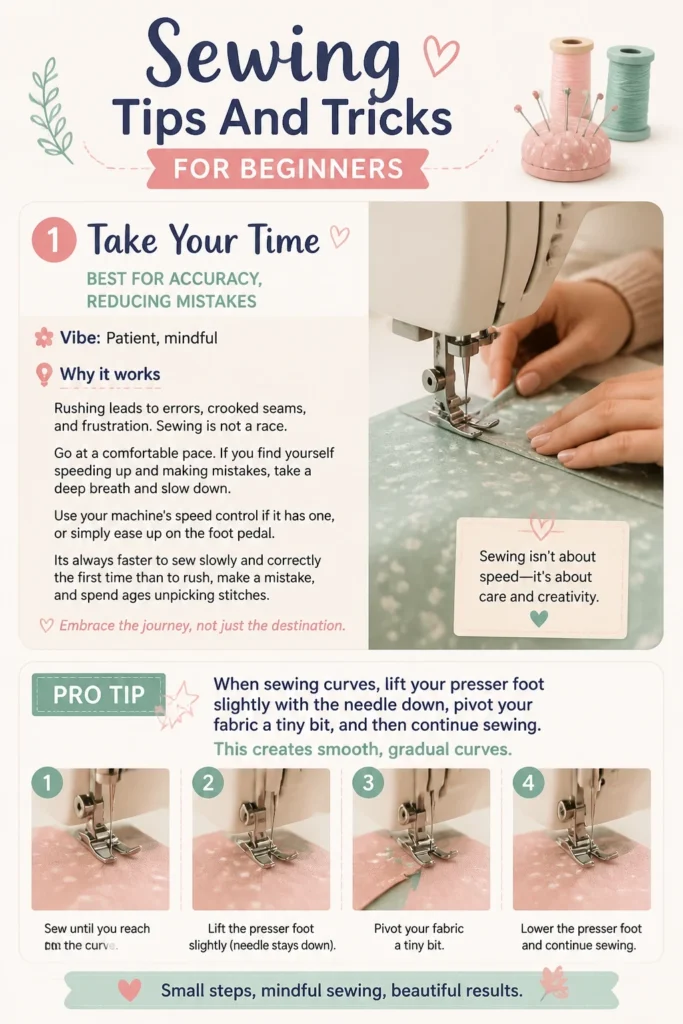
It’s always faster to sew slowly and correctly the first time than to rush, make a mistake, and spend ages unpicking stitches. Embrace the journey, not just the destination.
Pro Tip: When sewing curves, lift your presser foot slightly with the needle down, pivot your fabric a tiny bit, and then continue sewing. This creates smooth, gradual curves.
12. Unpick With Grace
- Best For: Correcting mistakes, learning from errors
- Vibe: Forgiving, resilient
- Why it works: Mistakes happen, and a seam ripper is your best friend for fixing them.
You WILL make mistakes. It’s part of the learning process. The seam ripper is an indispensable tool, and you should view it as a necessary part of your kit, not a sign of failure. Embrace the unpicking.
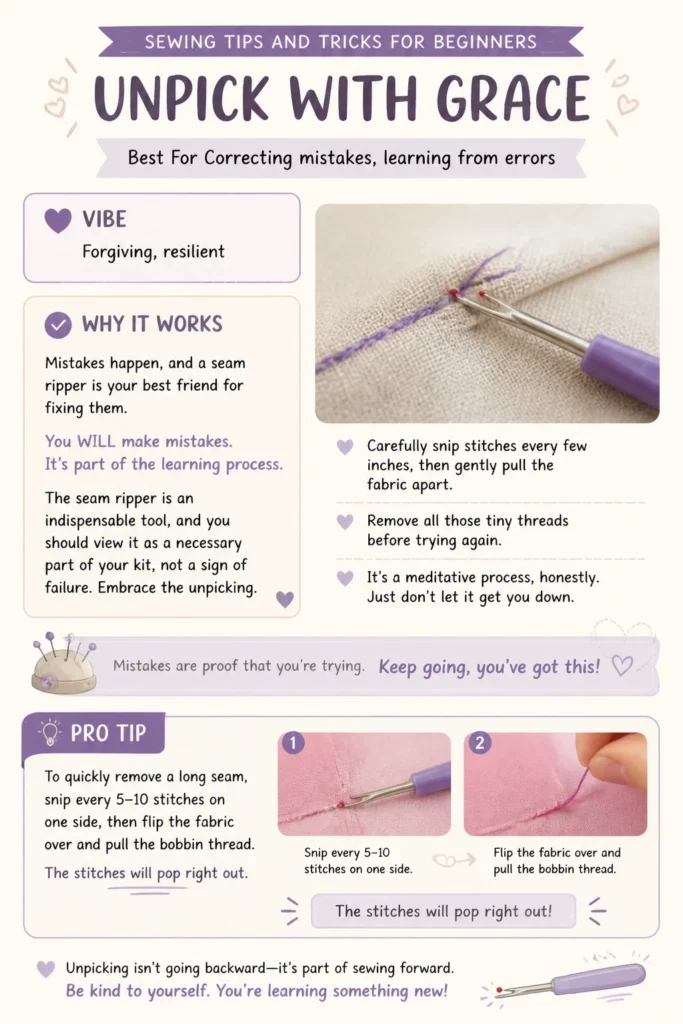
Carefully snip stitches every few inches, then gently pull the fabric apart. Remove all those tiny threads before trying again. It’s a meditative process, honestly. Just don’t let it get you down.
Pro Tip: To quickly remove a long seam, snip every 5-10 stitches on one side, then flip the fabric over and pull the bobbin thread. The stitches will pop right out.
13. Start With a Simple Project
- Best For: Building confidence, immediate gratification
- Vibe: Achievable, motivating
- Why it works: A quick win keeps you engaged and eager for more.
Don’t jump straight into a ball gown. Think small. A simple tote bag, a pillow cover, a set of cloth napkins, or even a basic elastic-waist skirt are fantastic first projects. They involve mostly straight lines and teach fundamental techniques.
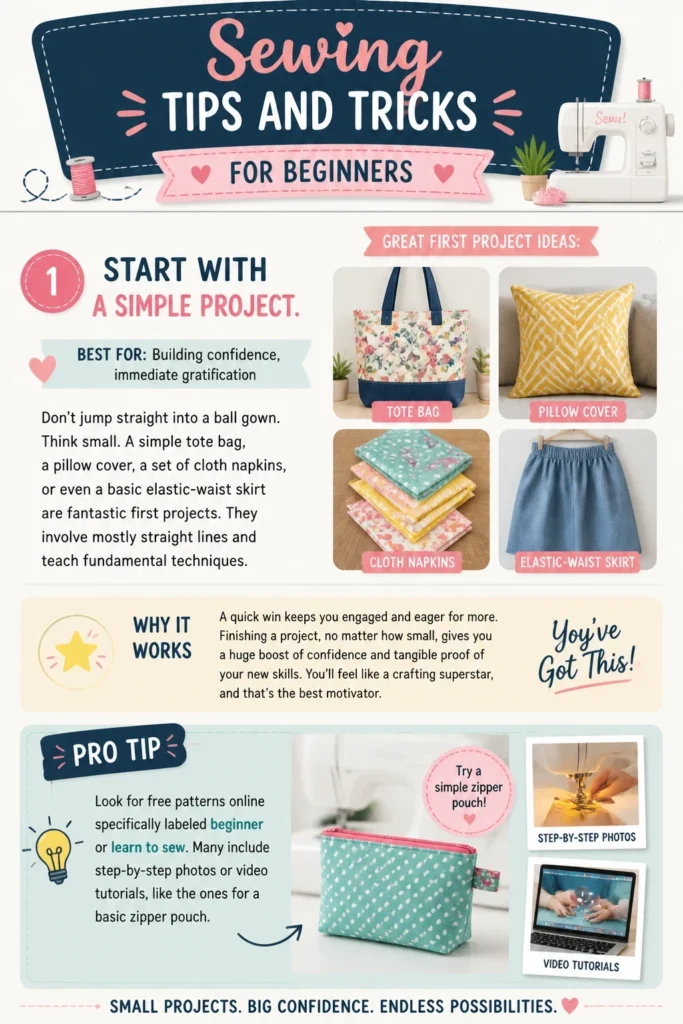
Finishing a project, no matter how small, gives you a huge boost of confidence and tangible proof of your new skills. You’ll feel like a crafting superstar, and that’s the best motivator.
Pro Tip: Look for free patterns online specifically labeled “beginner” or “learn to sew.” Many include step-by-step photos or video tutorials, like the ones for a basic zipper pouch.
Our Top Recommended Finds
- A good quality seam ripper: This will be your most used tool, trust us. A comfortable handle makes all the difference when you’re correcting those “learning opportunities.”
- Glass head pins: Essential for ironing without melting plastic, these pins are a small upgrade that makes a huge impact on your workflow.
- All-purpose polyester thread: Investing in a few spools of reliable, strong thread in common colors (like black, white, and a neutral grey) will save you from frustrating thread breaks and machine jams.
Which of these will you try first?
See? That wasn’t so bad. You’re now armed with some seriously good advice to tackle that sewing machine with confidence. No more fear, just fabric and fantastic possibilities.
So, which of these beginner-friendly tips are you going to implement on your very next project? Let us know in the comments!