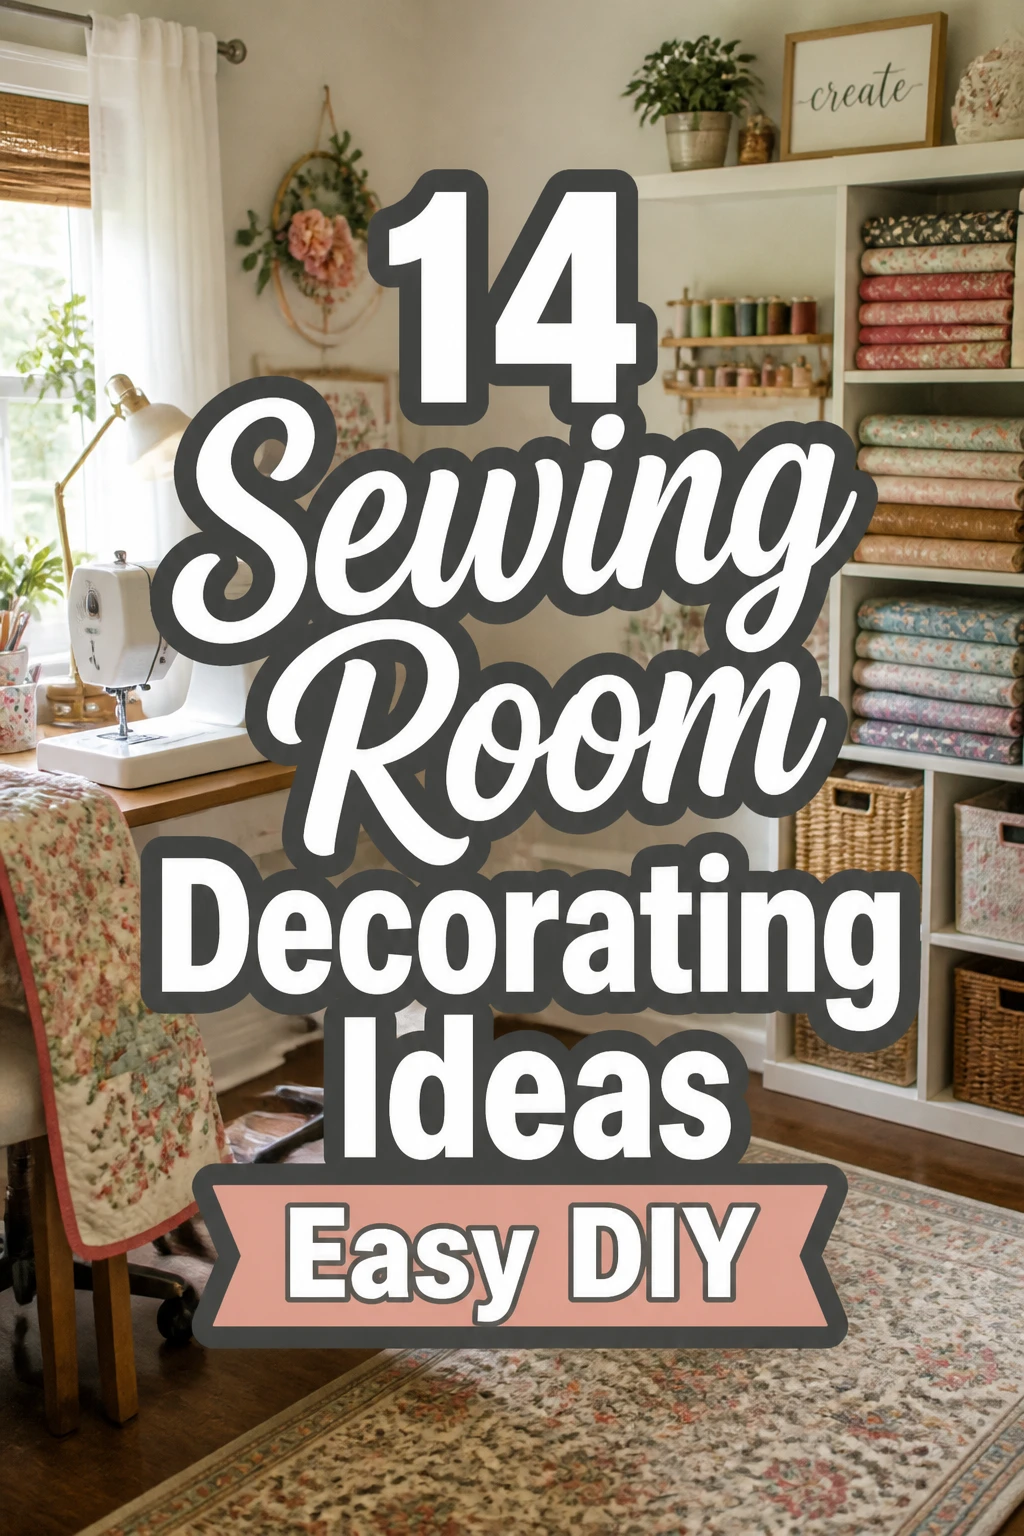
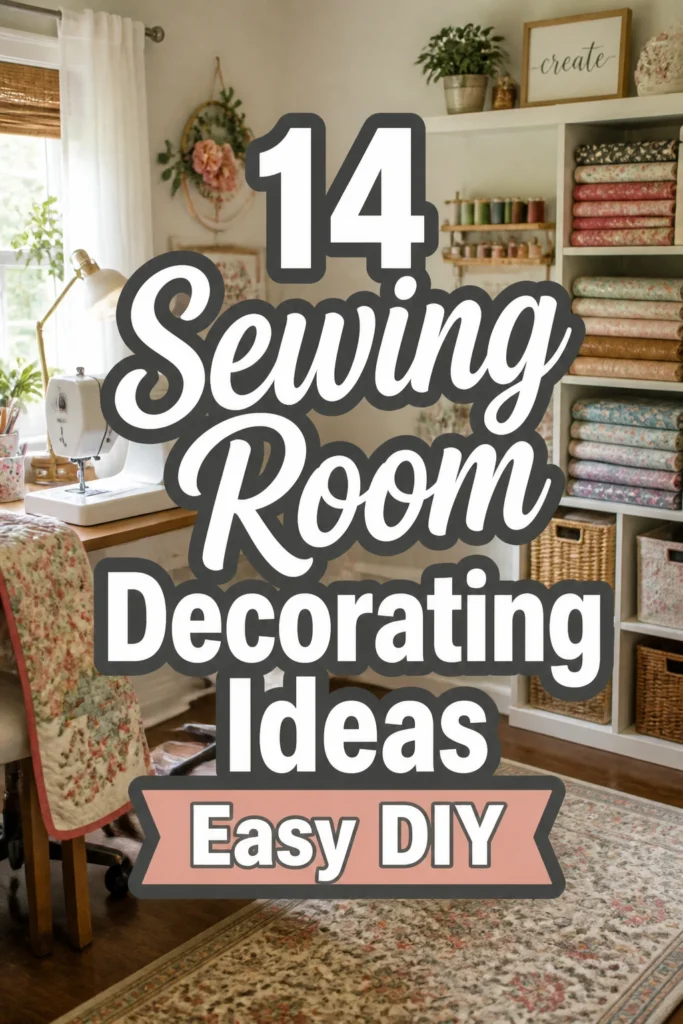
14 Sewing Room Decorating Ideas Easy DIY
Is your creative sanctuary currently more ‘storage unit’ than ‘sewing studio’
Yeah, we get it. Fabric stashes grow like weeds, and notions have a magical way of multiplying.
Time to ditch the fabric chaos and embrace some seriously chic DIY ideas that will make your sewing room the envy of all your crafty friends.
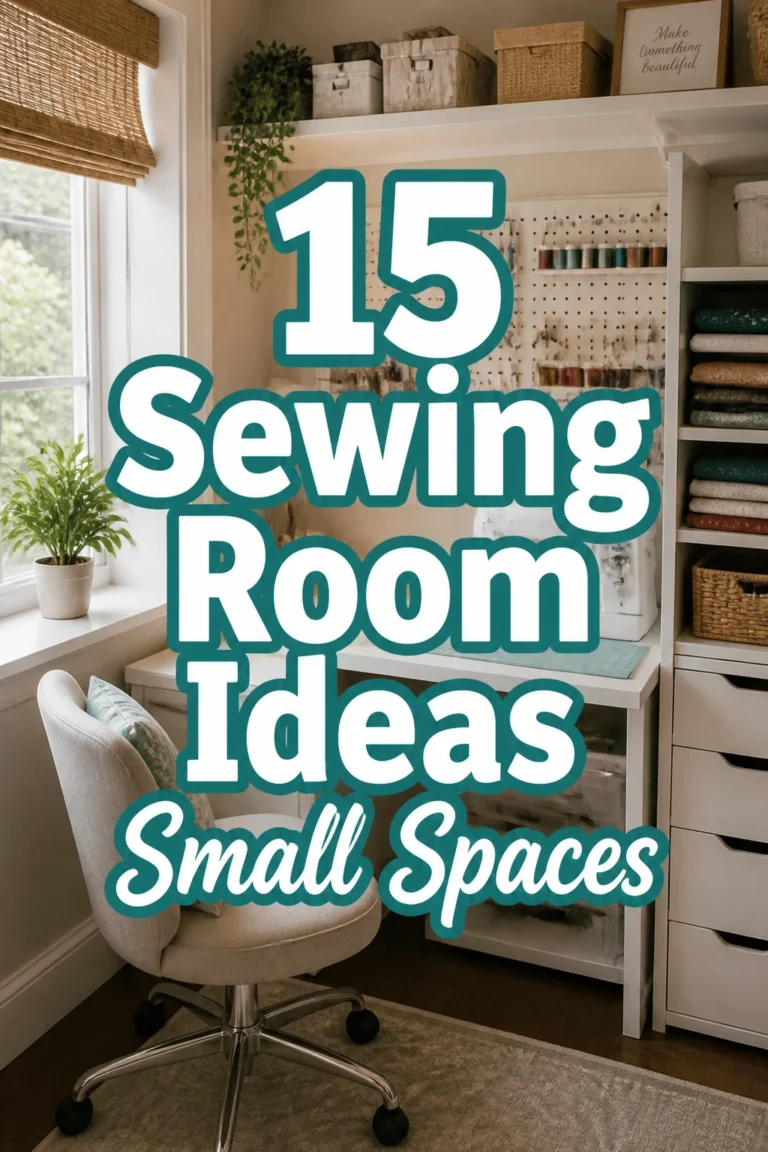
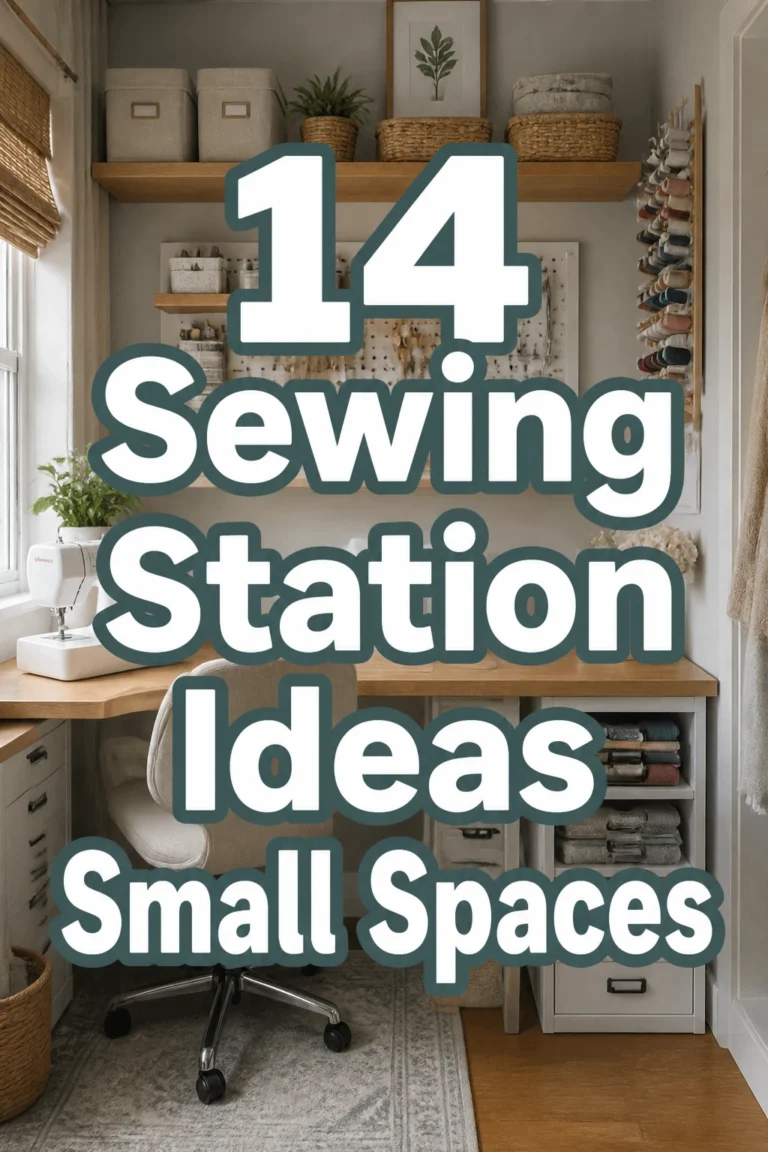
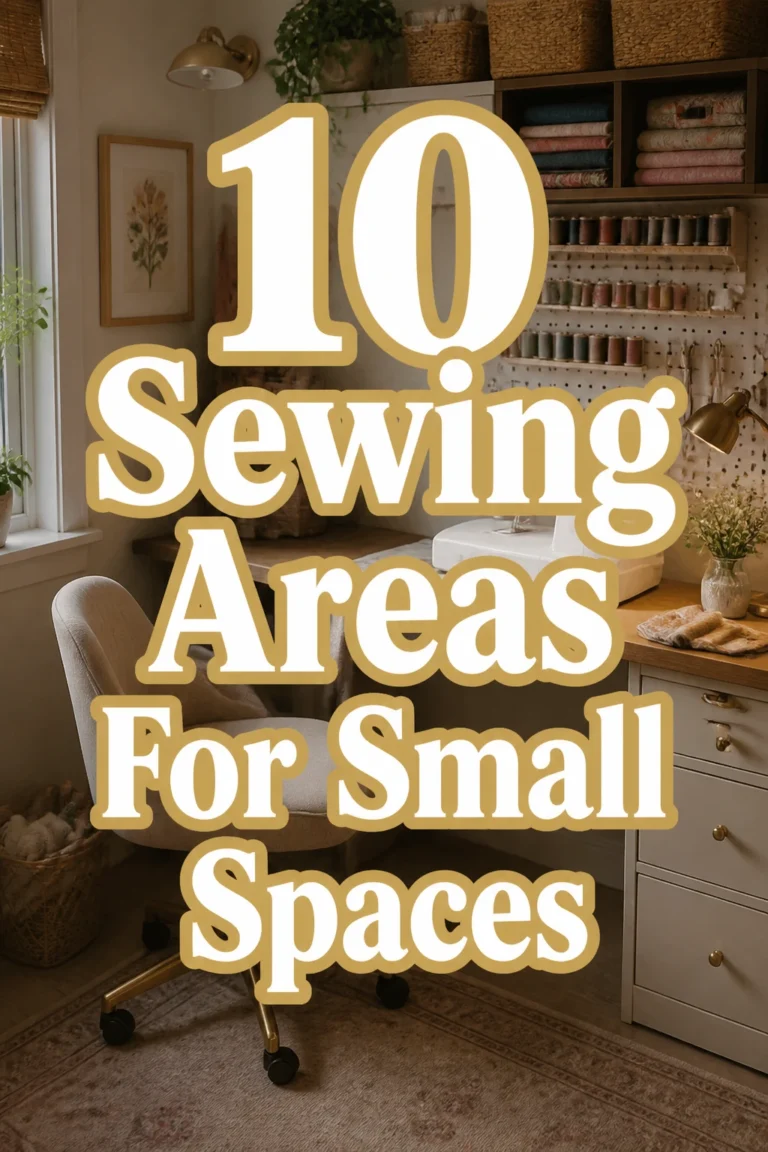
1. Pegboard Power Wall
- Best For: Small spaces, maximizing vertical storage
- Vibe: Industrial chic, hyper-organized
- Why it works: Keeps tools visible and off your precious work surface.
Think IKEA SKÅDIS system, but make it you. Paint a plain pegboard a vibrant teal or a sophisticated charcoal gray.
Add hooks, baskets, and shelves for scissors, rulers, and those tiny notions that always vanish into the abyss.
Pro Tip: Group similar items together for a visually pleasing, functional display. Nobody wants a chaotic pegboard.
2. Fabric Scrap Art
- Best For: Using up remnants, adding a personal touch
- Vibe: Eclectic, artistic, sustainability-focused
- Why it works: Transforms waste into a unique, eye-catching focal point.
Don’t toss those pretty scraps! Frame small pieces of your favorite fabrics in varying sizes or create a patchwork canvas.
Alternatively, cut shapes and glue them onto a plain stretched canvas for a textured, abstract piece that screams “I’m crafty and I know it.”
Pro Tip: Stick to a cohesive color palette for a more sophisticated look, even with varied patterns. It keeps things from looking like a toddler’s art project.
3. Upcycled Jar Storage
- Best For: Organizing small notions, eco-conscious crafters
- Vibe: Rustic charm, vintage apothecary
- Why it works: Clear jars let you see exactly what you have, preventing endless rummaging.
Clean out those pickle jars and jam containers. Paint the lids with a metallic spray paint or wrap them in leftover fabric for a custom touch.
Fill them with buttons, safety pins, thimbles, and other tiny treasures. Instant chic storage, minimal effort.
Pro Tip: Stack jars or line them on a shelf for a neat, accessible display. Bonus points if you add cute labels.
4. DIY Pin Cushion Wall
- Best For: Keeping pins accessible, adding quirky decor
- Vibe: Playful, functional art
- Why it works: Your pins are always within reach and add a pop of color to the wall.
Grab some small wooden hoops or embroidery frames. Stretch vibrant fabric over them and stuff generously with batting.
Mount these mini pin cushions directly onto the wall in a fun pattern or a neat grid. It’s functional art, darling.
Pro Tip: Use different patterned fabrics to create a mosaic effect that’s both practical and pretty. Your pins will thank you.
5. Thread Spool Display
- Best For: Avid sewers, showcasing thread collections
- Vibe: Organized rainbow, creative inspiration
- Why it works: Turns functional supplies into a stunning visual display.
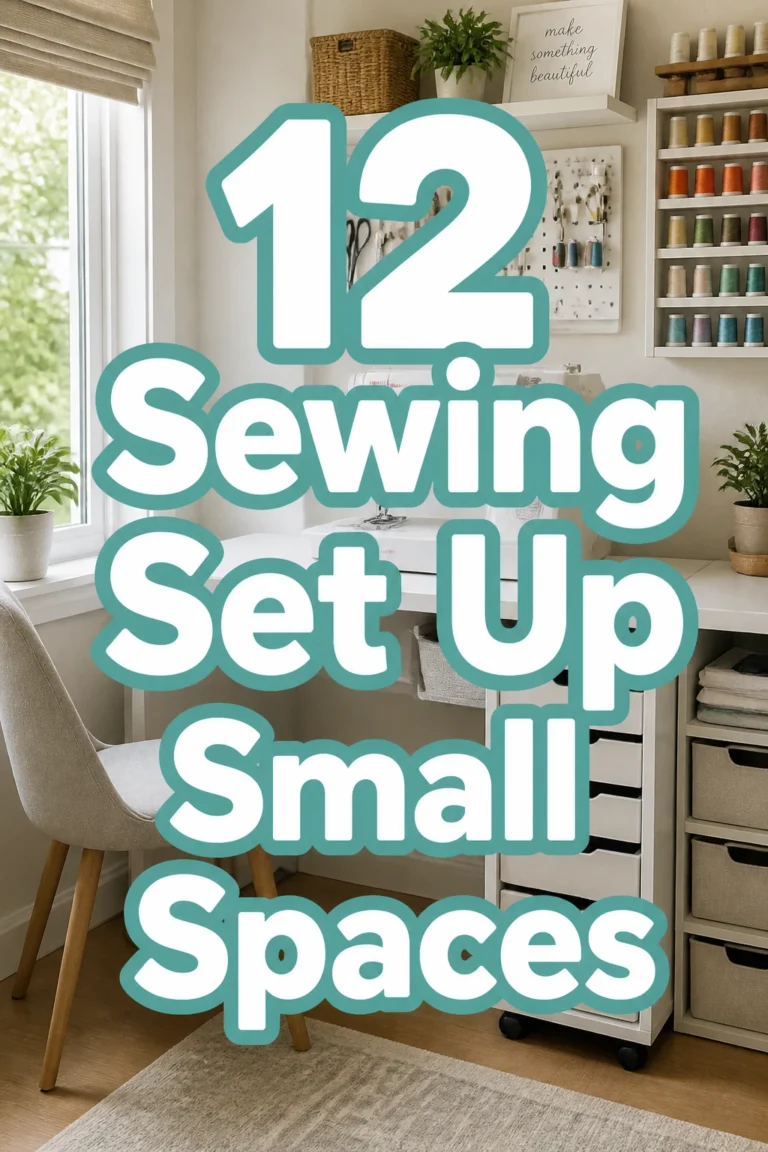
Install a simple floating shelf or repurpose an old spice rack. Line up your thread spools by color, creating a gradient effect.
This not only looks amazing but also helps you quickly grab the right shade. No more hunting for that elusive navy.
Pro Tip: For a truly custom look, build a simple wooden rack with dowels to hold the spools perfectly. It’s easier than it sounds.
6. Customized Cutting Mat Station
- Best For: Protecting surfaces, dedicated workspace
- Vibe: Professional studio, efficient workflow
- Why it works: Creates a permanent, protected cutting area, saving your table.
Secure a large self-healing cutting mat directly to a dedicated table with double-sided tape or a non-slip pad.
Frame the edges with decorative washi tape or a painted wooden border. This defines your cutting zone and looks super intentional.
Pro Tip: Add a transparent ruler holder nearby, so it’s always ready for action. Efficiency is key, people.
7. Rolling Cart Makeover
- Best For: Flexible storage, small spaces
- Vibe: Modern utility, mobile organization
- Why it works: Offers versatile storage that can move with you, wherever your project takes you.
Snag a basic utility cart (the RÅSKOG from IKEA is a classic for a reason). Spray paint it a bold color like mustard yellow or blush pink.
Fill its tiers with in-progress projects, fabric scraps, or your most-used tools. It’s basically a mobile command center.
Pro Tip: Attach small magnetic containers to the sides for even more tiny-item storage. Magnets are your friends.
8. Pattern Pocket Organizer
- Best For: Keeping patterns tidy, easy access
- Vibe: Retro library, neatly curated
- Why it works: Prevents crumpled patterns and makes finding the right one a breeze.
Sew a wall-mounted organizer from sturdy canvas or denim, featuring multiple clear vinyl pockets.
Label each pocket by garment type (e.g., “Dresses,” “Tops,” “Kids”). Hang it near your cutting station for quick pattern retrieval.
Pro Tip: Use a contrasting fabric for the binding and labels to make it pop visually. Aesthetics matter, even for pattern storage.
9. Ribbon Dispenser Box
- Best For: Tangle-free ribbon, neat storage
- Vibe: Boutique display, orderly elegance
- Why it works: Keeps ribbons organized, prevents unraveling, and dispenses them smoothly.
Find a pretty wooden box or decorate a sturdy cardboard one. Drill small holes in a line along one side.
Thread your ribbon ends through the holes from the spools inside. Now you have a tangle-free, aesthetically pleasing dispenser that looks far more expensive than it was.
Pro Tip: Use a tension rod or dowel inside the box to keep the spools from rolling around too much. Genius, right?
10. DIY Fabric Covered Boxes
- Best For: Hiding clutter, adding cohesive style
- Vibe: Chic storage, personalized touch
- Why it works: Turns basic storage into decorative elements that match your room’s aesthetic.
Grab some plain cardboard boxes or inexpensive storage cubes. Cover them with your favorite fabric scraps using fabric glue or spray adhesive.
Mix and match patterns or stick to a single coordinating print for a truly custom look. Your clutter will never know what hit it.
Pro Tip: Add leather pull tabs or decorative buttons to the front for an extra touch of sophistication. Details, darling, details.
11. Button Jar Display
- Best For: Button collectors, vintage lovers
- Vibe: Whimsical, nostalgic, curated collection
- Why it works: Showcases beautiful buttons while keeping them organized and dust-free.
Display your collection of vintage or specialty buttons in clear glass jars of varying sizes. Arrange them on a shelf or windowsill where they can catch the light.
This adds instant charm and a touch of whimsy to your space. Plus, you can actually see all your pretty buttons.
Pro Tip: Group buttons by color or material within each jar for an even more organized and appealing look. It’s like a tiny, colorful museum.
12. Magnetic Tool Strip
- Best For: Metal tools, quick access
- Vibe: Modern workshop, minimalist efficiency
- Why it works: Keeps metal scissors, snips, and needles visible and off your workspace.
Install a sleek magnetic knife strip near your sewing machine. It’s perfect for holding metal rulers, various scissors, and even those pesky seam rippers.
This keeps your most-used tools within arm’s reach, preventing the dreaded “where did I put that” panic.
Pro Tip: Ensure the strip is mounted securely and choose one with a strong magnet to prevent tools from sliding off. Safety first, always.
13. Inspiring Mood Board
- Best For: Creative brainstorming, design inspiration
- Vibe: Artistic, evolving, personal gallery
- Why it works: Provides a dynamic visual space for ideas, fabric swatches, and project plans.
Dedicate a section of your wall to a large corkboard or a wire grid. Pin up fabric swatches, sketches, magazine clippings, and color palettes that inspire your current projects.
Update it regularly to keep your creative juices flowing. It’s your personal creative playground.
Pro Tip: Use cute pushpins or mini clothespins to attach items, adding to the board’s aesthetic appeal. Every detail counts.
14. Sewing Machine Mat
- Best For: Protecting surfaces, reducing vibration, adding style
- Vibe: Cozy, personalized, functional comfort
- Why it works: Protects your table from scratches and dampens machine vibrations, making sewing more pleasant.
Sew a padded mat for your sewing machine using some sturdy fabric, batting, and a non-slip backing. Make it large enough to hold your machine and perhaps a small notions tray.
Choose a fabric that complements your room’s decor and makes you smile. Who knew a mat could be so crucial?
Pro Tip: Add pockets to the sides of the mat for extra storage of frequently used small tools like bobbins or seam rippers. Multitasking at its finest.
Our Top Recommended Finds
- High-quality storage bins: Indispensable for corralling fabric, patterns, and works-in-progress without looking like a chaotic mess.
- Adjustable task lamp: Essential for illuminating your workspace, preventing eye strain, and ensuring precise stitching, especially during late-night creative bursts.
- Comfortable ergonomic chair: Trust us, your back will thank you after hours of creative endeavors. It’s an investment in your well-being and productivity.
Which of these will you try first?
Seriously, your sewing space deserves to be as fabulous as the creations you bring to life.
Which of these genius DIY ideas are you tackling this weekend? Spill the beans in the comments below!