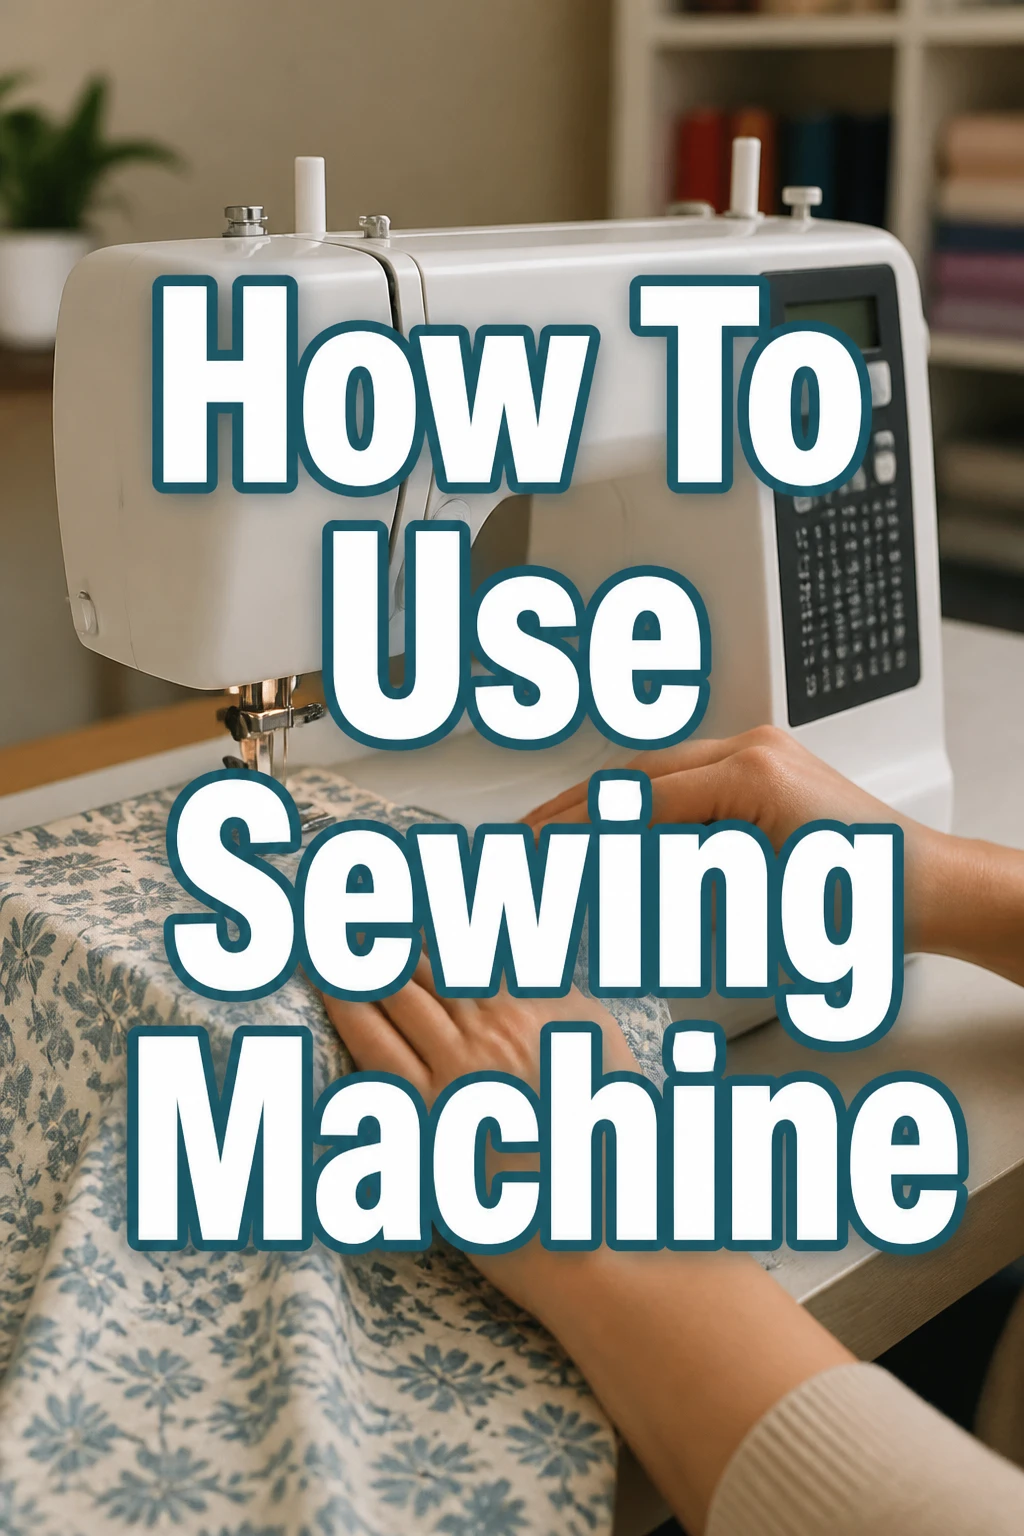
How To Use Sewing Machine
Learning to use a sewing machine can feel daunting at first glance.
I remember the initial confusion with threading and tension, but with a bit of practice, it quickly became second nature.
This guide will walk you through every essential step, empowering you to confidently stitch your first project.
Quick Overview
By following these steps, you will learn to safely set up your sewing machine, thread it correctly, and perform basic stitches. You’ll gain the foundational skills needed to tackle simple sewing projects with confidence.
- Time needed: 1-2 hours (for initial setup and practice)
- Difficulty: Beginner
- What you’ll need: Sewing machine, instruction manual, thread, bobbins, fabric scraps, scissors, pins.
Step-by-Step Instructions
Step 1: Familiarize Yourself with Your Machine
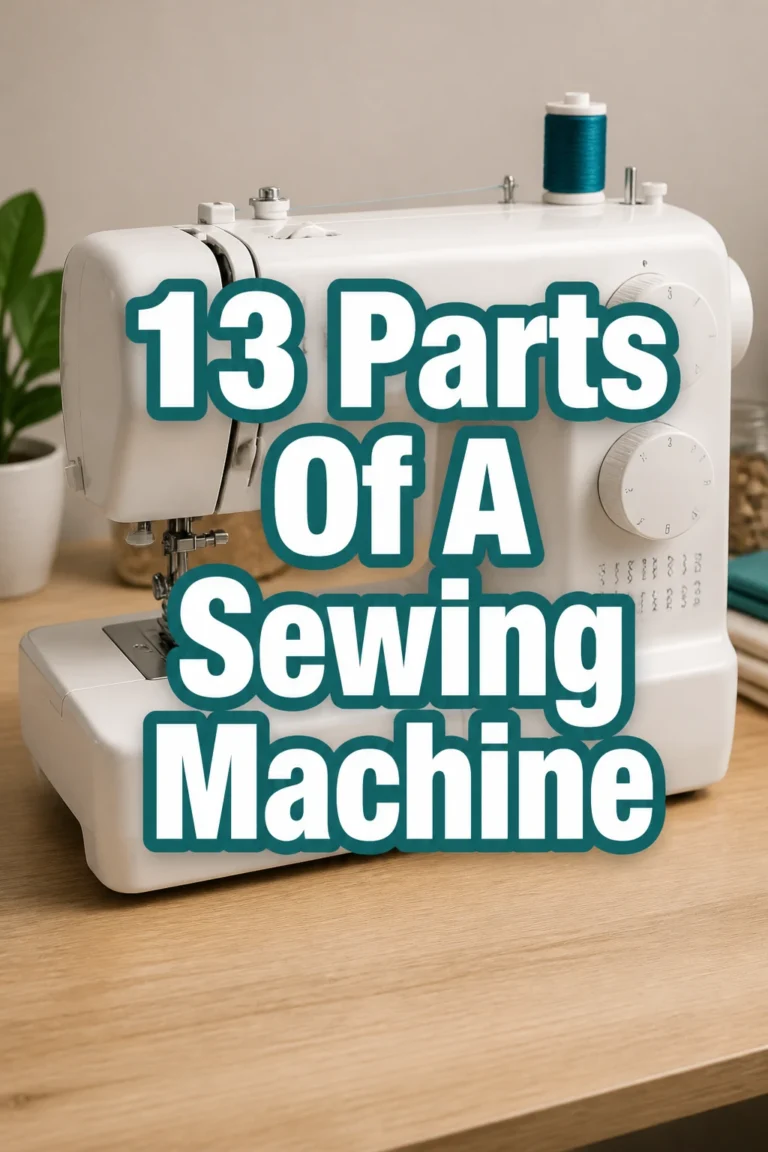
Every sewing machine has unique features, but many core components are universal. Take a moment to locate the main parts of your specific model.
- Identify the power switch and foot pedal connection. These are usually on the side or back of the machine.
- Locate the handwheel on the right side. This allows you to manually raise and lower the needle.
- Find the presser foot and presser foot lifter. The presser foot holds the fabric down.
- Spot the needle clamp, which secures the needle in place.
- Note the bobbin winder, thread spool pin, and tension dial. These are crucial for proper threading.
- Consult your machine’s manual. It provides specific diagrams and names for each part, which is incredibly helpful.
Pro Tip: Keep your machine’s manual handy. It’s an invaluable resource for troubleshooting and understanding specific functions unique to your model.
Step 2: Prepare Your Workspace and Supplies
A tidy and well-lit workspace makes sewing much more enjoyable and efficient. Gather all your necessary tools before you begin.
- Clear a flat, stable surface for your sewing machine. Ensure there’s enough room for fabric manipulation.
- Plug in your machine and the foot pedal. Make sure the power switch is OFF for now.
- Gather your thread, pre-wound bobbins (or empty ones), fabric scraps for practice, sharp scissors, and straight pins.
- Choose the right needle for your fabric. Universal needles are a good starting point for most woven fabrics.
- Ensure you have good lighting. A task lamp can be very beneficial for detailed work.
Step 3: Wind the Bobbin
The bobbin holds the lower thread, which interlocks with the upper thread to form a stitch. Winding it correctly is a fundamental skill.
- Place a spool of thread onto the spool pin. Ensure the thread unwinds smoothly.
- Follow the winding path indicated on your machine. This usually involves guiding the thread through a tension disc specifically for bobbin winding.
- Insert an empty bobbin onto the bobbin winder spindle. Push the spindle to the “wind” position, if applicable.
- Wrap the thread around the bobbin a few times by hand to secure it.
- Press the foot pedal gently. The bobbin will spin and fill with thread. Don’t overfill it.
- Stop winding when the bobbin is full or when the machine automatically stops. Cut the thread and return the spindle to its original position.
Pro Tip: Always wind a bobbin with the same type and color of thread you’ll be using for the top spool. This ensures consistent stitch quality.
Step 4: Insert the Bobbin into the Bobbin Case
Once wound, the bobbin needs to be placed correctly into its housing, usually located under the needle plate.
- Turn off the sewing machine for safety.
- Remove the accessory tray or storage compartment from the free arm to access the bobbin compartment.
- Open the bobbin cover plate. This might be a clear plastic slide or a hinged door.
- Insert the wound bobbin into the bobbin case. Pay close attention to the direction the thread unwinds—it’s usually clockwise or counter-clockwise, as indicated by a diagram on your machine.
- Guide the bobbin thread through the tension spring or slot in the bobbin case. This ensures proper tension for the lower thread.
- Pull a tail of thread about 4-6 inches long. Close the bobbin cover plate securely.
Step 5: Thread the Top of the Machine
This step involves guiding the thread from the spool pin through various guides and tension discs all the way to the needle. Accuracy is key here.
- Raise the needle to its highest position using the handwheel. Also, raise the presser foot using the presser foot lifter.
- Place your thread spool onto the spool pin.
- Follow the numbered threading path on your machine. This typically involves guiding the thread through a thread guide, down through the tension discs, and up through the take-up lever.
- Ensure the thread is securely seated in the take-up lever. This lever moves up and down during stitching and is vital for stitch formation.
- Guide the thread down through the remaining thread guides to the needle.
- Thread the needle from front to back, or according to your machine’s manual. Pull a tail of thread about 4-6 inches long through the eye.
Step 6: Bring Up the Bobbin Thread
Before you can sew, both the top and bobbin threads need to be on the same side, ready to interlock.
- Hold the top thread tail gently with one hand.
- Turn the handwheel towards you (counter-clockwise) to lower the needle. The needle will go down into the bobbin area and then come back up.
- As the needle rises, it will catch the bobbin thread. You might see a small loop of the bobbin thread appear.
- Pull the top thread tail gently. This will bring the loop of bobbin thread up through the needle plate opening.
- Use a pin or the tip of your scissors to pull the bobbin thread loop completely through.
- Place both the top thread and the bobbin thread tails under the presser foot and towards the back of the machine.
Pro Tip: If the bobbin thread doesn’t come up easily, ensure the needle is at its highest point before starting, and check that the bobbin is correctly seated in its case.
Step 7: Prepare for Your First Stitch
Now that both threads are ready, you can prepare your fabric and select your stitch settings.
- Select a practice fabric scrap. A medium-weight cotton is ideal for beginners.
- Choose your desired stitch. For beginners, the straight stitch is most common. Look for the stitch selector dial or buttons.
- Set the stitch length. A medium length (around 2.5 on most machines) is good for general sewing.
- Adjust the tension dial if necessary. For most projects, the default setting (often around 3-5) is suitable.
- Place your fabric under the presser foot, aligning the edge with a seam guide on the needle plate.
- Lower the presser foot using the presser foot lifter. The fabric should be held firmly in place.
Step 8: Practice Stitching
It’s time for your first stitches! Start slowly and focus on guiding the fabric, not pushing or pulling it.
- Turn on your sewing machine.
- Gently press the foot pedal. The machine will start stitching.
- Guide the fabric with both hands, keeping it aligned. Do not force the fabric through; let the machine’s feed dogs do the work.
- Stitch a straight line across your fabric scrap.
- Practice stopping and starting smoothly. Lift your foot off the pedal to stop.
- Try backstitching at the beginning and end of a seam. Most machines have a reverse lever or button. This locks your stitches in place.
- Raise the needle to its highest position, lift the presser foot, and pull the fabric out from under the foot.
- Cut the threads close to the fabric using your scissors or the thread cutter on your machine.
Pro Tip: Practice stitching straight lines, corners, and curves on different fabric scraps. This builds muscle memory and control. Draw lines on your fabric with a washable marker to follow.
Step 9: Understand Basic Stitch Settings and Tension
Your machine offers various settings that control the appearance and strength of your stitches. Experiment with these to see their effects.
- Stitch Length: This controls how long each individual stitch is. Longer stitches are good for basting or thick fabrics; shorter stitches are stronger and used for fine details.
- Stitch Width: For zigzag or decorative stitches, this controls how wide the stitch is. For a straight stitch, it usually positions the needle left or right.
- Tension: This regulates how tightly the upper and lower threads interlock. Correct tension results in balanced stitches where the threads meet perfectly in the middle of the fabric layers.
- Experiment with tension settings on scrap fabric. If the top thread lies flat on the bottom of the fabric, your top tension is too loose. If the bottom thread lies flat on the top of the fabric, your top tension is too tight.
Step 10: Basic Machine Maintenance
Regular, simple maintenance keeps your machine running smoothly and extends its lifespan.
- Unplug your machine before performing any maintenance. Safety first.
- Remove the needle plate and bobbin case.
- Use a small brush (often supplied with your machine) to remove lint and dust from the bobbin area and feed dogs. Lint buildup can cause skipped stitches and tension issues.
- Apply a drop of sewing machine oil to designated oiling points, if your manual recommends it. Not all modern machines require oiling.
- Change your needle regularly, especially after 8-10 hours of sewing or if it becomes dull or bent. A fresh needle prevents fabric snags and skipped stitches.
- Cover your machine when not in use to protect it from dust.
Common Mistakes to Avoid
Skipping the Manual
Many beginners jump straight into sewing without consulting their machine’s instruction manual. This leads to frustration, as each machine has unique threading paths, bobbin insertion methods, and specific features. Always read your manual first; it’s the best guide for your specific model.
Incorrect Threading
Improper threading is the number one cause of stitch problems. If the thread isn’t seated correctly in the tension discs or take-up lever, you’ll get tangles, loops, or skipped stitches. Always re-thread the machine completely if you encounter issues, ensuring the presser foot is up when threading to open the tension discs.
Forcing the Fabric
Pushing or pulling the fabric through the machine can bend the needle, break the thread, or distort your stitches. The machine’s feed dogs are designed to move the fabric at a consistent rate. Your hands should only guide the fabric gently, keeping it straight.
Using the Wrong Needle
Different fabrics require different needles. Using a dull needle or one meant for heavy denim on delicate silk will cause snags, holes, or skipped stitches. Always match your needle type and size to your fabric for the best results and to prevent machine damage.
Troubleshooting
Thread Jamming or Nesting (Bird’s Nest)
This often appears as a tangled mess of thread under your fabric. The most common cause is incorrect top threading, especially if the thread isn’t fully seated in the tension discs or take-up lever. Always re-thread your machine from scratch, ensuring the presser foot is lifted when you thread it.
Skipped Stitches
Skipped stitches mean the machine isn’t forming a complete stitch cycle. This can be due to a dull or bent needle, using the wrong type of needle for your fabric, or incorrect top threading. Try changing your needle first, then re-thread the entire machine, making sure the bobbin is also inserted correctly.
Uneven Stitches or Puckering
If your stitches look uneven, too loose, or cause the fabric to gather, it’s usually a tension issue. Check both your top tension dial and ensure the bobbin thread is correctly seated in its tension spring. Test on a scrap fabric, adjusting the top tension dial slightly higher if the top thread is too loose, or lower if the bottom thread is too loose.
Key Takeaways
- Always consult your sewing machine’s manual for specific instructions unique to your model.
- Correctly winding and inserting the bobbin is crucial for balanced stitches.
- Thread the top of the machine precisely, ensuring the thread passes through all guides and tension discs.
- Practice on fabric scraps to develop control and understand how your machine feels.
- Don’t force the fabric; let the machine’s feed dogs move it naturally.
- Regular cleaning and needle changes will keep your machine running smoothly and extend its life.
Frequently Asked Questions
What’s the best way to choose the right needle?
The right needle depends on your fabric type and weight. Universal needles work for most woven fabrics. For knits, use a ballpoint or stretch needle. For denim, use a denim needle. The needle size also matters; smaller numbers for delicate fabrics, larger numbers for heavy fabrics. Your machine manual often has a needle guide.
How often should I clean my sewing machine?
It’s a good practice to clean the bobbin area and feed dogs after every 8-10 hours of sewing, or after completing a large project. Lint and dust build-up can significantly impact your machine’s performance and stitch quality. Regular cleaning prevents many common issues.
Why is my thread constantly breaking?
Frequent thread breakage can be caused by several factors. Check if your machine is threaded incorrectly, if the tension is too high, if your needle is dull, bent, or the wrong size for your thread/fabric, or if the thread itself is old and weak. Also, ensure there are no burrs or rough spots on your machine that could be snagging the thread.
Can I use any thread in my sewing machine?
While many threads will physically fit, using good quality, all-purpose polyester thread is generally recommended for most projects. Avoid very cheap, low-quality threads as they can break easily, shed a lot of lint, and cause tension problems. Specialized threads exist for specific purposes, like quilting or embroidery, but all-purpose is best for beginners.
Our Top Recommended Finds
- Good Quality All-Purpose Thread: Investing in a set of reputable polyester threads prevents many common headaches and ensures strong, consistent stitches.
- Universal Needle Assortment Pack: Having various sizes on hand means you’ll always have the right needle for different fabric weights, minimizing skipped stitches and fabric damage.
- Fabric Scissors: A dedicated pair of sharp fabric scissors makes cutting precise and clean, which is essential for accurate sewing.
Your Creative Journey Awaits
You’ve now completed the foundational steps to confidently use your sewing machine. This journey from unfamiliarity to mastery is incredibly rewarding.
Don’t be afraid to make mistakes; they are part of the learning process.
Start with simple projects like pillowcases or tote bags to build your confidence and refine your skills. The world of sewing is vast and exciting, offering endless possibilities for creativity and practical craftsmanship.
Grab some fabric, fire up your machine, and begin creating something wonderful today!